How can I create a Date Filter in an IntelliFront BI Dashboard?
This article will help you to create a Date Filter dashboard item to data. A Date Filter is ideal to filter data in a dashboard.
Dashboard - Date Filter
When creating a dashboard item it is important to know what you want to display. We recommend having some questions in mind of what you want the dashboard to show before you start creating it.
The Dataset used in this dashboard is a sample of Food Inspection data. The Dataset contains information about Total Inspection Results, Inspection Years, Grocery Store Results, Restaurant Results, Facilities Types, and Total Licenses in Chicago.
I would like to find out the following from the Dashboard:What are the food inspection results of Chicago from the years 2010-2017?
- To create this visual, begin by selecting Date Filter.
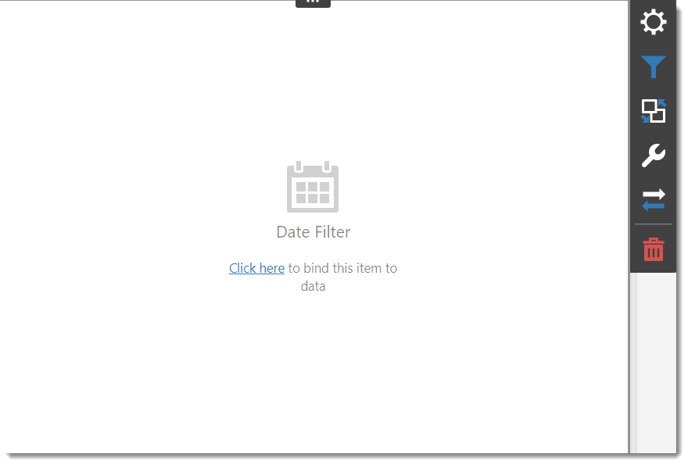
- The Date Filter is a dashboard visual to be used with other dashboards items to filter and display their data.
Binding Menu
- Use the Click here to bring up the Binding Menu. The Binding Menu allows you to create and modify the data selected for the dashboard.
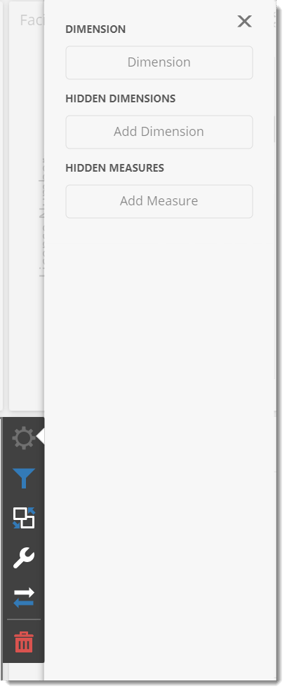
- Select the value for the information you are going to show.
- For this chart we are going to click Add Dimension and select Inspection Date.
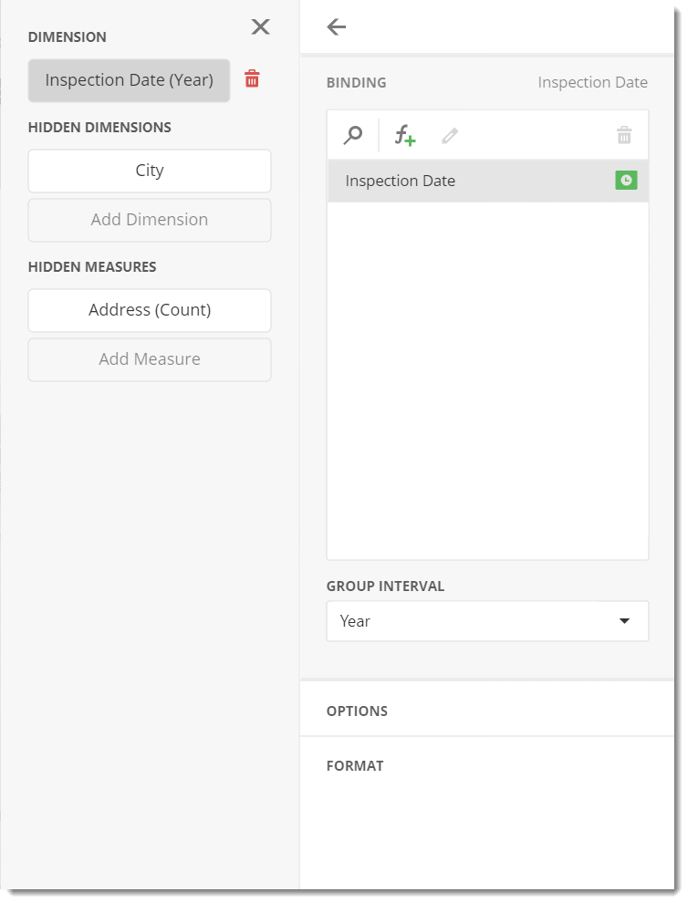
- We are then going to select the Hidden Dimension City.
- We are then going to select the Hidden Measure Address (Count).
Options
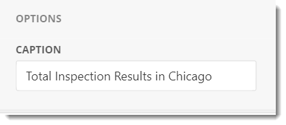
- Caption: This is the heading for the Dimension selected. It is best to caption the visual with a variation of the question asked at the beginning of creating the dashboard.
Format

- In this section, you can set the format of your date filter to the default version, full version, or abbreviated version.
Options
Now under the Options menu of the new filter, you can select the Filter Type.
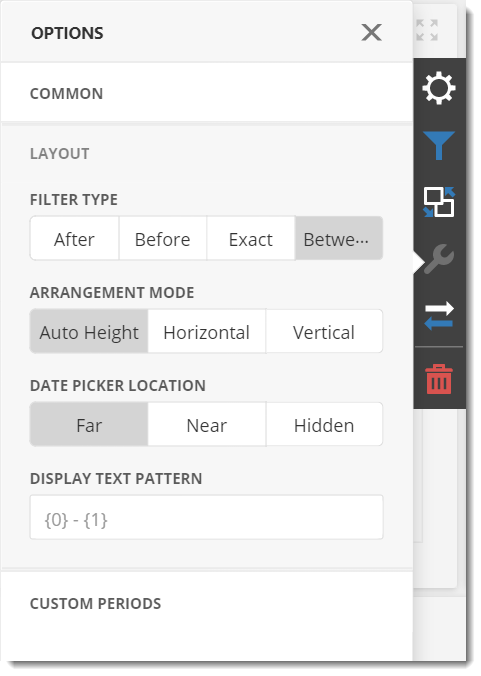
- In Options, under the Layout section, you can now select if the filter type should be set to After, Before, Exact, or Between.
- Between: Dates between the start and end dates.
- After: Dates after the start date.
- Before: Dates before the end date.
- Exact: A date equal to the end date.
- You can also set the Arrangement Mode, Date Picker Location, and Display the Text Pattern.
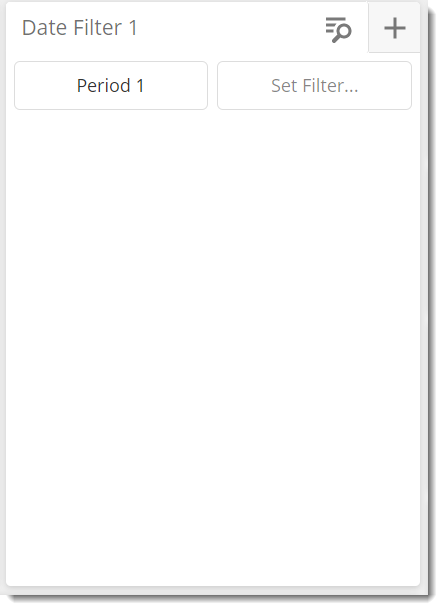
- Below is the finished date filter.
Options Menu
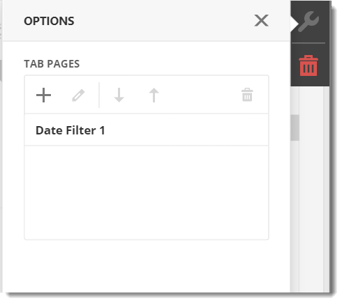
- Plus: You can create a new filter.
- Pencil: This is where you can edit the filter.
- Here, you can change the name of the filter, decide if you want to display the item as a page, decide if you want to leave the Master Filter on or off, and choose to ignore the Master Filters or not.
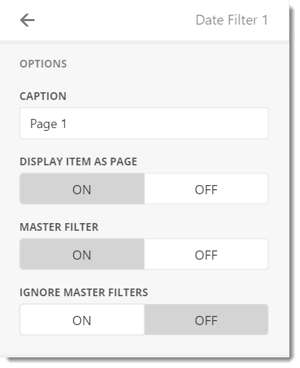
- Here, you can change the name of the filter, decide if you want to display the item as a page, decide if you want to leave the Master Filter on or off, and choose to ignore the Master Filters or not.
- Down and Up Arrows: You can move the filter to the top or bottom of the filters.
- Trash Can: You can delete the filter.
Remove Button

- Click on the remove button to delete the current dashboard item.
- Your dashboard will now set the rest of your data to the date the new Date Filter set it to.