How do I install and configure ATRS to use my existing database server?
The first time you open ATRS, you will need to configure the ATRS database. This article describes how to configure ATRS to use your existing database instead of installing its own.
Use My Existing Database Server
You will need to have your SQL Server name and a SQL Server account (username and password) which have read/write/create permissions.
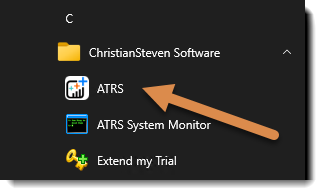
Step 1: Open ATRS.
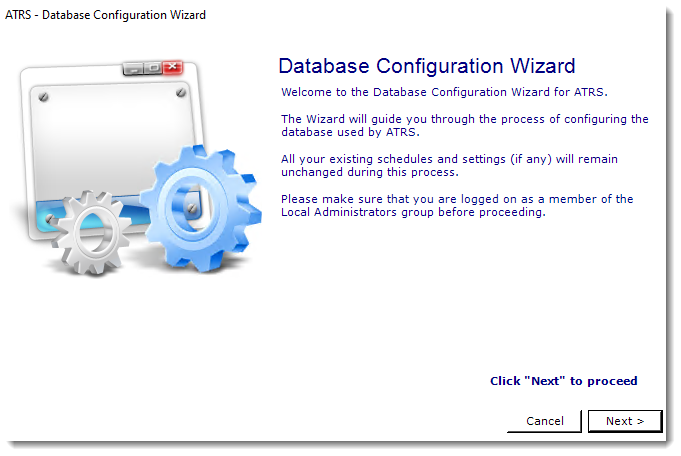
Step 2: The Database Configuration Wizard pop up should appear on screen. Click Next to proceed with the configuration.
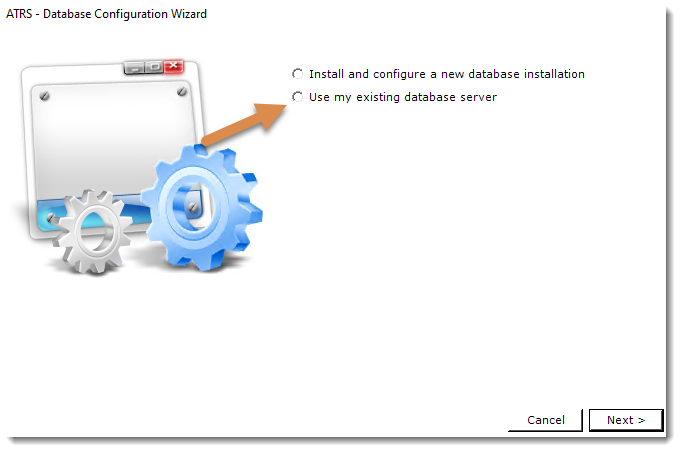
Step 3: Select Use my existing database server and click on Next to proceed with the configuration.
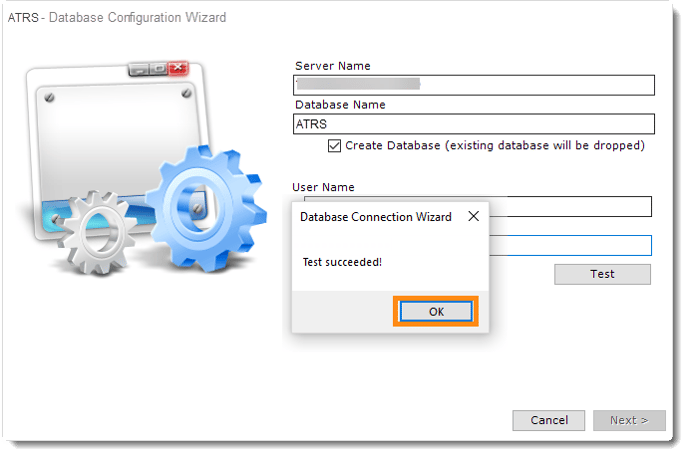
Step 4: Enter the details of your SQL Server.
Step 5: Check the option Create Database (existing database will be dropped), and enter the credentials of your SQL Server account.
Step 6: Click Test.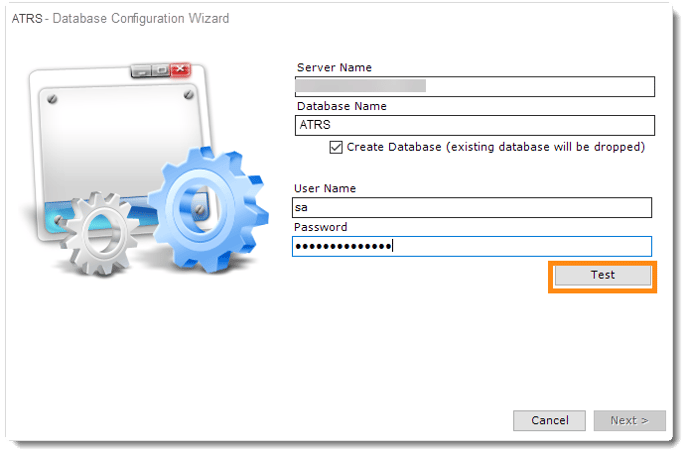
Step 7: Once ATRS can successfully connect to your SQL Server, click Next to proceed with the configuration.
The SQL Server credentials must have permissions to read/write/create.
Step 8: A pop-up will appear saying the test succeeded. Click OK to proceed with the configuration.
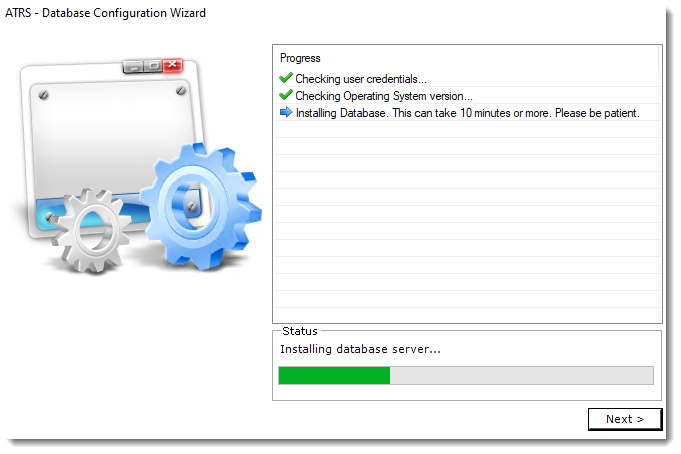
The database is now being created within your own database server. This may take a few minutes. There is no need to click anything at this time.
Step 9: Click Finish when the process is complete.
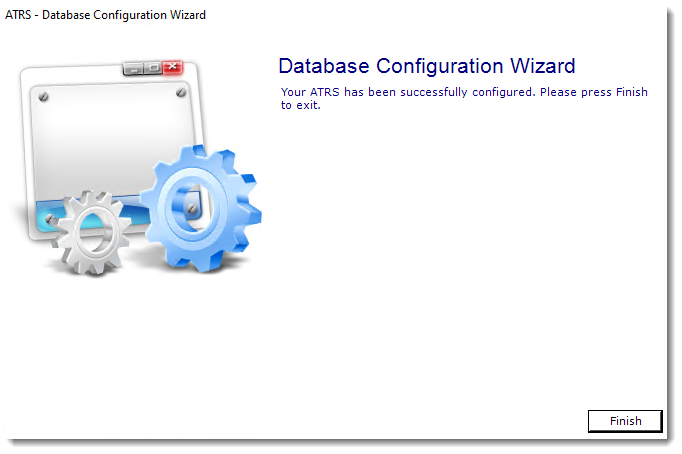
ATRS is now configured to store the scheduling information in a database on your server.