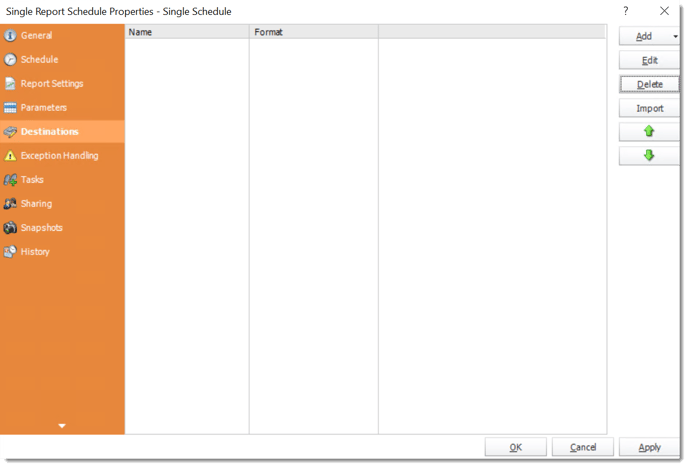
Disk - Destinations
- In the Schedule Wizard, go to Destinations.
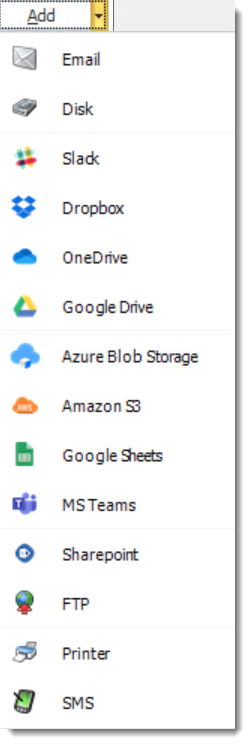
- Click Add and select Disk.
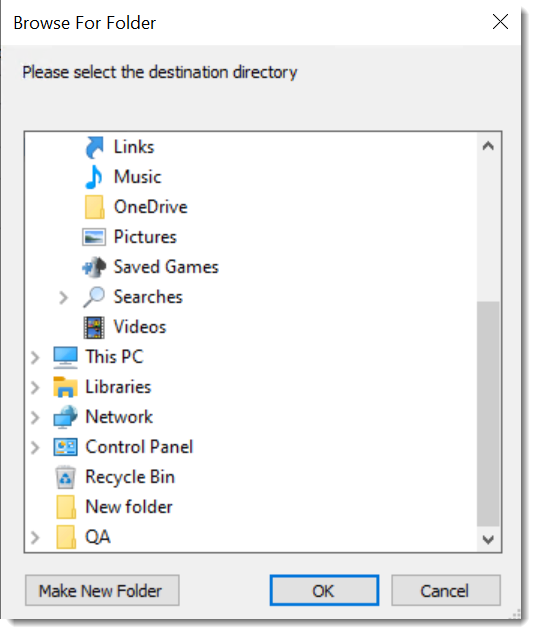
- Select your Folder.
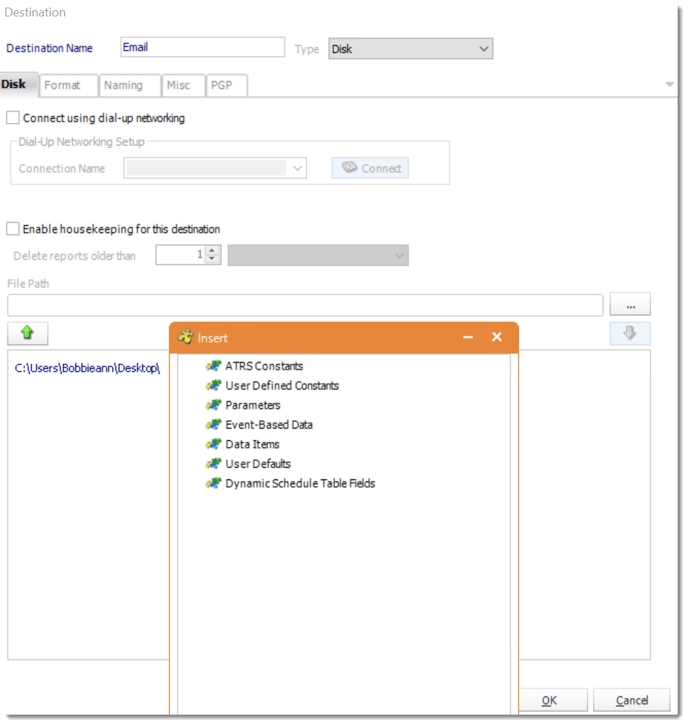
- Destination Name: Give the destination a name.
- Connect using dial-up networking: Select this option if you wish to connect to the destination network using Dial-Up Networking or RAS. Select an already existing connection from your existing Windows connections list.
- Enable Housekeeping for this destination: Check this option if you want to delete reports on a regular basis which are older than a specified date.
- Insert: You can insert constants, formulas and database field values instead of a static "typed in" value.
- Right-click in the above field to expose the Inserts menu.
For information on format tab, click here.
For information on naming tab, click here.
- Click OK.