Options - Audit Trail
Step 1: Navigate to Options.
An audit trail is a chronological record of changes that have been made to a database or file. ATRS can be configured to create an audit trail that will be stored in a given database.
Audit information is not stored in ATRS and you must create and designate an external ODBC compliant database for storage.
The audit trail will display which users have executed, refreshed, or edited schedules.
This audit trail will show common activities, such as which user executed a given schedule, what the user did, the schedule that was manipulated, and the type of schedule.
Enabling the Audit Trail
To allow ATRS to create an audit trail, perform the following:
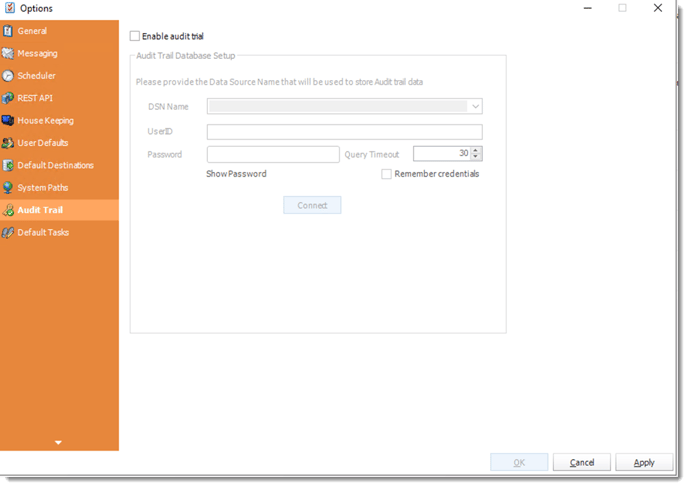
Step 3: Check the box next to "Enable Audit Trail" on the Audit Trail tab of the Options window to activate the Database Setup fields for modification.
Step 4: Input the name of the database and the relevant login information into the fields labeled DSN Name, UserID, and Password. Afterward, click on the Connect button.

Step 5: If successful, a pop-up will appear: Database connection established. Click OK
Step 6: Click Apply at the bottom of the Options window to save these settings.
