Integrations
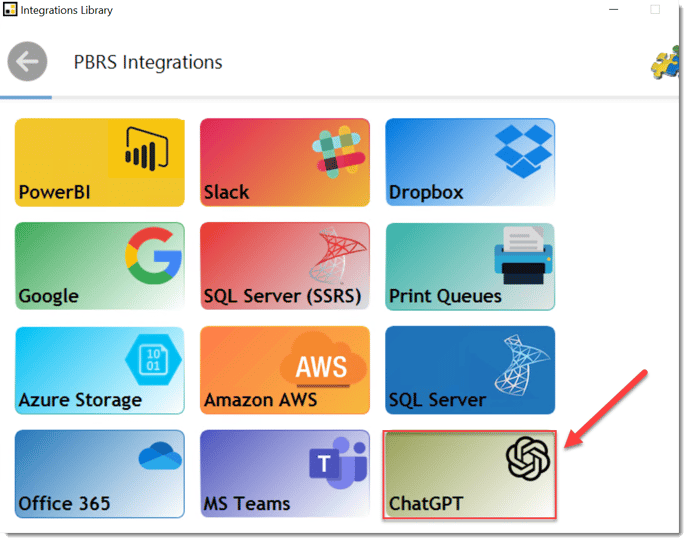
Step 1 - Select Integrations
![]()
Step 2 - Select Chat GPT
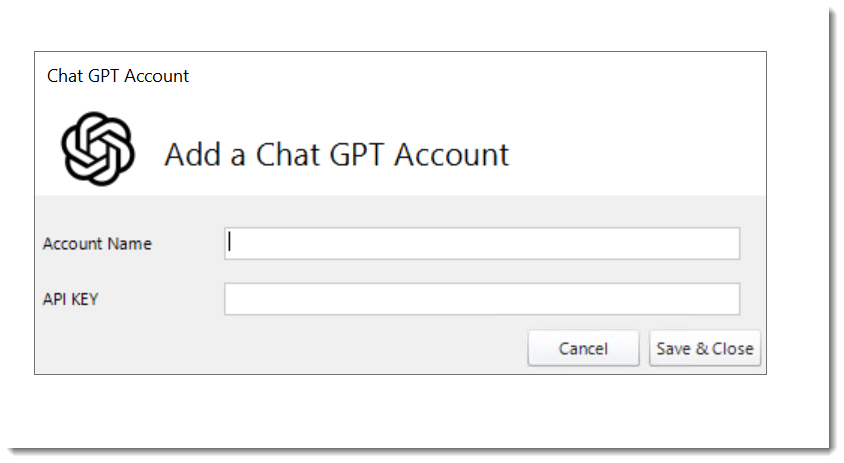
Step 3 - Add your Chat GPT Account Name and API Key
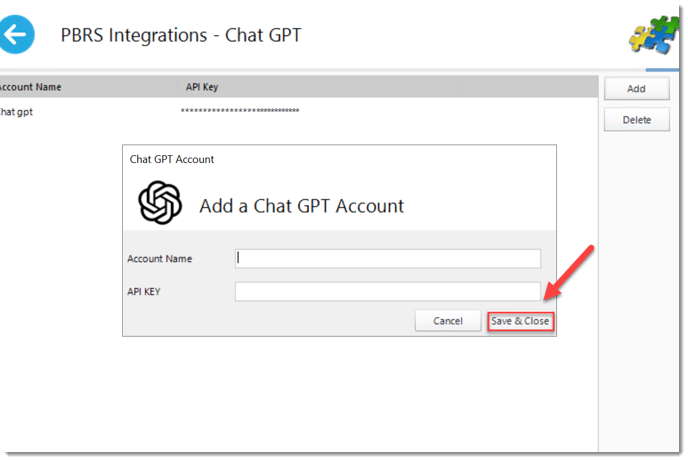
Step 4 - Click Save & Close.
Your Chat GPT account is now ready for testing.
Using Chat GPT in an Email Body
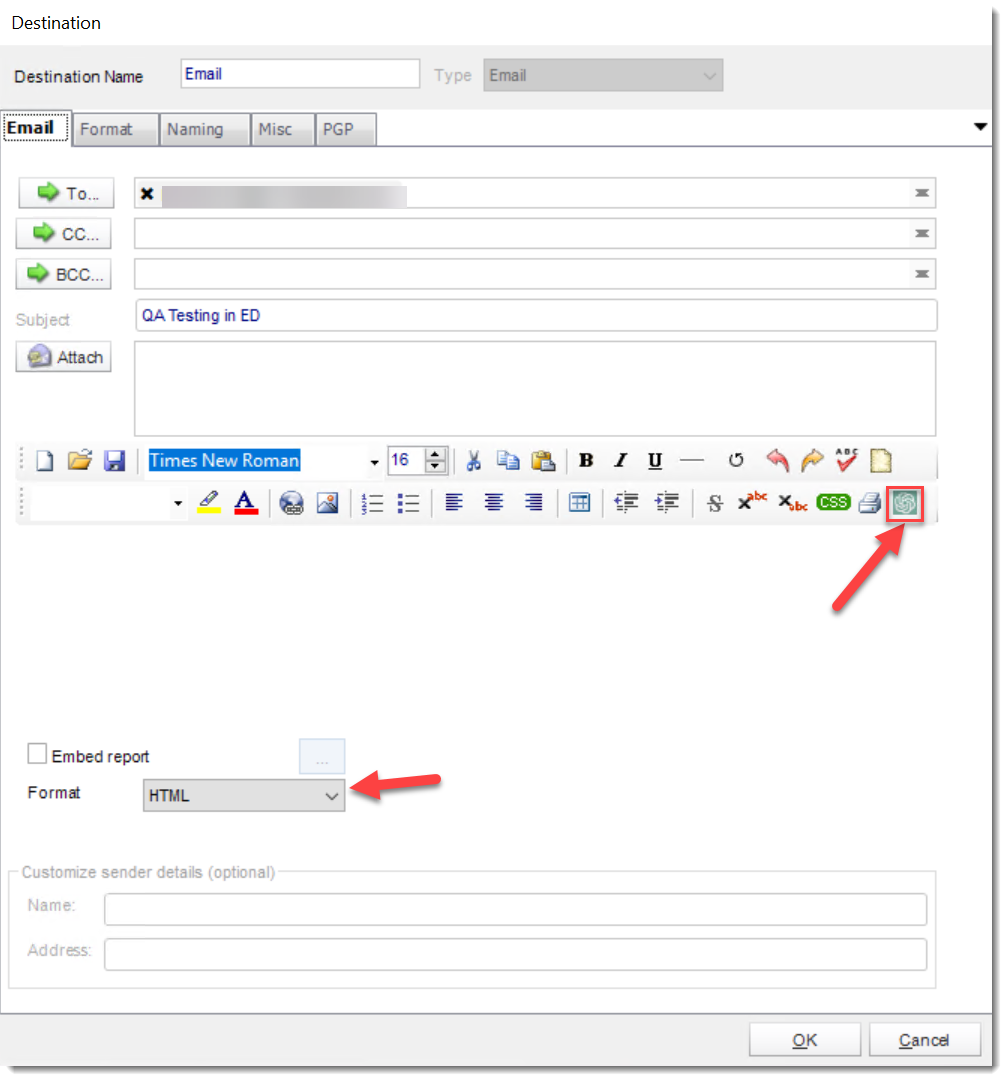
Step 1 - Begin by create an email. Once you have finished addressing the email, make sure to change the format of the email body to HTML. Then, simply click on the Chat GPT symbol to open the chat GPT window.
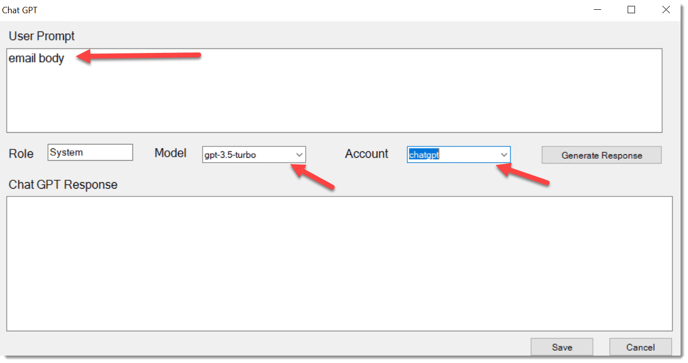
Step 2 - Fill out the Chat GPT parameters
For example; email body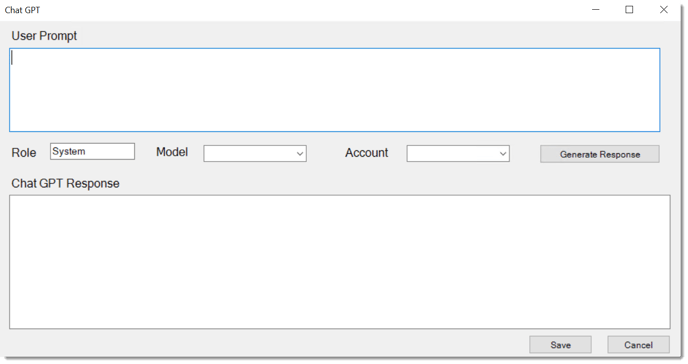
Role: The default role is set as "System," but feel free to customize it to give Chat GPT its own unique personality.
Model: Select which version of Chat GPT you would like to use for the response.Account: Select the API Account to use for the response.
Step 3 - To Generate a Response, click the "Generate Response" button to effortlessly generate the email body using Chat GPT.
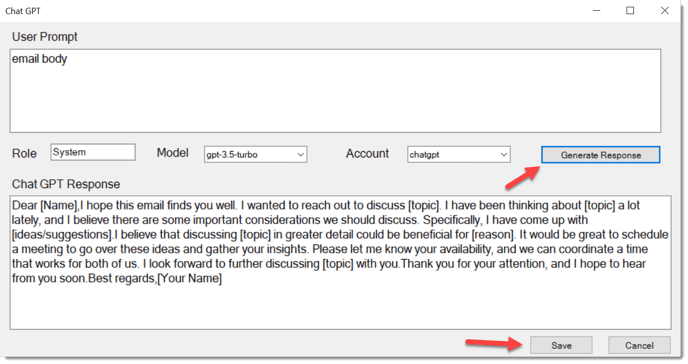
Step 4 - To save the response, simply click on the "Save" button to save the response and go back to the email editing screen.
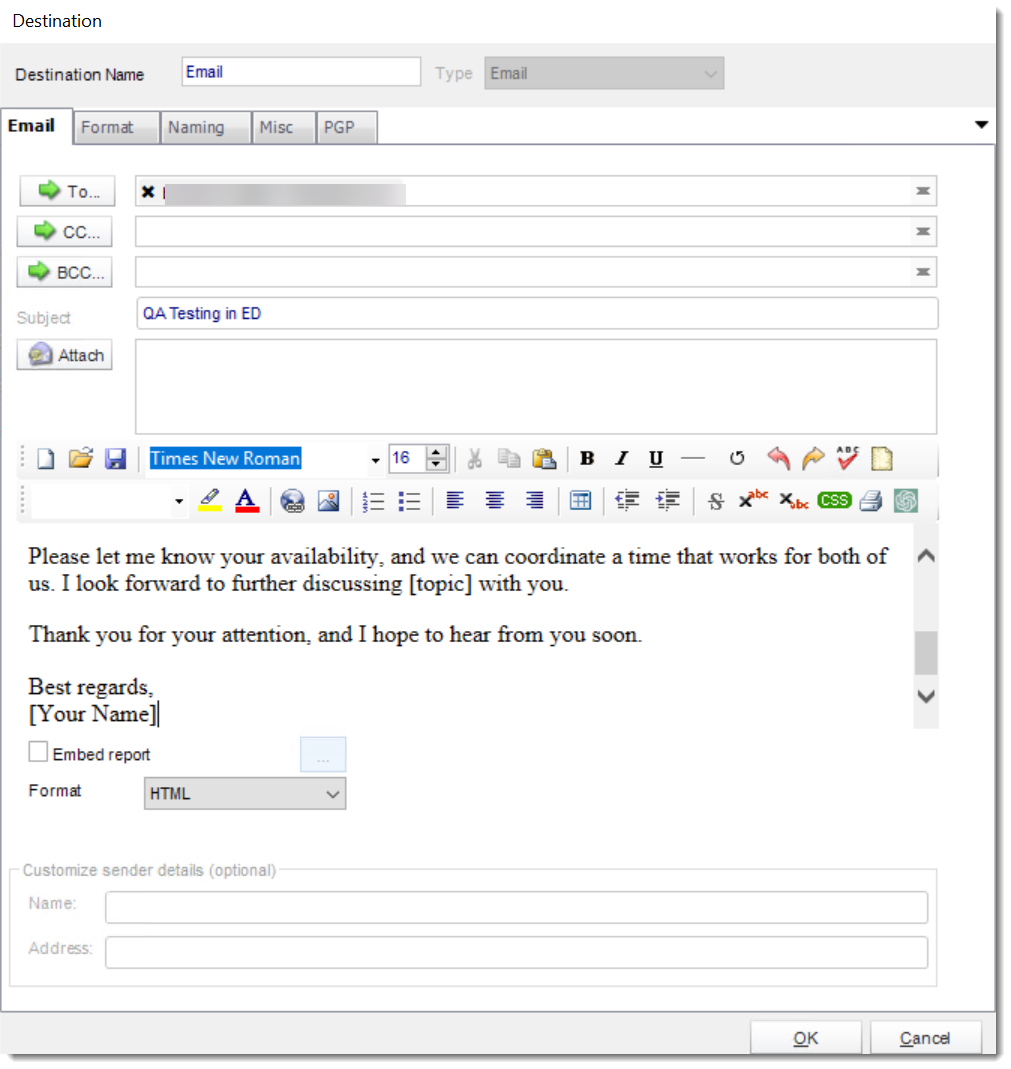
You can now see your Chat GPT email body. From here, you have the ability to make edits and add customizations as needed.
Step 5 - After making all necessary changes, click on the 'OK' button to save the email.