Custom Tasks - Files & Folders
- In the Schedule Wizard, go to Custom Tasks.
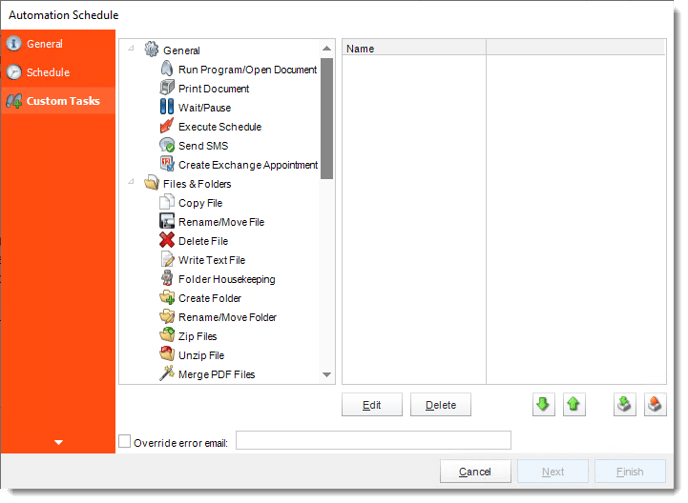
File & Folders Tasks
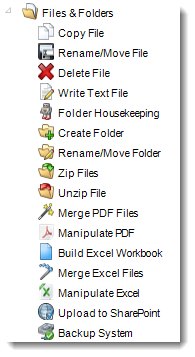
- With these tasks you can automatically move and delete files, merge PDF or Excel files, even upload files to SharePoint.
Copy File
General
- Use this task to copy one or more files from one location to another.
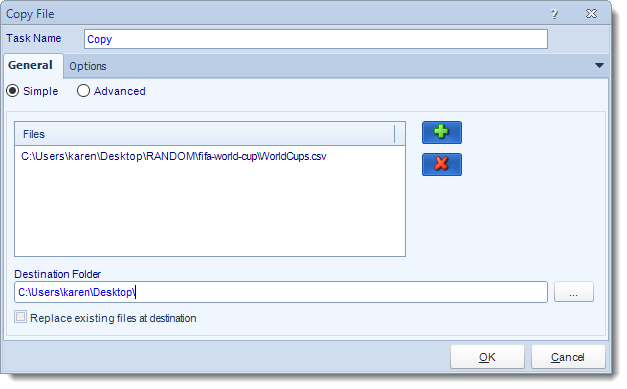
- Task Name: Enter a name for the task.
- Files: Click (+) to browse and select files.
- Destination Folder: Browse to select the destination folder.
You can use Insert Menu to dynamically choose the destination folder.
- Replace existing files at destination: Check this option if the file being copied is to replace an existing file at the specified destination.
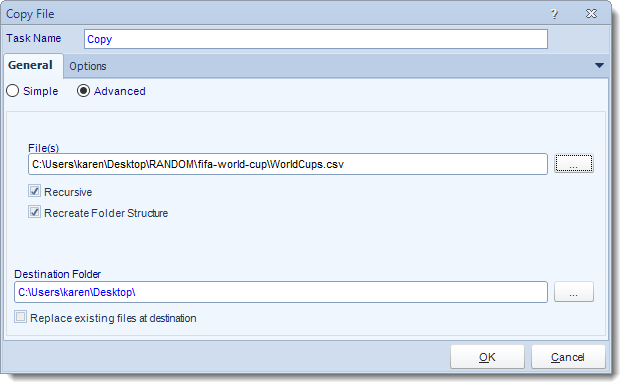
- Task Name: Enter a name for the task.
- Files: Use (…) to browse and select files.
- Recursive: Copy all folder and/or documents in that path.
- Recreate Folder Structure: Recreate the folder structure.
- Destination Folder: Browse to select the destination folder.
You can use Insert Menu to dynamically choose the destination folder.
- Replace existing files at destination: Check this option if the file being copied is to replace an existing file at the specified destination.
Options
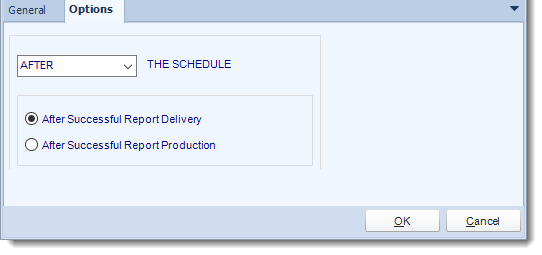
- In this section, you have the option to run this task before, after or you can choose both the schedules executes.
Rename/Move File
General
- Use this task to move a file. Keep the old name, or rename it by simply typing in a new name. Check to overwrite existing.
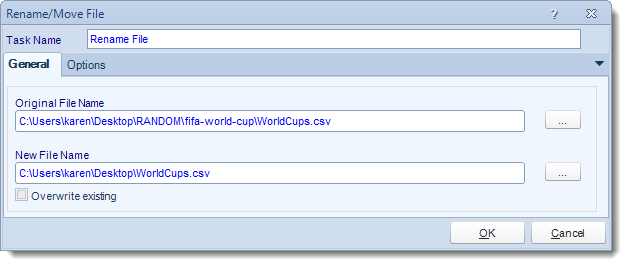
- Task Name: Give the task a name
- Original File Name: Use (…) to browse to the file that needs to be moved or renamed
- New File Name: Use (…) to navigate to the location where the new file will be moved to. Here is where you would also enter the new name for the file.
Use Insert Menu to rename the file or navigate to a folder destination.
- Overwrite Existing: Check this option if the new file is going to overwrite an existing file at the specified location.
Options
- In this section, you have the option to run this task before, after or you can choose both the schedules executes.
Delete Files
General
- Use this task to delete old files. This may be used as an alternative to folder housekeeping.
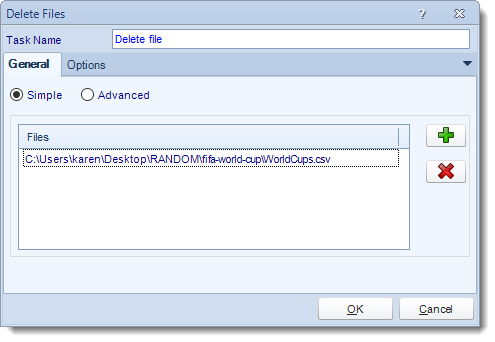
- Task Name: Give the task a name.
- Files: Use (+) button to navigate to the required file.
You can use Insert Menu for the file name if required.
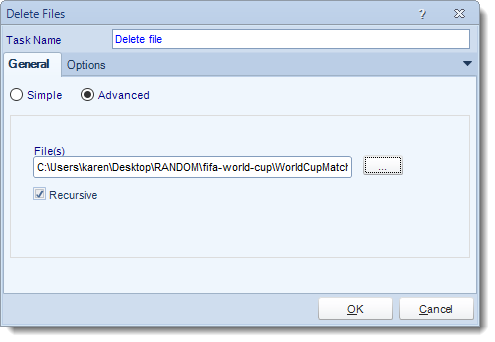
- Task Name: Give the task a name.
- Files: Use (+) button to navigate to the required file.
You can use Insert Menu for the file name if required.
- Recursive: Delete all folder and/or documents in that path.
Options
- In this section, you have the option to run this task before, after or you can choose both the schedules executes.
Write Text File
General
- Use this task to create or write to existing text files, or append information and create your own log file.

- Task Name: Give the task a name.
- File Name: Use (…) button to navigate to the file that is going to be written to.
- Text: Create the text that you want to write to the desired file.
Use Insert Menu to insert constants or database values.
- If the File exists…
- Overwrite: If this option is selected then the desired file will be overwritten with the text file and content above.
- Append: Select this option to add the text to an existing file.
Options
- In this section, you have the option to run this task before, after or you can choose both the schedules executes.
Folder Housekeeping
General
Local Directory
- Use this task to regularly clear our folders. Sometimes folders used for report outputs can get very large.
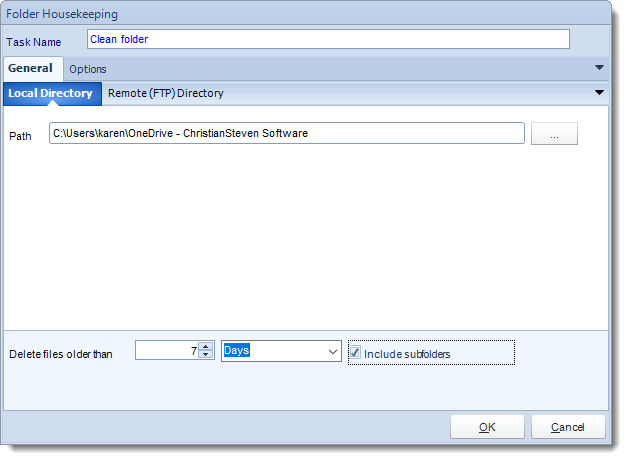
- Task Name: Give the task a name.
- Local Directory: Use (…) to navigate to the folder containing the files that need to be purged.
- Delete files older than: Select the desire file life span that will be deleted.
- Include Subfolders: Clean any subfolders that contain files older than the specified amount of time.
Remote (FTP) Directory
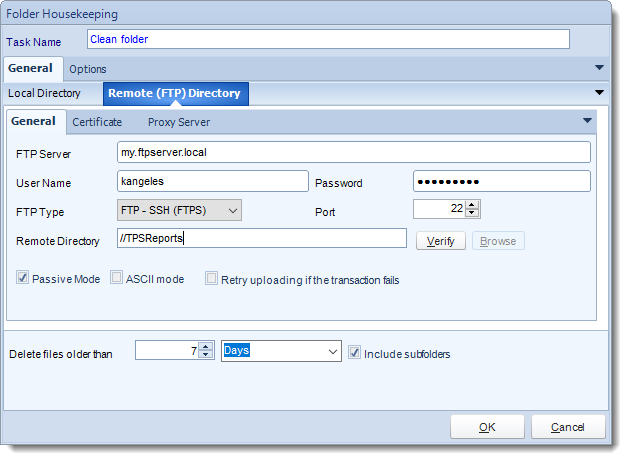
- Task Name: Give the task a name.
- FTP Server: Enter your FTP Server details and authentication credentials.
- Remote Directory: Browse or enter the folder path for the directory that will be purged.
- Delete files older than: Select the desire file life span that will be deleted.
- Include Subfolders: Clean any subfolders that contain files older than the specified amount of time.
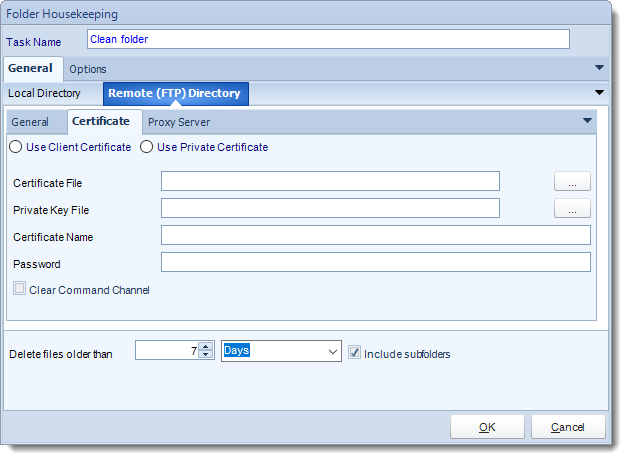
- You can set Certificate Settings where applicable.
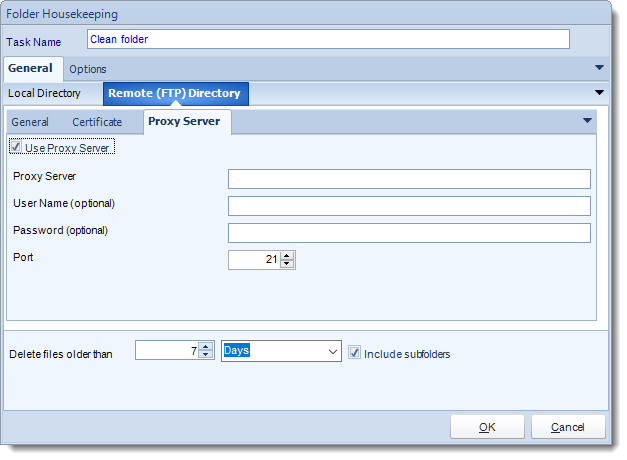
- You can also set Proxy Server details where required. Please make sure to contact your Network Administrator to verify if these are needed.
For more on Folder Housekeeping, click here.
Options
- In this section, you have the option to run this task before, after or you can choose both the schedules executes.
Create Folder
General
- Use this task to create a new folder. Simply browse for the parent folder, and then tell CRD what the new folder name should be.
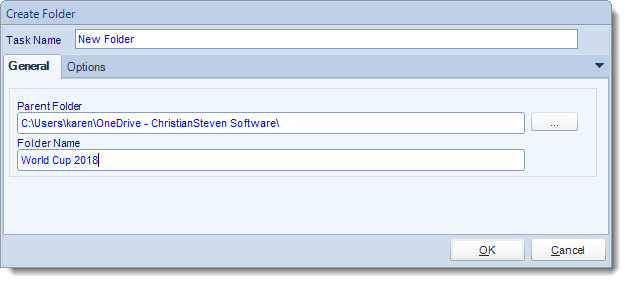
- Task Name: Give the task a name.
- Parent Folder: Use (…) button to browse to the parent folder.
- Folder Name: Enter the name of the new folder that will be created.
Options
- In this section, you have the option to run this task before, after or you can choose both the schedules executes.
Rename/Move Folder
General
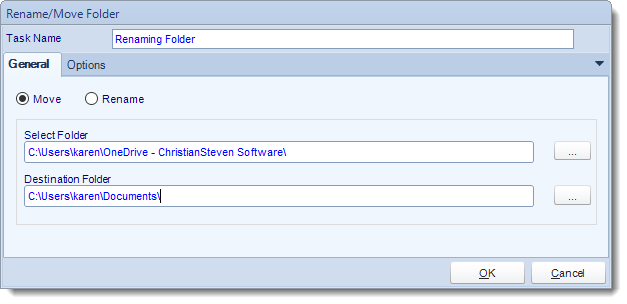

- Task Name: Give the task a name.
- Move: Click this option to move the folder.
- Rename: Click this option to rename a folder.
- Select Folder: Use (…) button to browse to the folder you want to move.
- Destination Folder: Use (…) button to browse to the location of the new folder.
- New Name: Type the new name for the folder.
Options
- In this section, you have the option to run this task before, after or you can choose both the schedules executes.
Zip Files
General
Simple
- Use this option if you need to zip single files from multiple locations.
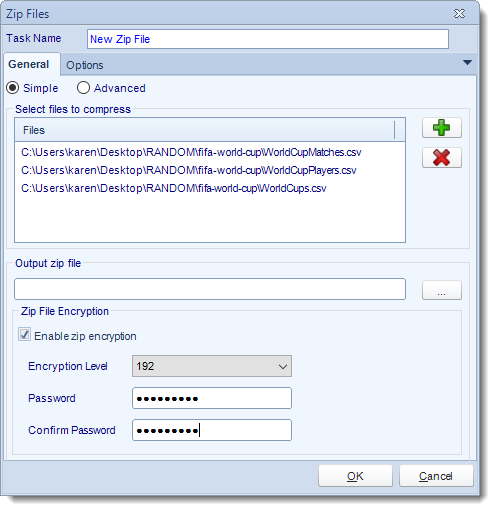
- Task Name: Give the task a name.
- Files: Use (+) button to select the required files. You can either select a file or specify a path including wildcards e.g. *.* to select all files.
- Output Zip File: Give the outputted zip file a name.
Use Insert Menu in the file name.
- Zip File Encryption: Enter the desired Encryption details.
Advanced
- Use this option if you need to zip files in the same folder.
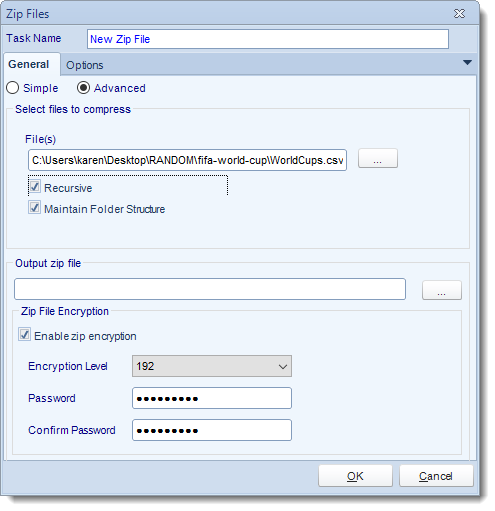
- Task Name: Give the task a name.
- Files: Use (+) button to select the required files. You can either select a file or specify a path including wildcards e.g. *.* to select all files.
- Recursive: This will search the folder and all sub folders.
- Maintain Folder Structure: Select this to ensure files of the same name are not overwritten and have the folder structure maintained. This is useful when using wildcards.
- Output Zip File: Give the outputted zip file a name.
Use Insert Menu in the file name.
- Zip File Encryption: Enter the desired Encryption details.
Options
- In this section, you have the option to run this task before, after or you can choose both the schedules executes.
Unzip File
General
- Use this task to unzip a selected zip file to a specified folder.
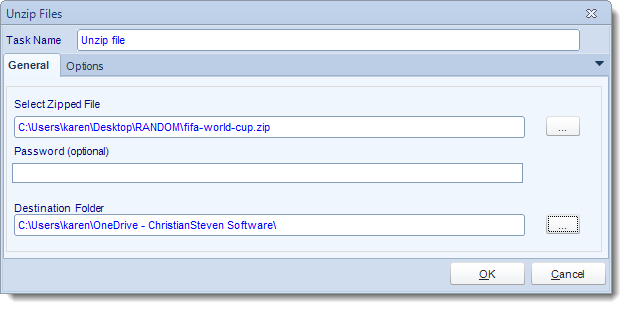
- Task Name: Give the task a name.
- Select Zipped File: Use (…) button to select the required zip file that is to be extracted out.
- Password: If your file requires a password enter it here. If your .zip file requires a password, you can enter the password into the Password field.
- Destination Folder: Use (…) button to navigate to the required folder where the extracted files will be stored.
Options
- In this section, you have the option to run this task before, after or you can choose both the schedules executes.
Merge PDF Files
General
- Use this task to merge PDF files. You can select individual PDF files or a folder containing multiple PDF files.
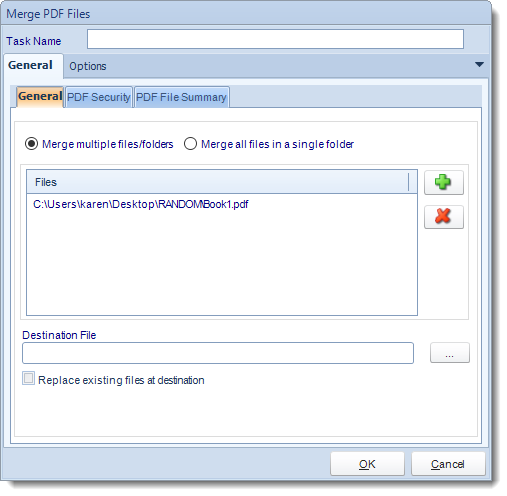
- Task Name: Give the task a name.
- Merge Multiple Files/Folders: Select this option to merge files located in different folders.
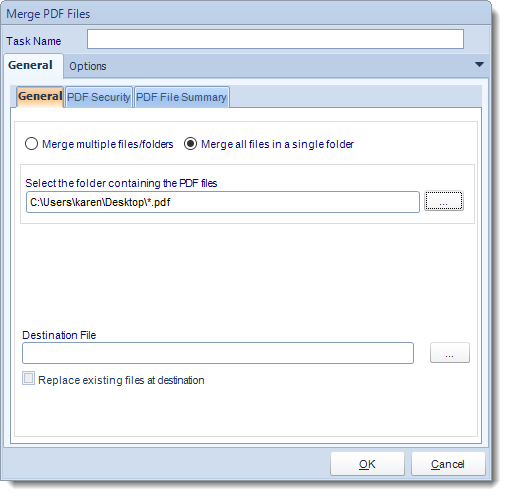
- Merge all files in a single folder: Use this option to merge all files stored in the same folder.
- Destination File: Select a destination file that the merged file will be saved to.
- Replace existing files at destination: Checking this option will delete any existing files at the specified location and replace them with these ones.
PDF Security
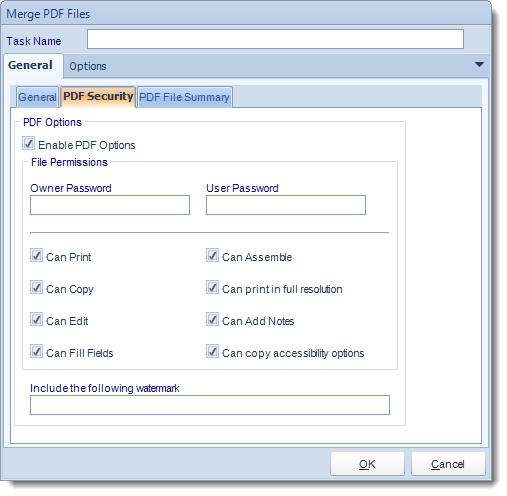
- Enable PDF Options: Check this option to be able to set Passwords and user permissions.
- Include the following watermark: Type the required watermark here,. For example: confidential.
PDF File Summary
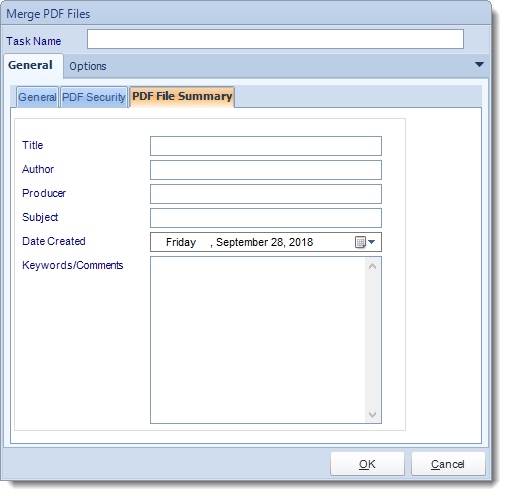
- PDF File Summary: Any information written here will overwrite the existing file summary
Options
- In this section, you have the option to run this task before, after or you can choose both the schedules executes.
Manipulate PDF
General
- Use this task to change the PDF Security and File Summary of a PDF file.
PDF Security
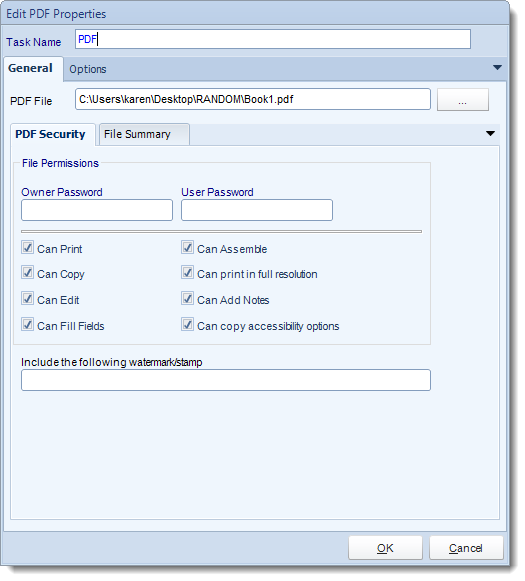
- Task Name: Give the task a name.
- PDF File: Use (…) button to browse to the PDF file that you want to manipulate.
- Enable PDF Options: Check this option to be able to set Passwords and user permissions.
- Include the following watermark: Type the required watermark here. For example: confidential.
File Summary
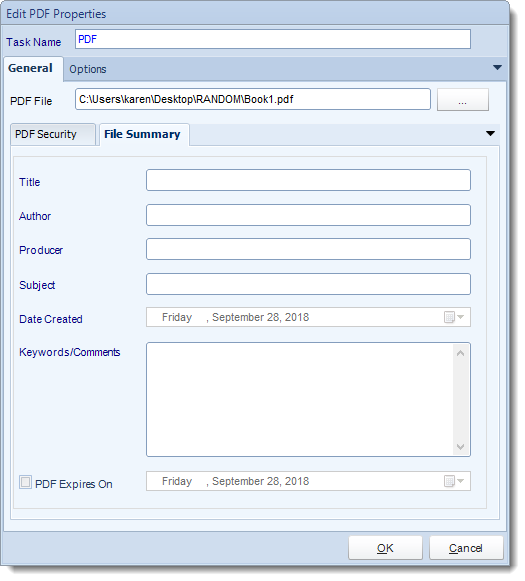
- PDF File Summary: Any information written here will overwrite the existing file summary.
Build Excel Workbook
General
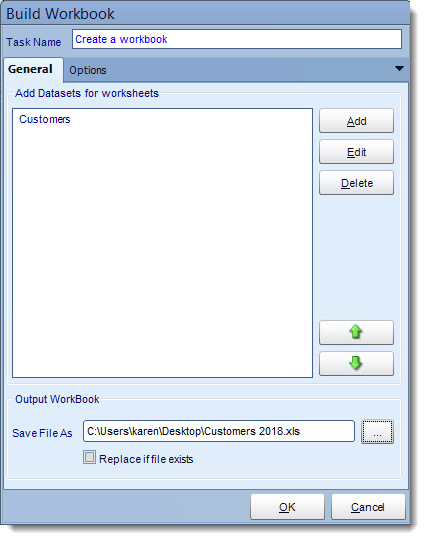
- Task Name: Give the task a name.
- Save File As: Use (…) button to navigate to the folder where the workbook will be stored.
- Replace if File exists: Check this option if this workbook is going to be replacing one that already exists.
- Edit: Edit a Data set for a workbook.
- Delete: Deletes a data set from the workbook.
- Add a Database:
- Click Add.
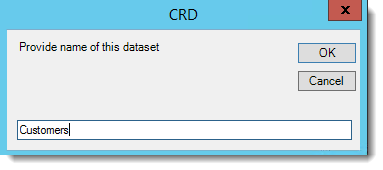
- Click OK.
- Name the Data set.
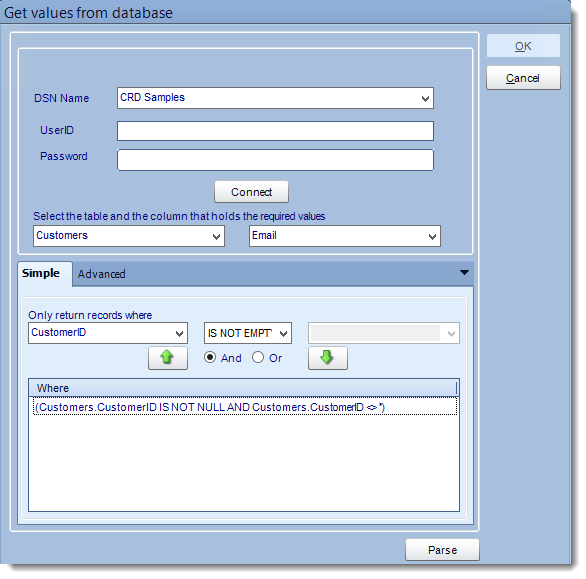
- Use the Query Tool to pull the data from your data source.
- Click Parse to review your query results.
- Click Yes.
- Continue to add data sets until you have completed your workbook.
Options
- In this section, you have the option to run this task before, after or you can choose both the schedules executes.
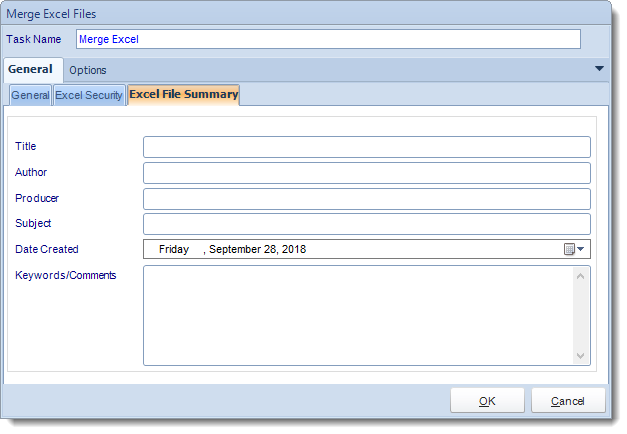
Merge Excel Files
General
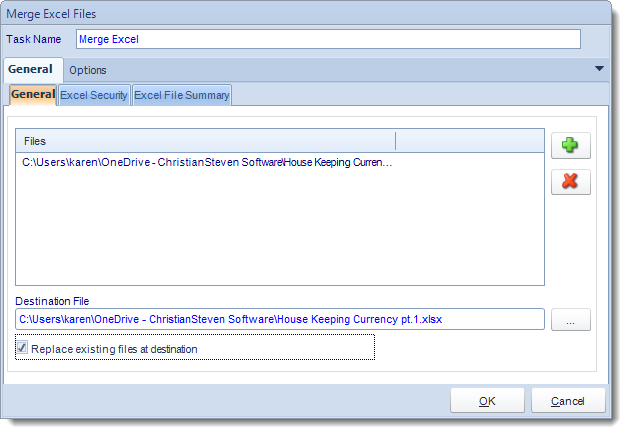
- With this task, you can merge multiple Excel files into a single workbook.
- Add Files: Use (+) button to add Excel files that need to be merged.
- Delete Files: Use (X) button to remove any Excel files that you don’t want to be merged.
- Destination File: Use (…) button to browse to the destination folder where the merged files will be stored.
- Replace existing files at destination: Check this option to replace the file at the destination if it already exists.
Excel Security
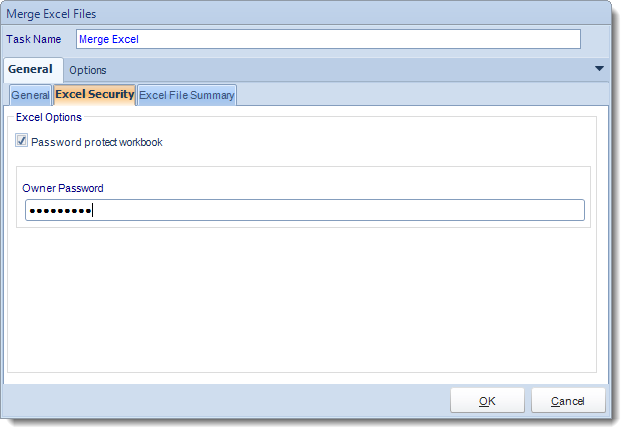
- Password Protect Workbook: Check this option to enable the password field.
- Owner Password: Enter a password for the Excel file.
Excel File Summary
Options
- In this section, you have the option to run this task before, after or you can choose both the schedules executes.
Manipulate Excel
General
- Use this task to edit the file security and the file summary of an excel file.
Excel Security
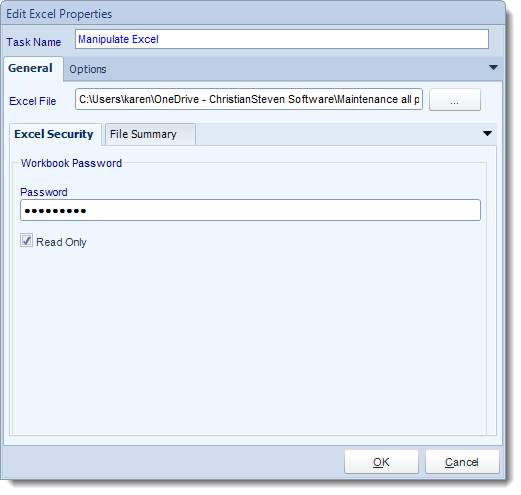
- Password: Enter a Password for the Excel File.
- Read Only: Check this option if the Excel file will be read only.
File Summary
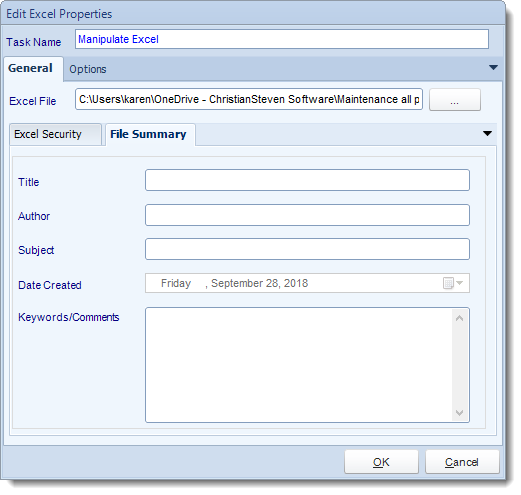
- File Summary: Any information written here will overwrite the existing file summary of the excel file.
Options
- In this section, you have the option to run this task before, after or you can choose both the schedules executes.
Upload to SharePoint
General
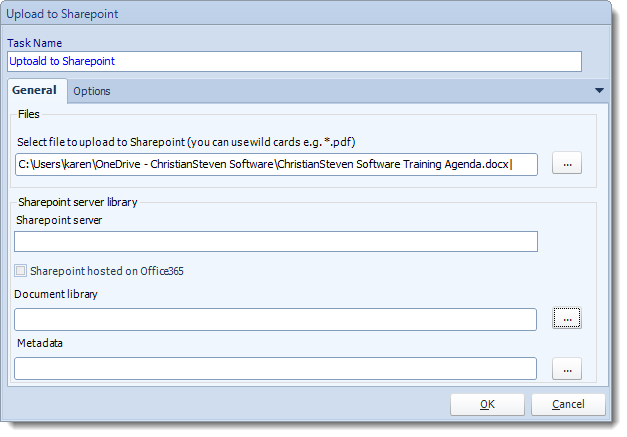
- Task Name: give the task a name.
- Files: Use (…) button to navigate to the files that you want to export to the SharePoint Server.
- SharePoint Server Library: It will appear at the SharePoint Site.
- SharePoint hosted on Office 365: Check this option if the SharePoint Server is hosted on office 365.
- Document Library: Use (…) button to open the SharePoint Connection Window.
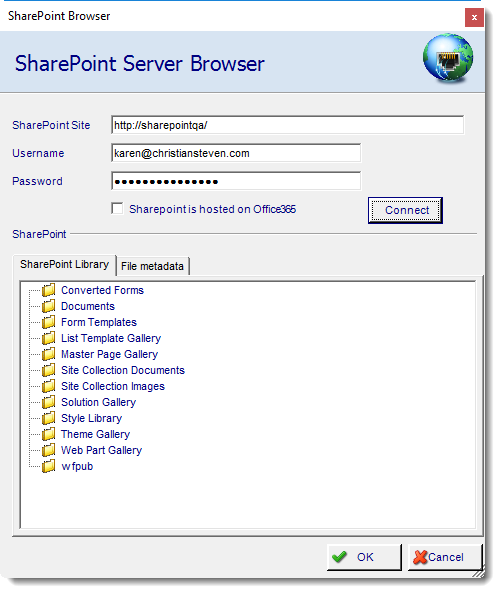
- SharePoint Server Browser: Complete the SharePoint Information and navigate to the required Document library.
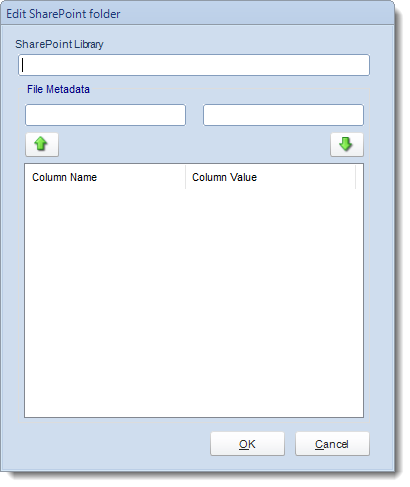
- Metadata: File Metadata Can be uploaded as well. Simply add the column names and values as needed.
Options
- In this section, you have the option to run this task before, after or you can choose both the schedules executes.
Backup System
General
- Use this task to set up automated system backups.

- Task Name: Give the task a name.
- Location to save the backup: Use the (...) button to search for the file location path for the backup.
- Compress backup into a zip file: Check this option to compress backup into a zip file.
- Zip Name: Enter the Zip file name.
- Keep backup files for 'X' days: Enter the number of days to keep the backup files.
Options
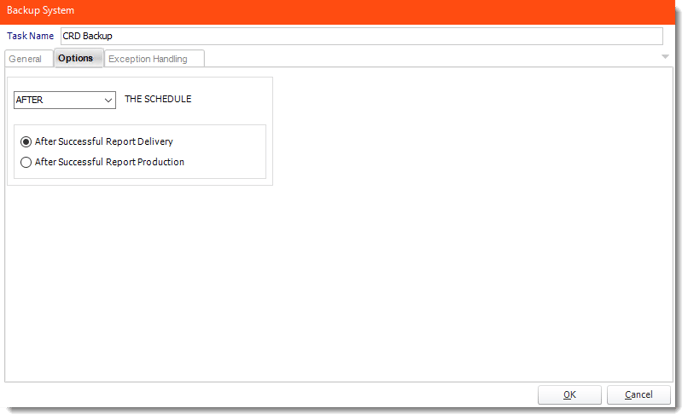
- In this section, you have the option to run this task before, after or you can choose both the schedules executes.
Exception Handling
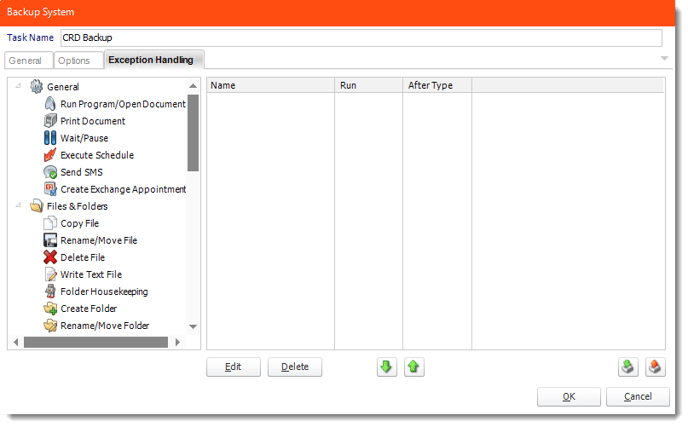
- If the System Backup fails, this option will treat the task as an error and follow the appropriate action.
- Select an action from the task list. This task will be executed when the System Backup fails.
- For more information about tasks, click here.