Register IFBI in Azure
-
As an Azure admin, log into your Azure portal at https://portal.azure.com
-
Select App Registrations from the main menu
-
Click on the New registration link
-
Enter a friendly name for the App registration
-
For the Redirect Uri, select Web as the platform and enter https://{your ifbi instance}/msgraphsso as the Uri address (please note that all redirect Uris must use SSL (https))
-
Click Register to create the app registration
-
From the App Registration screen, make note of the Application (Client) ID and the Directory (Tenant) ID; you will need these for the second part of this process
-
Click on API Permissions, then Add a permission and then select User.Read from the Microsoft Graph API
-
Click on Certificates & secrets and generate a new Client secret with a duration of 24 months or more. Once generated, take note of the Client secret’s value (not Secret ID)
-
Save the App Registration
Configure Microsoft Single Sign-On SSO in IFBI
-
Log into IntelliFront with your admin account
-
Select Settings from the Administration menu
-
Switch to the Sign in With Microsoft tab
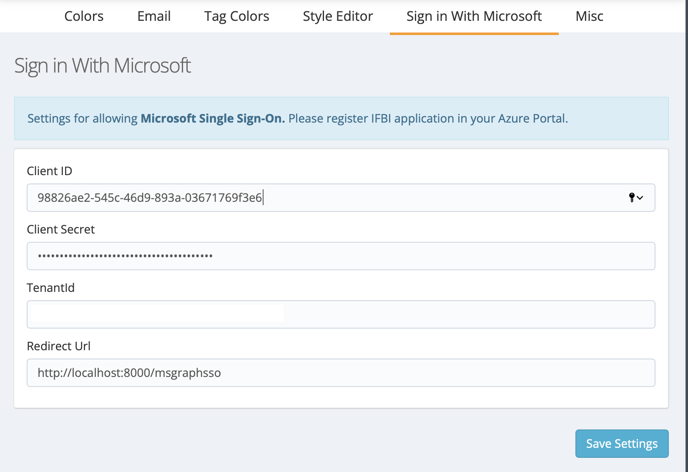
4. Provide the details obtained when registering IFBI in Azure
5. Click Save Settings button
6. Log out of IntelliFront
7. There should now be a Sign in with Microsoft button available that can be used to log into the application using a Microsoft account. Alternatively, you can create a login link using the url https://{ifbi instance}/msgraphsso