Accounts - Exchange
- In order to send messages using Exchange, you must first set up a Exchange account.
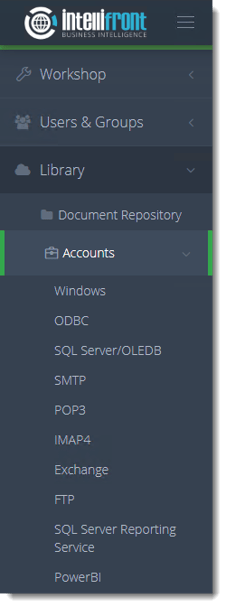
- Go to Library and select Accounts. In Accounts, select Exchange.
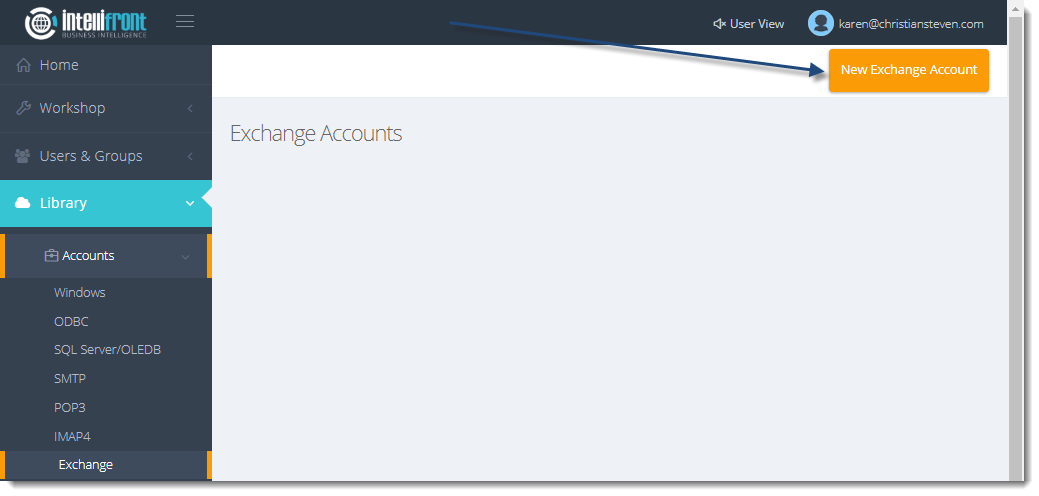
- Click New Exchange Account.
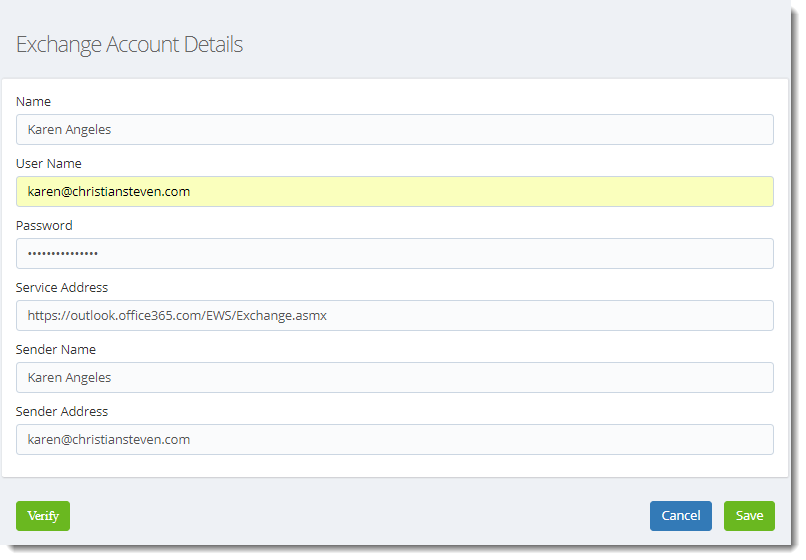
- In the Name field, enter a unique name that will help you easily identify this Exchange account.
This can be whatever you would like for it to be.
- In the User Name and Password fields, enter the username and password that will be used to authenticate to the mail server.
- In the Service Address enter the Address of your mail server.
If you do not know what values should be placed in these fields, speak with your mail administrator.
- In the Sender Name and Sender Address fields, enter the name and address you wish to display when an email is sent from this account.
- Click Verify.
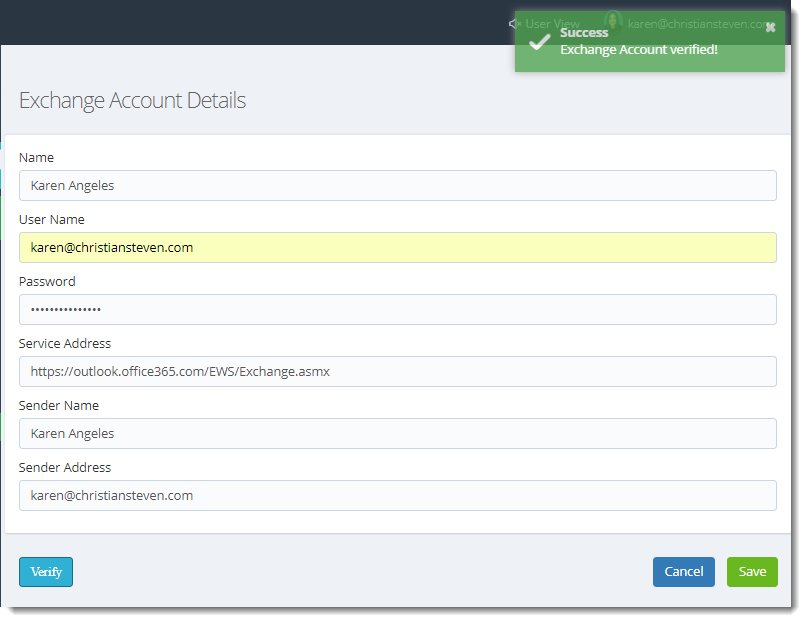
- If the verification is successful, click Save. Once saved successfully the account will appear in the list of Exchange Accounts.
