Accounts - POP3
In order to send messages using POP3, you must first set up a POP3 account.
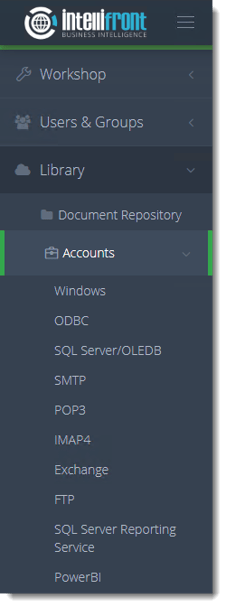
- Go to Library and select Accounts. In Accounts, select POP3.
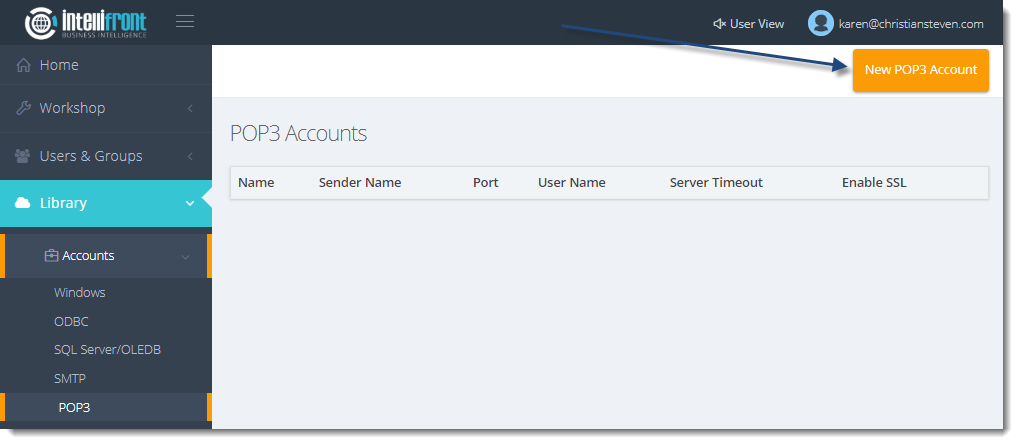
- Click New POP3 Account.
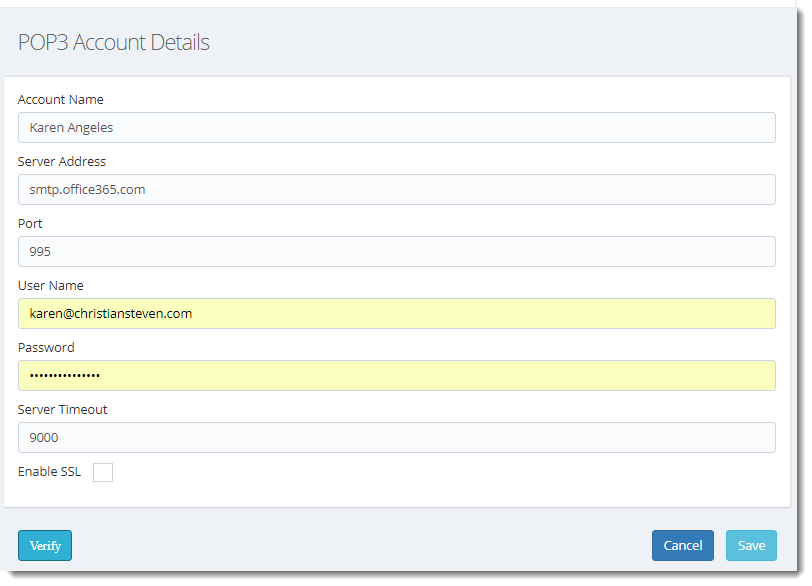
- In the Account Name field, enter the name you would like to use to uniquely identify this POP3 account.
- In the Server Address and Port fields, enter the name of your mail server and the specific port that it uses.
If you do not know what values should be placed in these fields, speak with your mail administrator.
- In the User Name and Password fields, enter the username and password that will be used to authenticate to the mail server.
- In the Server Timeout field, enter a number.
This is how many seconds Intellifront BI will wait to receive a response from the mail server before the email times out and gives an error message.
- If your email server uses SSL, check the box next to Enable SSL.
- Click Verify. Intellifront BI will use the information provided to authenticate to the mail server.
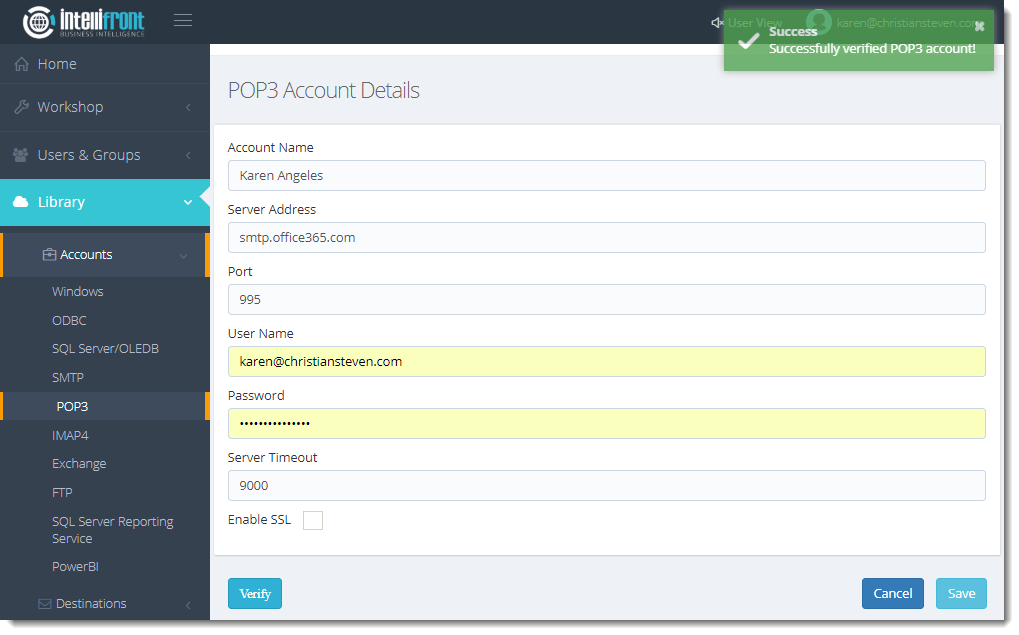
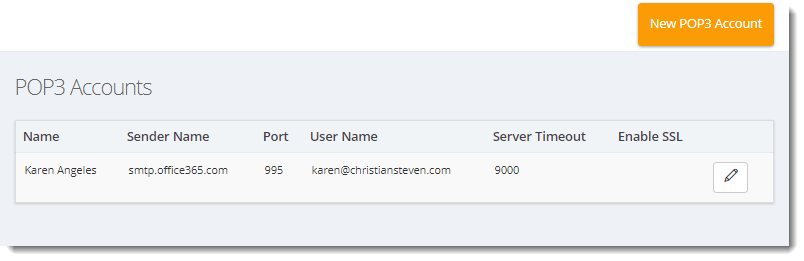
- If the verification is successful, click Save. Once saved successfully the account will appear in the list of POP3 Accounts.