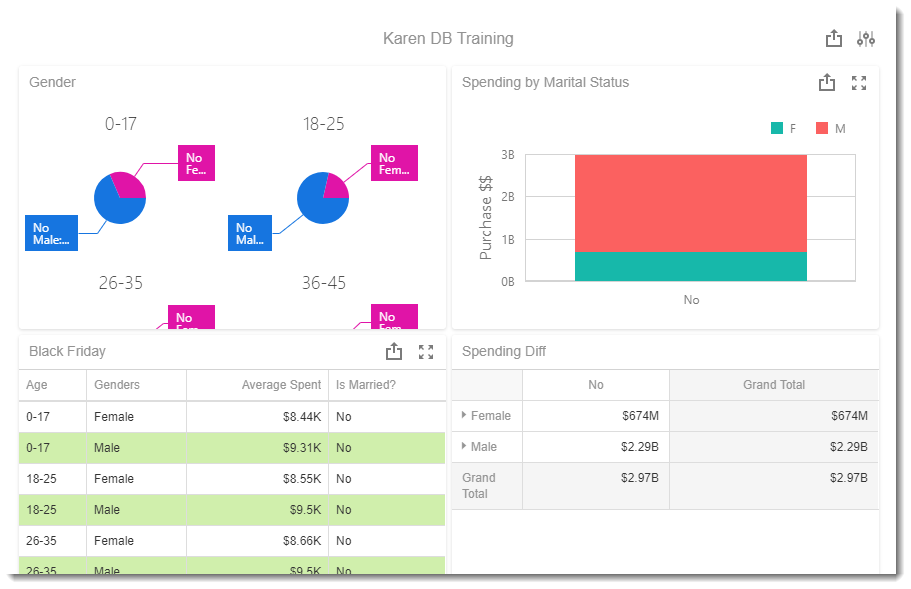
Dashboards - Parameters
- Once you have created your dashboard, you have the option to set up parameters.
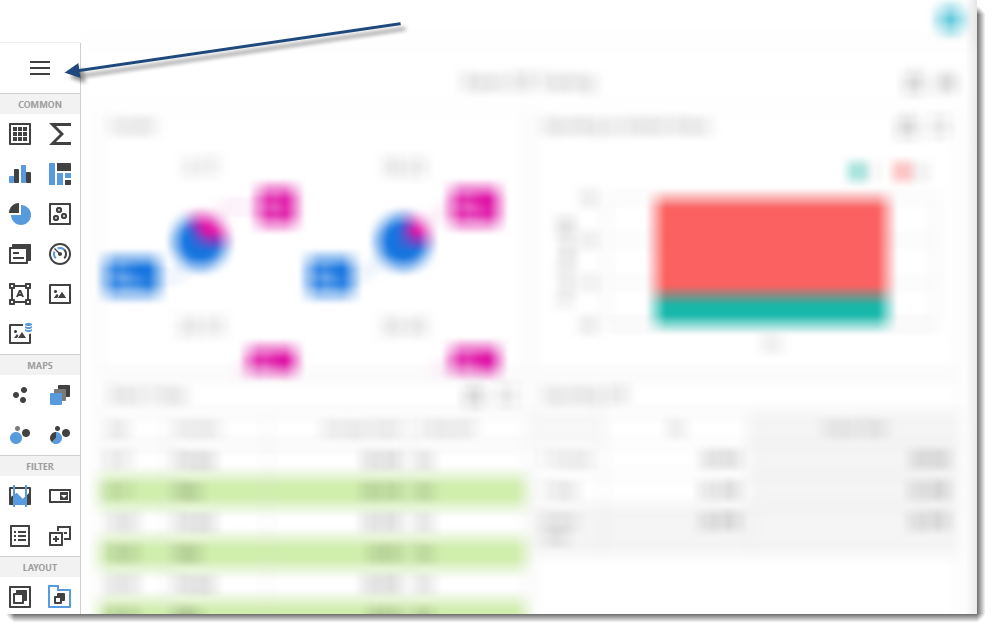
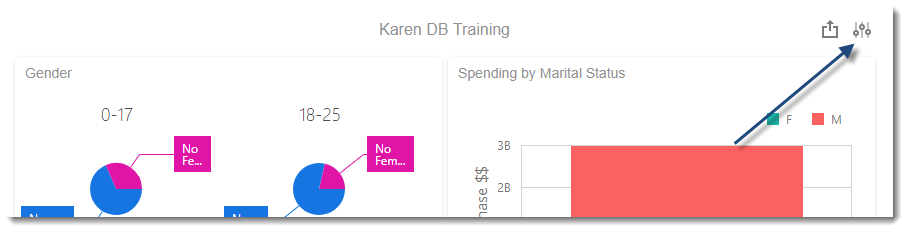
- To add parameter in your dashboard go to Dashboard Menu.
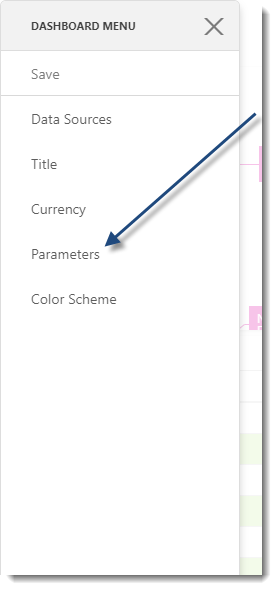
- Select Parameters
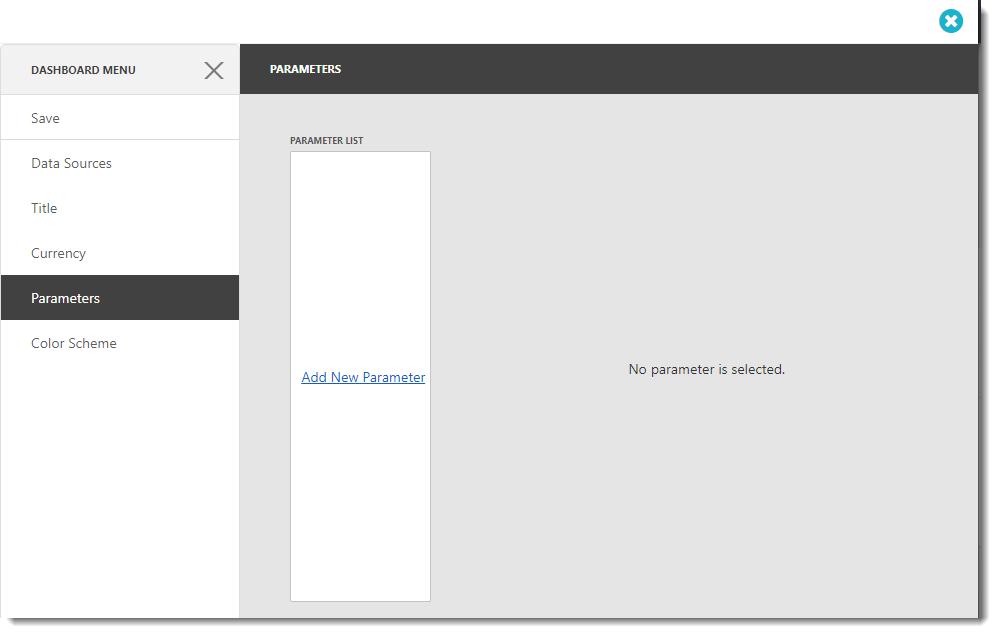
Types of Parameters
Dynamic List
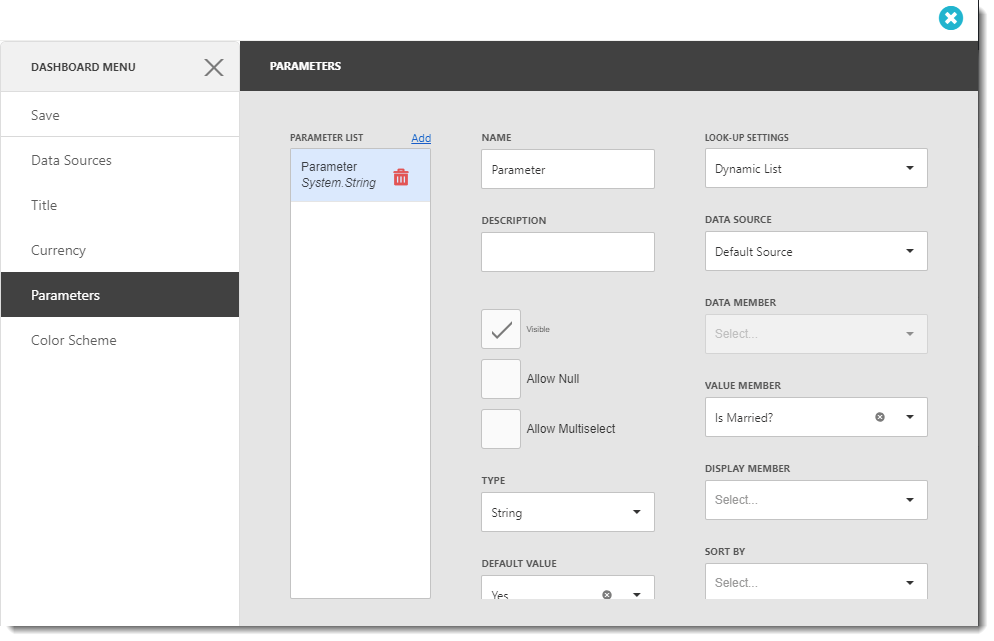
- The Dynamic parameter will pulled values from the dataset.
- Name: Name the parameter.
- Description: You may write a short description to help other users identify exactly what this parameter is and what it is expected to do.
- Visible: The parameter will be visible
- Allow Null: Set no value for this parameter
- Allow Multi select: You can select more than one value to the parameter.
- Type: Select the value type.
- Default Value: Select the value you want to filter in the parameter.
- Look-Up Settings: Select the type of parameter.
- Data Source: Select the data source
- Value Member: Select the value where you want to setup the parameter.
- Display Member (optional): Use this option if the value has a different display member but it is the same as the value member.
- Sort by: You can sort the parameters by values.
- Click Save to save the parameter.
No Look-Up
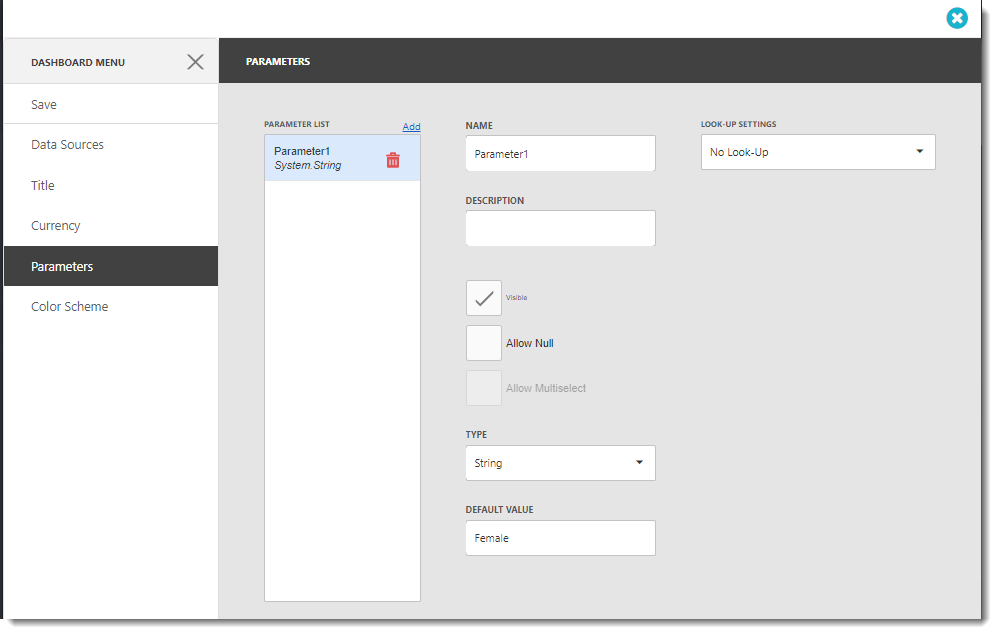
- The No Look-up Parameter will only filter data with a value written.
- Name: Name the parameter.
- Description: You may write a short description to help other users identify exactly what this parameter is and what it is expected to do.
- Visible: The parameter will be visible
- Allow Null: Set no value for this parameter.
- Default Value: Type the value to filter in the parameter.
- Look-Up Settings: Select the type of parameter.
- Click Save to save the parameter.
Static
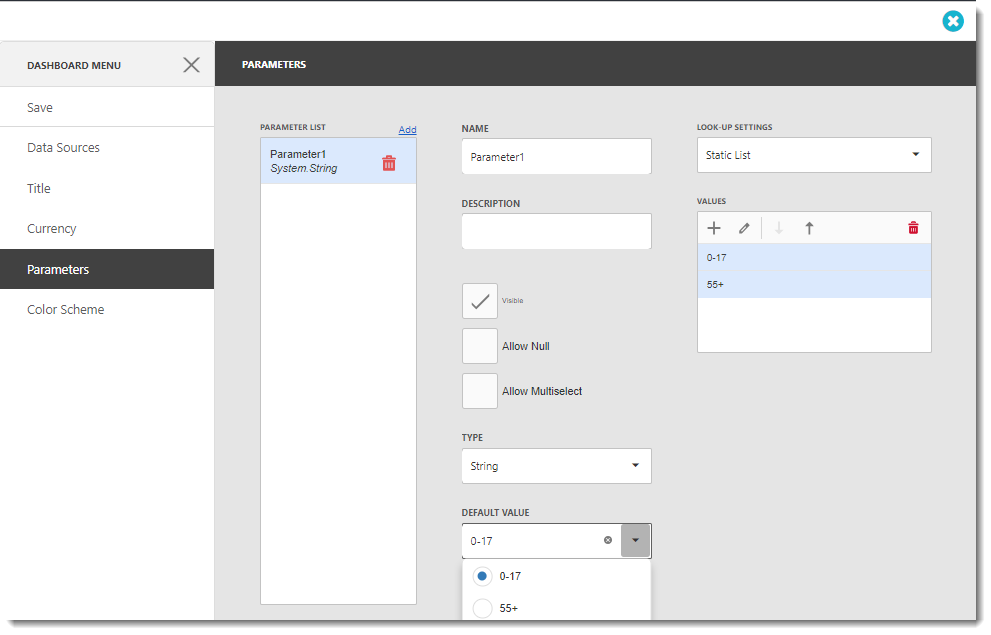
- In the static parameter you can add values and select them in the Dashboard parameter.
- Name: Name the parameter.
- Description: You may write a short description to help other users identify exactly what this parameter is and what it is expected to do.
- Visible: The parameter will be visible
- Allow Null: Set no value for this parameter
- Allow Multi select: You can select more than one value to the parameter.
- Type: Select the value type.
- Default Value: Select the value you want to filter in the parameter.
- Look-Up Settings: Select the type of parameter.
- Values: type the values to be shown in the parameter.
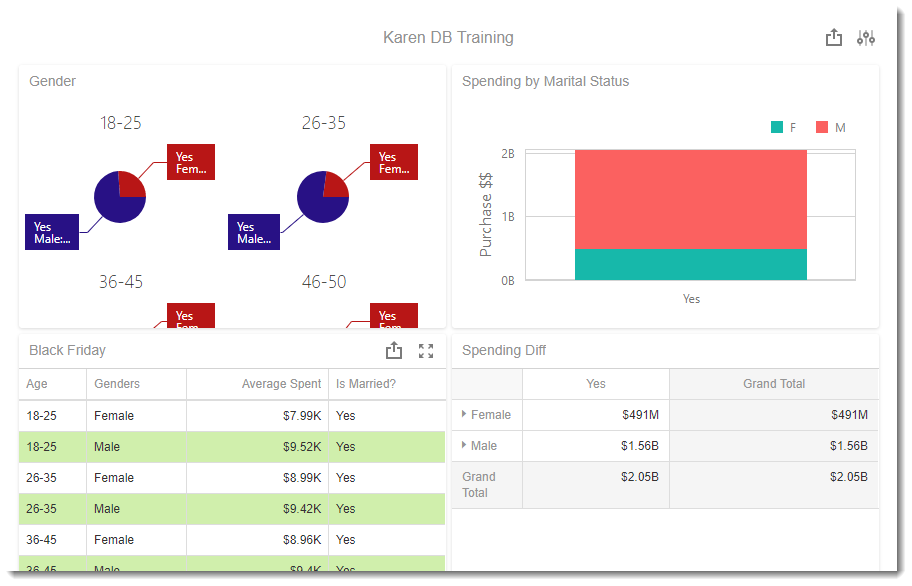
In each dashboard visual, data filtering should have a condition that is equal to the parameter.
You can find Data/Filtering in the Binding Menu on each dashboard visual.
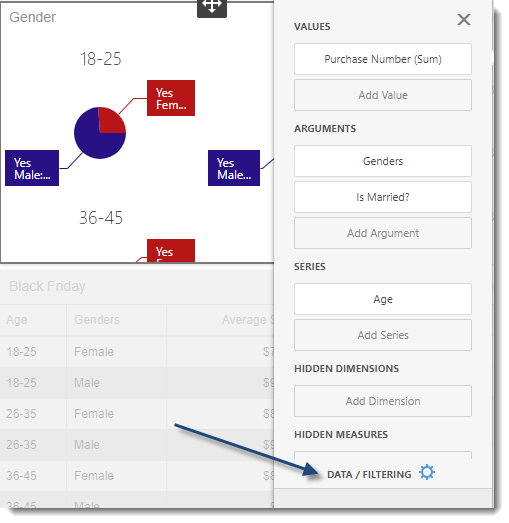
- Click on Data/Filtering.
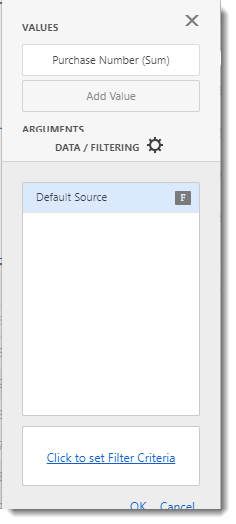
- Click on Click to set Filter Criteria.
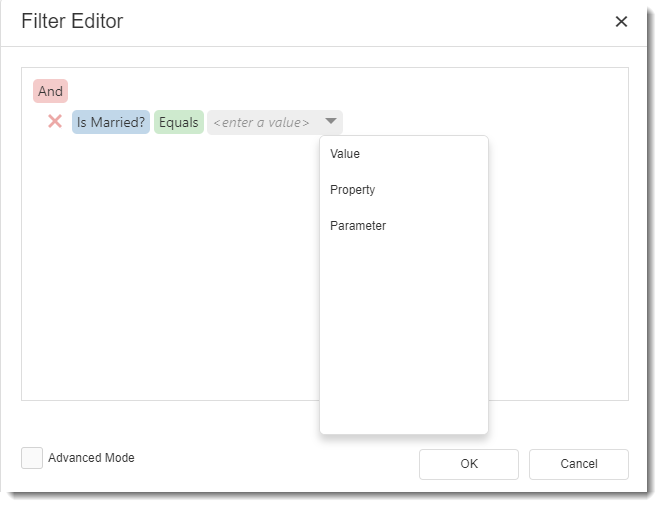
- Set up the condition for the parameter.
- Select Parameter in the fill box.
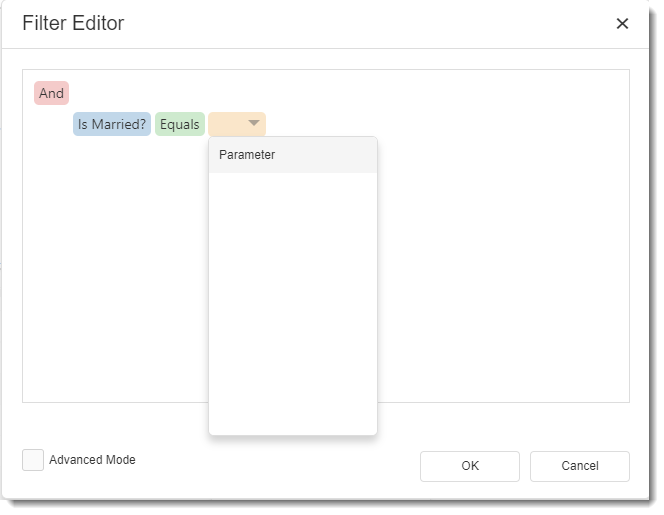
- Select the parameter for the condition.
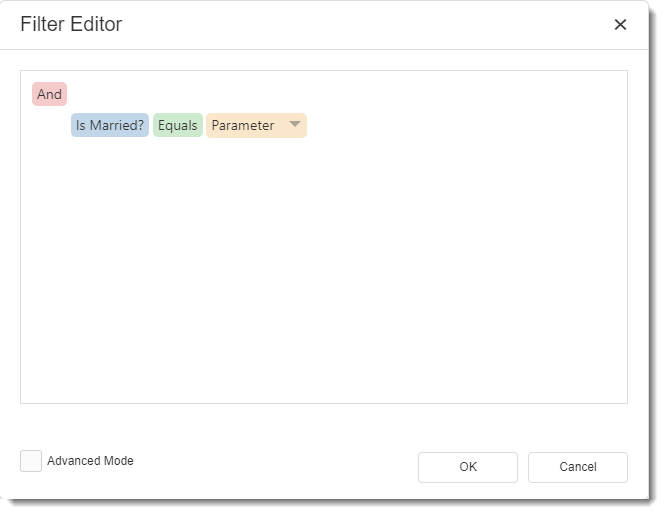
- Click OK.
You must set up conditions in the data/filtering in each dashboard visual.
- Once finish setting the conditions to each dashboard, you can use the parameter icon to change the value of the parameter.
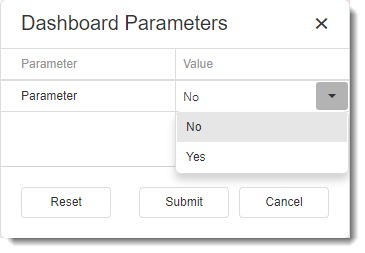
- You can change the value of the parameter and then click Submit.