You can now add a Windows Build-In account (such as LocalService, NetworkService, etc.) to use in Intellifront BI.
Accounts - Windows
In order to use IntellFront BI you will need to set up your windows account.
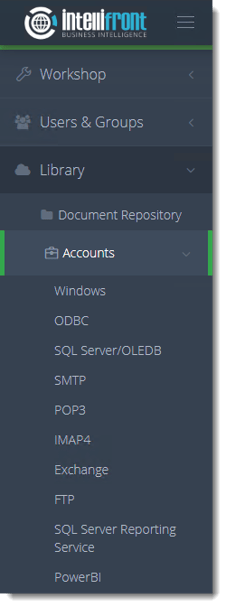
- Go to Library and select Accounts. In Accounts, select Windows.
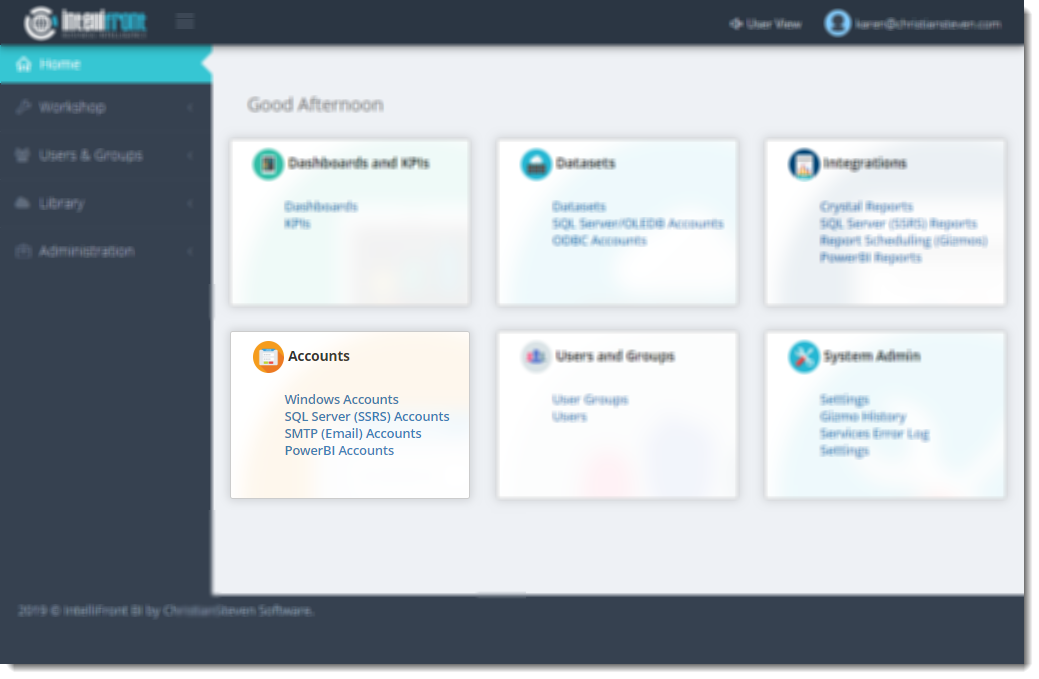
- Or select Windows Accounts from the card on the home screen.
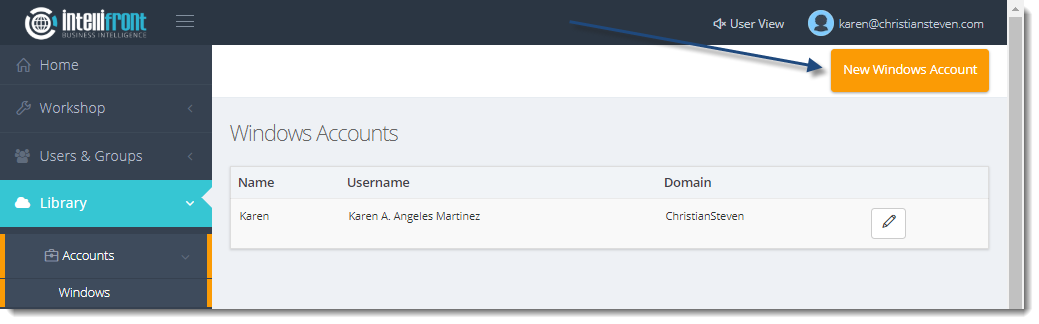
- Click New Window Account to add a Windows Account.
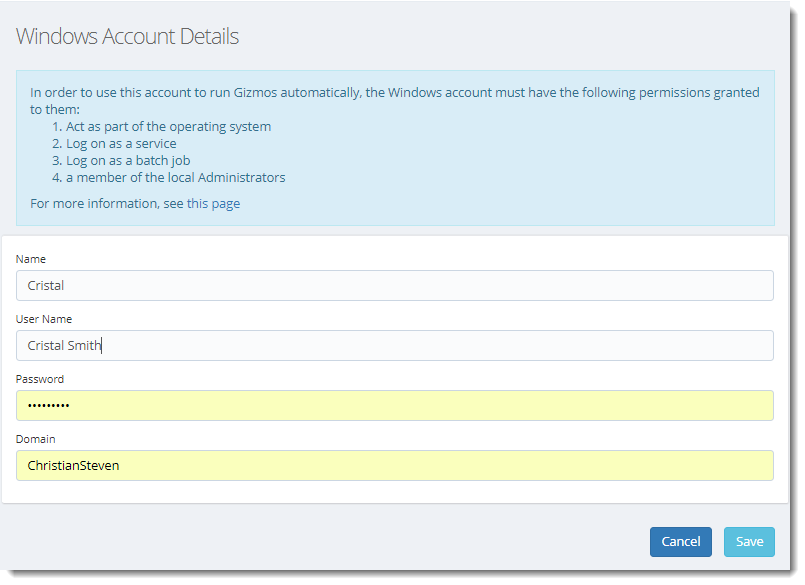
- Ensure the Windows Account meets the criteria listed at the top of the page in the blue rectangle.
- In the Name column, enter a name that uniquely identifies this specific Windows Account.
- In the User Name and Password fields, enter the relevant Windows Credentials.
- In the Domain field, enter the domain that this Windows Account belongs to.
- Click Save in the lower right corner.
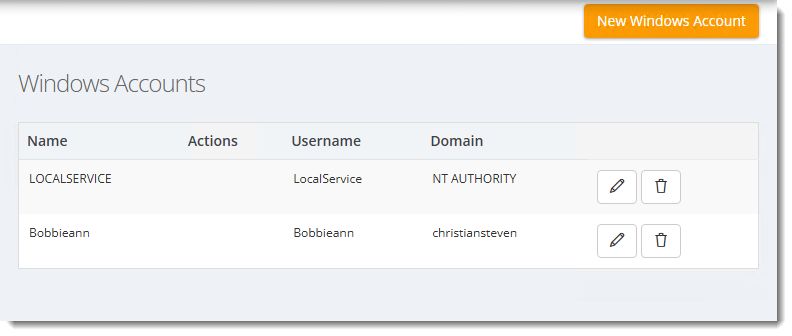
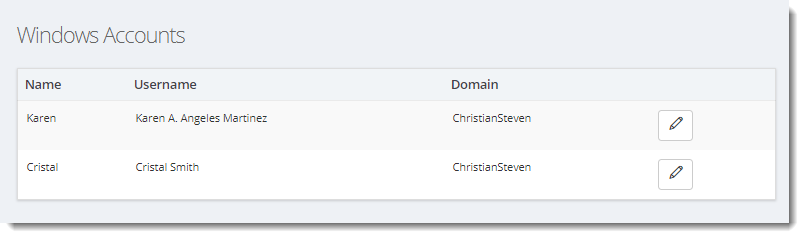
You should now see the Account displayed in the Windows Account list.
Adding a Built-In Account
IntelliFront now supports the use of Windows built-in accounts for running Gizmos and other automated processes.
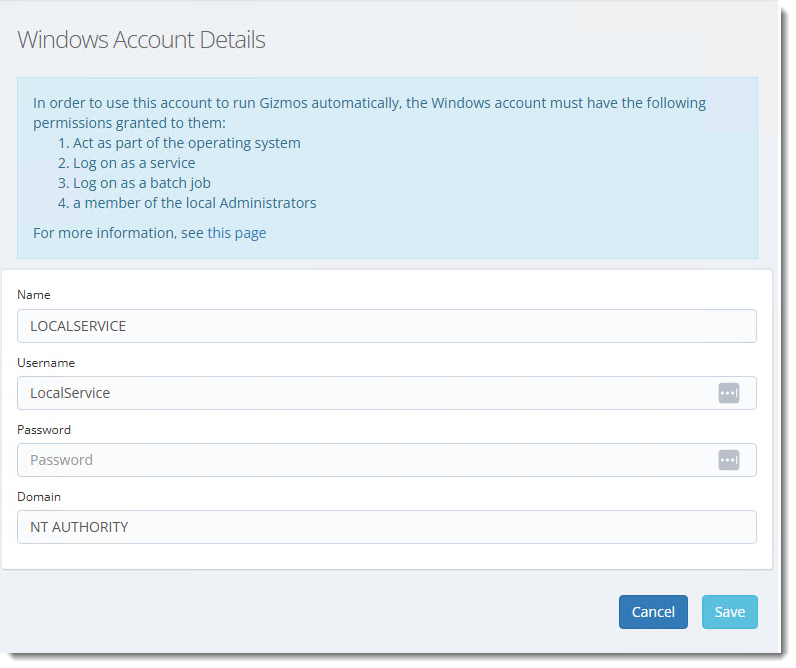

To configure a built-in Windows account (such as LocalService, NetworkService, etc.), follow these steps:
-
Name: Use the friendly name of the account (e.g.,
LOCALSERVICE). -
Username: Enter the username corresponding to the account (e.g.,
LocalService). -
Password: Leave this field blank. Windows built-in accounts do not require a password to be entered here.
-
Domain: Set this to
NT AUTHORITY.
Once the account is saved, you may select and use it like any other Windows account in the application