Power BI Accounts
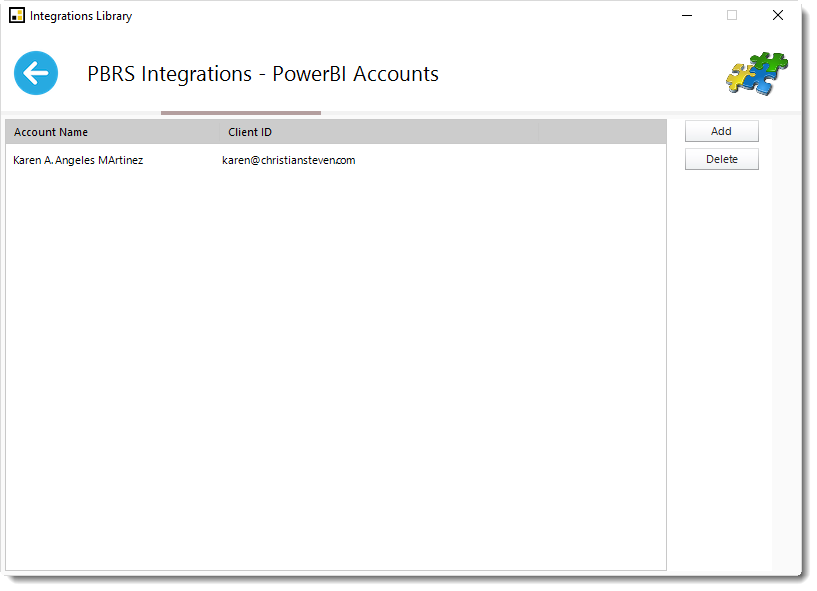
Step 1: Navigate to Integrations.
You can also learn how to create and manage the Integrations Library here.


Step 2: Select PowerBI Accounts.
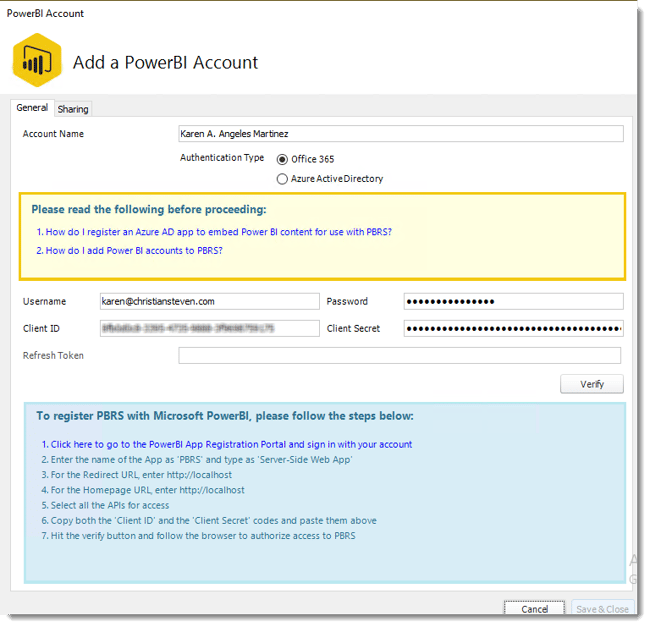
Adding Office 365 accounts
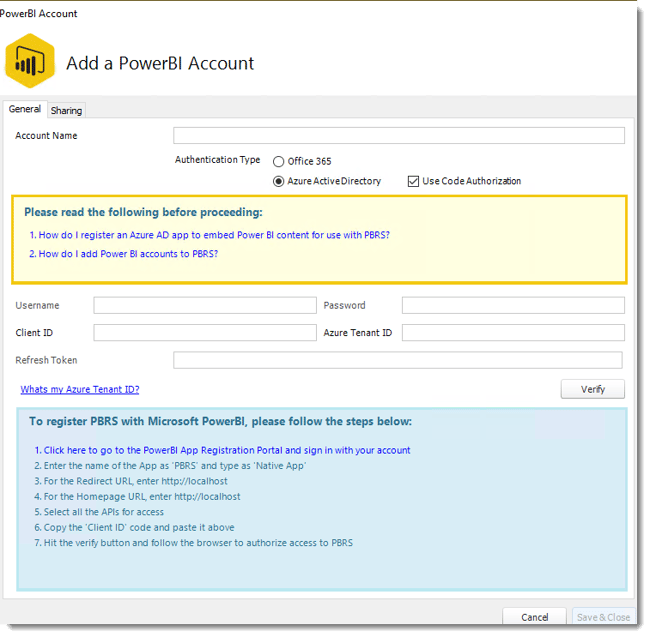
Step 1: Select Office 365 as the Authentication Type.
Step 2: Follow the instructions in the blue section of the Add a Power BI Account screen.

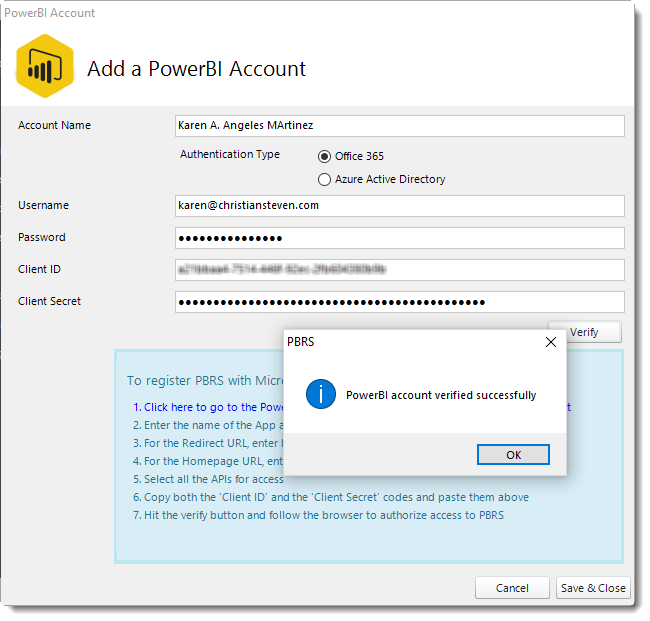
Step 3: When you have completed the instructions, click Verify.
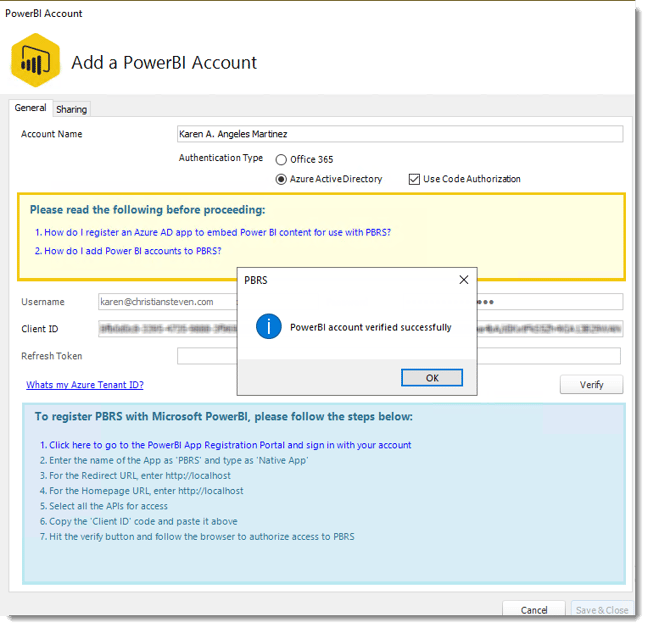
If successful, a pop-up will appear: Power BI account verified successfully.
Step 4: Click OK.
Adding Azure Active Directory accounts
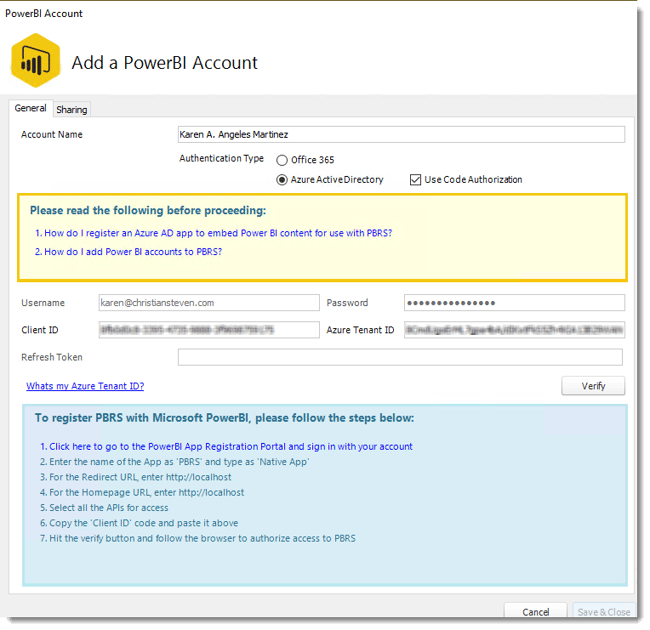
Step 1: Select Azure Active Directory as the Authentication Type
Step 2: Follow the instructions in the blue section of the Add a Power BI Account screen.
You will need to be an Azure Global Administrator to be able to successfully give PBRS the required permissions. If you are not an Azure Global Administrator, your Azure Global Administrator must first register an Azure AD app to embed Power BI content for use with PBRS, and then provide you with the Client ID and the Azure Tenant ID. Here's how.
Please ensure the following API permissions are set:
Power BI services Delegated with Admin Consent:
Dashboard.ReadWrite.All
Dataset.ReadWrite.All
Report.ReadWrite.All
Workspace.Read.All
SharePoint/One Drive/Mail Permissions in Mircosoft Graph Delegated with Admin Consent:
Sites.ReadWrite.All
Mail.Read
Mail.ReadBasic
Mail.ReadWrite
Mail.Send
Sites.FullControl.All (Needed to Edit SharePoint Metadata)
Sites.Manage.All
Sites.Read.All
Sites.ReadWrite.All
Files.Read
Files.Read.All
Files.ReadWrite
Files.ReadWrite.All
Step 3: When you have completed the instructions, click Verify.
If successful, a pop-up will appear: Power BI account verified successfully.
Step 4: Click OK.
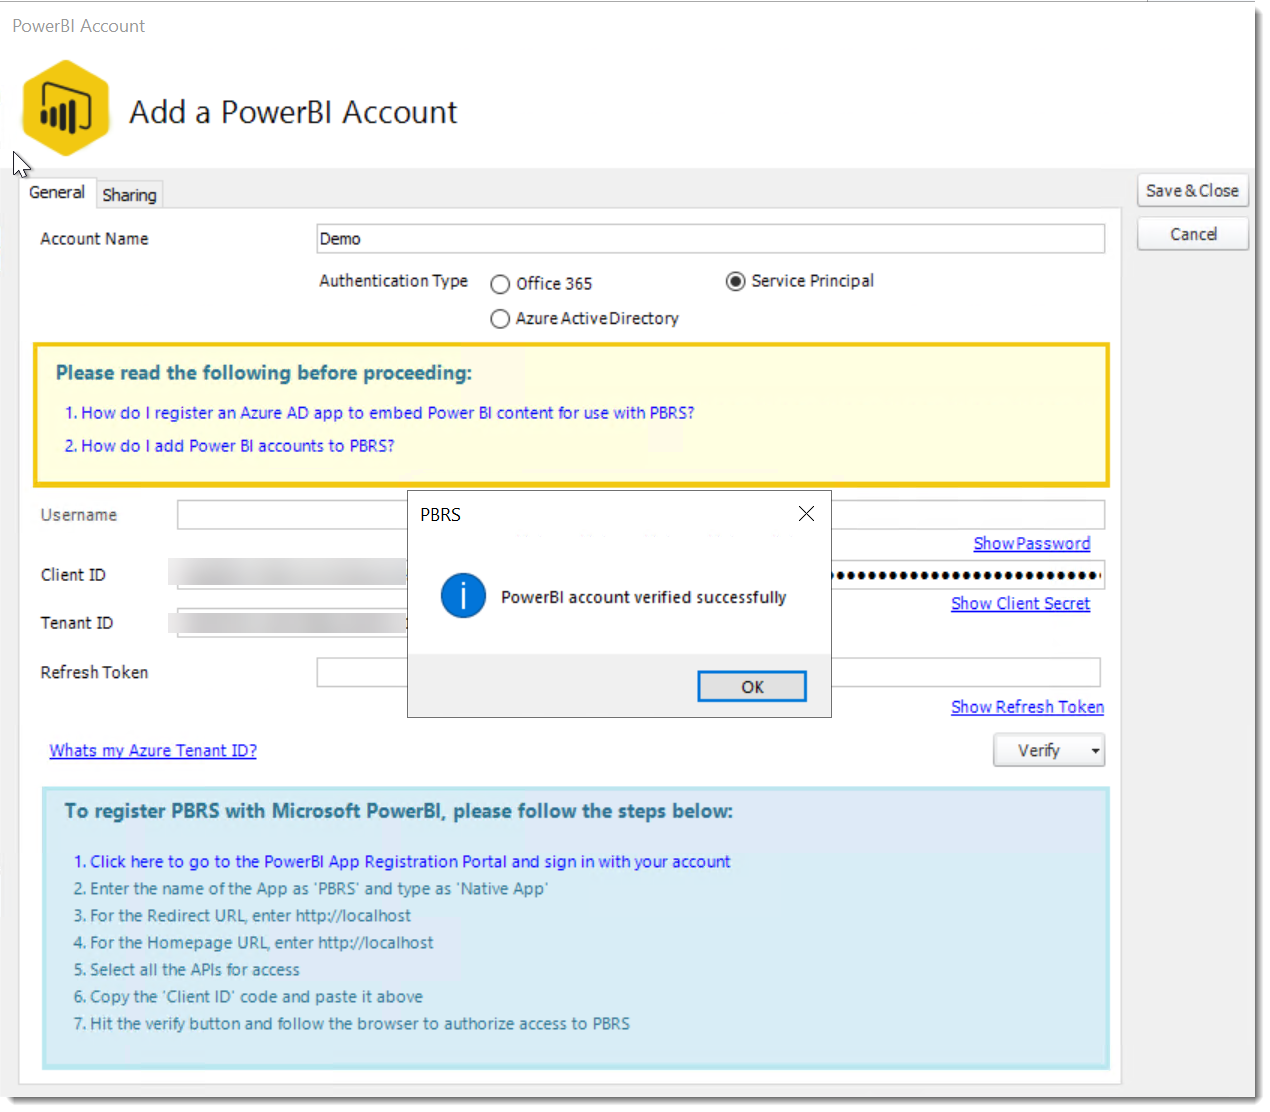
Adding a PowerBI account using a Service Principal Token
Step 1: Select Service Principal as the Authentication Type.
Step 2: Follow the instructions in the blue section of the Add a Power BI Account screen.

Step 3: When you have completed the instructions, click Verify.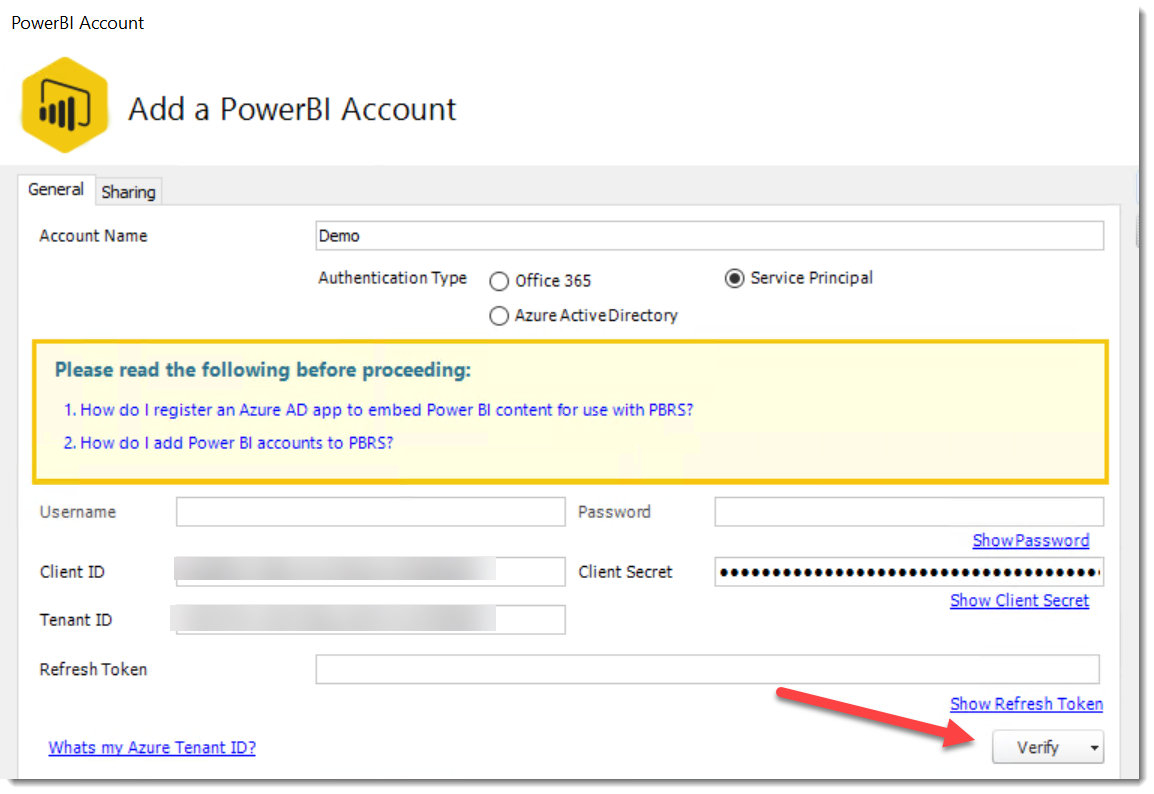
If successful, a pop-up will appear: Power BI account verified successfully.
Step 4: Click OK.