Options - Default Destinations
- Go to Options.

- Select Default Destinations.
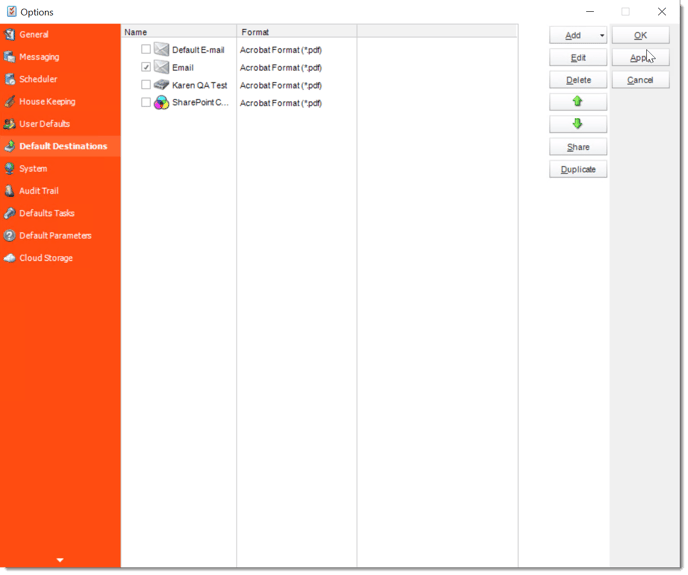
Adding a Default Destination
To add a Default Destination, perform the following:
- Click Add.
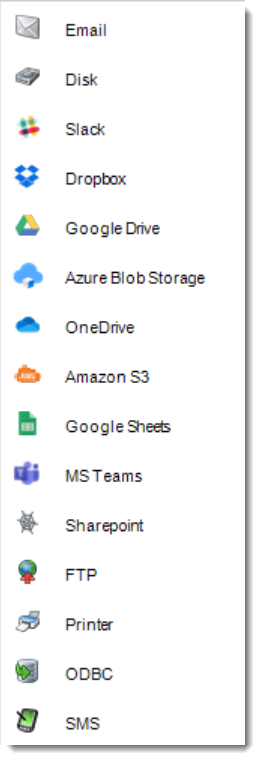
- Select the Type of Destinations from the drop-down list.
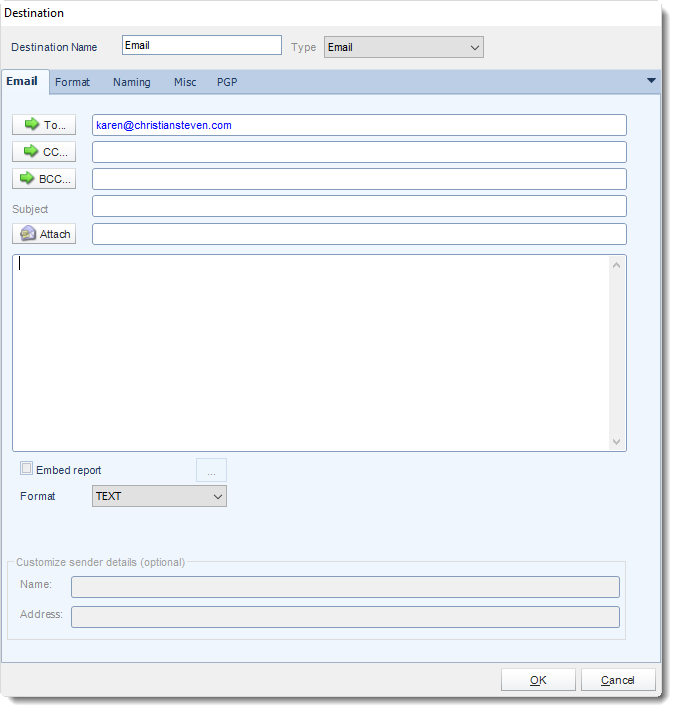
- Enter the name you wish the destination to be called, click OK on the Destination window. Then, click Apply.
- The Default Destination has been successfully created.
Testing Using a Default Destination
One of the features of CRD is the ability to set up specific default destinations for testing purposes (such as a test folder on the server's C: drive or a testing e-mail address).
To test a schedule using a default destination instead of the schedule's actual destination, perform the following:
- Right-click on the schedule you wish to test.
- Click Tools. Then, click Test.
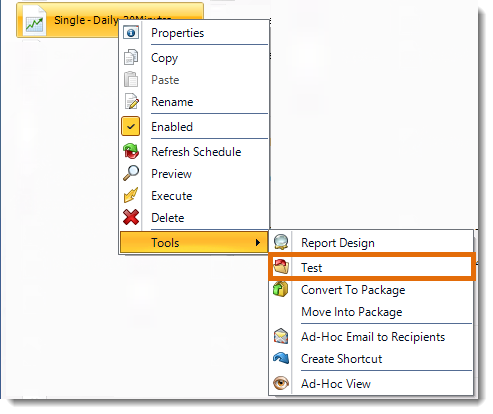
- Click the destination you wish to use from the list of Default Destinations that pops up. Then, click OK.
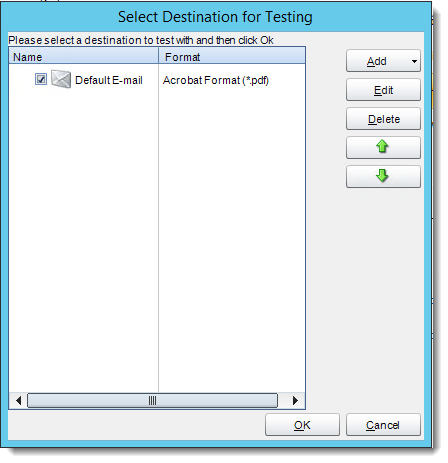
- Once you click OK, the schedule will automatically execute to the test destination, and you will receive a success or failure message.
Sharing Default Destinations
- Default Destinations can be assigned to specified user groups. These groups are created in the User Manager. If you want to "pre-make" a destination so that a certain group of users can only have schedules export to that location, you can find how to assign them that default destination.