Dynamic Schedules for Crystal Reports
A dynamic schedule allows you to send multiple instances of the same report, For each instance, CRD will automatically enter the required parameter values, export the report and deliver it to the required destination. Dynamic Schedules can be used in a variety of scenarios.
Dynamic Schedule Scenario
- This powerful mechanism can only really be described with an example:
The Springfield Donut Company has 1500 stores worldwide. Ray is the Crystal Reports guru at Head Office. He has to send each store manager a report of their weekly statistics every Monday. He does not want to write 1500 static report schedules.
To make matters worse, stores which are not doing well are regularly closed off, and new stores are being brought on-line weekly.
And that’s not all. It has just been announced that SDC has just acquired a rival company and 800 new stores are coming on board tomorrow morning.
It’s the middle of summer, so 2 of Ray’s 3 staff are on vacation. He has a meeting with the Chairman in 3 hours, and, if he can demonstrate that everything will be in place and running by 5pm today, he will get a $25,000 bonus.
Ray is not looking forward to writing 800 new single report schedules.“What I need”, he thinks to himself, “is a single dynamic schedule which will reel through the database, populate the StoreId parameter automatically, run the report for that store, email it to the store manager using the email address in the database, and repeat the above actions for every store in the database.
I need this to happen automatically every Monday at 0100 hours.”
- To resolve the issue illustrated above:
- Start by writing a report with a single parameter called StoreID. Write the report so that when a StoreID is entered into this parameter, the resulting report is populated by that store's sales information only. We will call StoreID the Key Parameter.
- Make sure that a database table somewhere (ODBC compliant) has some of the other information we will need e.g. the email address to email each store's report to, or the folder you want to export it to, or the printer you would like the report to print out on. For example:

The values can be stored in the same database or even the same table, but are typically stored in a different database e.g. HR database as these are maintained on a daily basis and are therefore more likely to be right. It also takes a lot of mundane administration work from you!
- In simple terms here is what CRD will do with a dynamic schedule:
- It will look at a list of StoreIDs defined by you. e.g. Select StoreID from mytable where closeddown <> 'T' (Don't be scared, the wizard will walk you through setting up SQL queries)
- It will pick the first StoreID in the list and enter it into the report.
- The report will be generated for that store.
- The generated report will now be delivered to the specified email address and CRD knows this because you will tell CRD where to get the email address e.g. select email from anothertable where StoreID = [StoreID]
How do I create Dynamic Schedule for Crystal Reports?
- Go to Dynamic

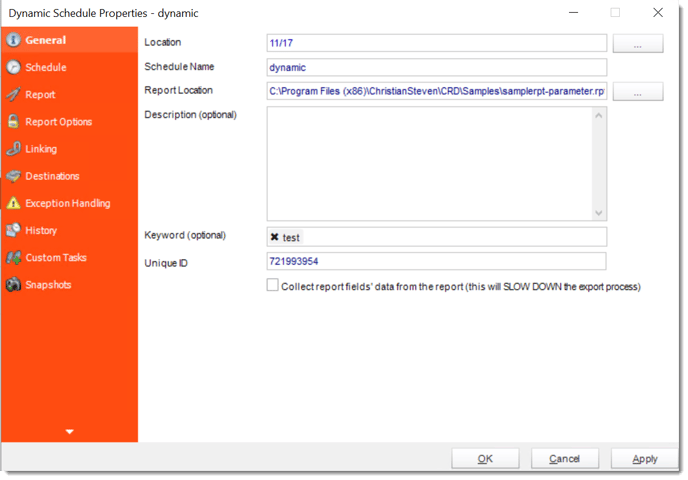
General Wizard
- Parent Folder: Select the folder where you wish the schedule to be stored. These are CRD specific folders.
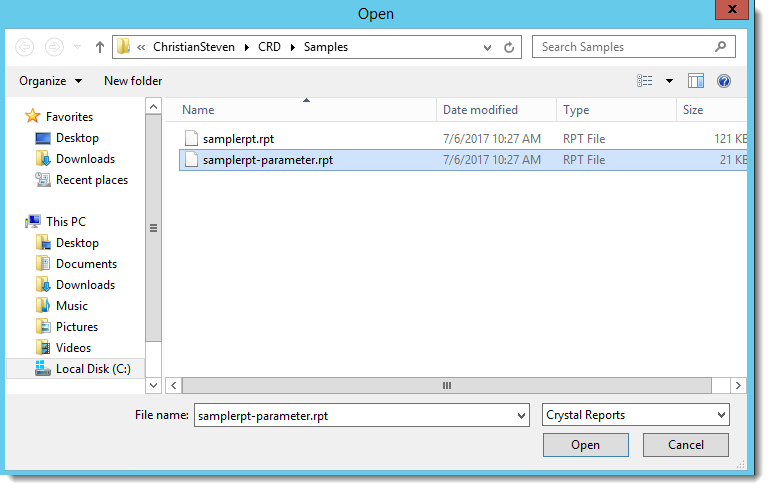
- Report Path: Select the Crystal report that needs to be scheduled. A crystal report can only be added if the CRD server can reach the report path.
- Schedule Name: Name the schedule.
- Description: Add a Description to the schedule to better identify it.
- Keyword (optional): Enter some keywords which can be used later by Smart Folders to identify this schedule.
Click Next to continue to the next wizard section.
Schedule Wizard
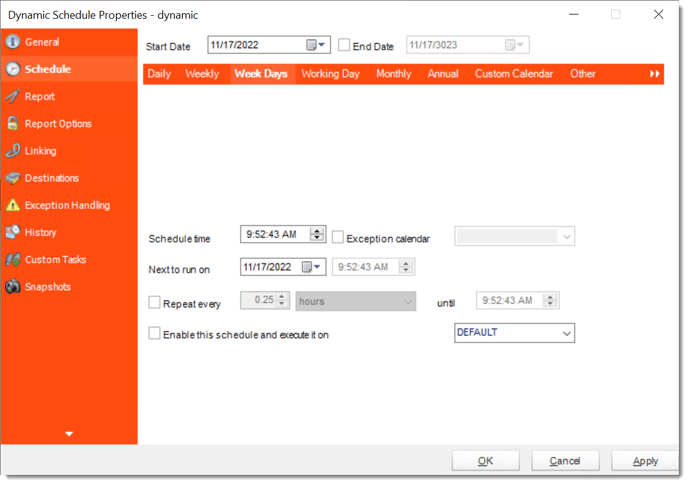
In this section, you will decide when the report will execute. There are a variety of options:
- Daily: Run a report every day or at a frequency of days.
- Sub options: Repeat every X Days.
Example: Run the schedule every 3 days.

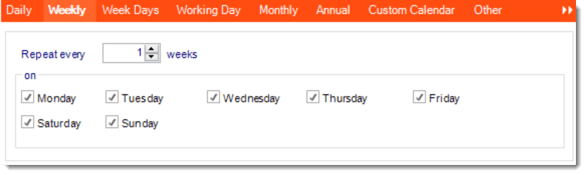
- Weekly: Run a report on a weekly time frame.
- Sub options: Repeat every X weeks.
Example: Run the schedule every 2 Weeks.
- On: Select the specific days of the week the schedule will run. If only once a week, select only the day of the week it will run.
Example: Run every Monday, Wednesday, and Friday.
- Week Days: Run the schedule Monday through Friday.

- Working Day: Run the schedule starting on a specific day of the month. Indicate which day of the month the schedule will run. E.G. run the schedule on the 4th working day of the month.

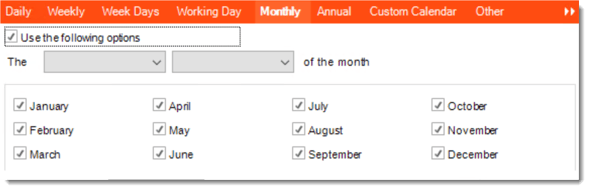
- Monthly: Run the schedule on a monthly time frame.
- Use the following options: Checking this box will enable you to select frequency options such as the “last Thursday of the month.” Also you can include or exclude specific months from the schedule.
- Annual: Run the schedule every year at a specified time.

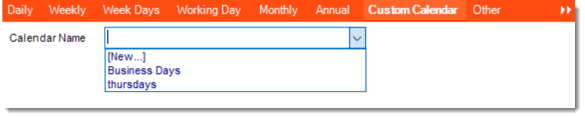
- Custom Calendar: Select the custom Calendar you wish to use. You can create a new custom calendar from the menu as well. Please see Custom Calendars for more information.
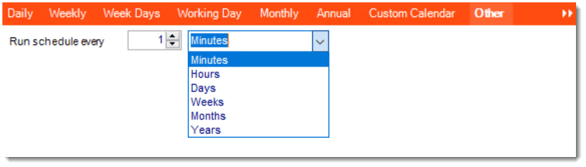
- Other: Other scheduling options.
- Run Schedule every X Minutes, hours, days, weeks, months, years.
- None: No scheduling is required for this item.

- Destination: Select how you would like your report to be delivered. This will also determine some of the options that will show up later in the process. For example, if you select email, you will be asked for an email address later.
- Start Date: Enter the desired starting date for the schedule. This section can be the current date (providing schedule time has not already passed) or a date in the future.
- End Date: If the schedule is due to end after a certain date enter that here. If the schedule is to run indefinitely, then leave it blank.
- Schedule time: On the Next Run date, the package will run at this time.
- Exception Calendar: Choose a calendar that will instruct the schedule to NOT run on those specified days. Please see Custom Calendars for more information.
- Next to run on: The package will next run on this date.
- Repeat Every: Rerun the package every x minutes from the scheduled time until your specified time.
For example, you can set up a daily package to run every day at 8 am, and to run every hour until 5 pm.
- Until: After this date, there will be no automated scheduling of this package.
- Enable this Schedule: Uncheck this option to Disable the package. Disabled packages are not deleted, but they do not execute automatically. You can re-start the automatic scheduling at a later date by checking this option again. Or right-clicking this schedule from the main screen and selecting Enable.
Click Next to continue to the next wizard section.
Linking Wizard
On the Key Parameter tab, you will begin by selecting the report parameter that will hold the unique value being “looked up” by your database.
The key parameter is the parameter in your report which will help CRD identify the email address, printer or folder to export to. In the example, Ray's key parameter is "[?StoreID:]" as the email address for each store is stored against the StoreID.
- Set the Report parameter: Select from the drop down list which parameter will be used to look up your destination. Values in this parameter will be used to look up both the appropriate destination and also generate a unique report for each value.
- Populate key parameter with data from a database: This is the most common option for users creating dynamic schedules. CRD will use a query to automatically feed key parameter values into your report based on a table.
- The use of this option is better explained with an example.
Ray wants to run the report for a large number of stores. Normally, he would print a list of all the StoreID that needed a report. He would then run the report, enter one ID, export and email the report. He would move to the next store in the list and do the same again. For CRD to automate RAY's actions, CRD will need a list of StoreIDs which it will reel through - producing a unique report for each store and sending it to the corresponding email address. Using this option, Ray can build the list of stores the report should run for. In short, creating the list of parameter values which CRD should use to run the report.
- You should now notice your report parameter being populated with an insert. This means CRD will reel through your table, pull the Key parameter values and feed them into your report. A unique file will be generated for each value.
CRD will only run the report for values found in your query, not all values found in your report. Therefore, only the data in your system must be maintained rather than CRD!
- Set as Null: Set no value for this parameter.
- Ignore: Do not run this parameter, ignore it at runtime.
- Insert Menu: You can insert constants, formulas and database field values instead of a static "typed in" value. Right-click in the parameters field to expose the Insert menu.
To enable a report parameter to run for a date constant (Current Date, Yesterday etc.), select CRD Constants from the insert window, then drag and drop your desired constant to the parameter field.
- Populate key parameter with static data: This option would be chosen if you DO NOT want CRD to feed multiple parameters in to the report via database. Rather, one parameter value will be chosen, and it will run for a changing list of recipients.
- The use of this option is better explained with an example.
Ray wants to run the report against the same StoreID. He cannot use a Static schedule as, unfortunately, the store's email address changes weekly. This would mean he would have to edit the static schedule and enter a new email address each time the email changed.
So he writes a Dynamic schedule and uses this option to enter a static StoreID e.g. [?StoreID:] = "1991". The report will now always run for StoreID number 1991 only, but the email address it will be sent to will be the value entered in the database against this store at the time the schedule is run.
If the database is maintained daily, then the report will always be sent to the latest email address.
- Advanced: Use the advanced tab to write your own query.
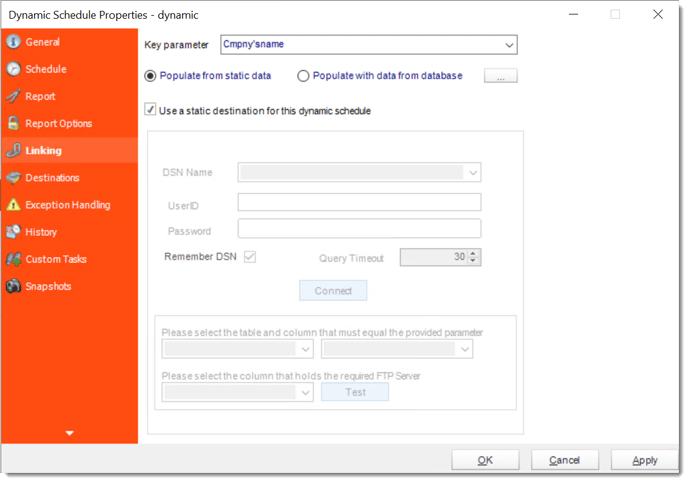
In this Section we will establish a link between the key parameter values we have selected earlier, and the location of the corresponding destination information.
- Use static destination: This will export all your reports to a single destination e.g. a folder.
- DSN Name: Drop down and select a DSN.
We strongly recommend System DSNs so that the DSN is visible to CRD even when the user associated with the DSN is logged off.
All communication to databases (including Access databases) is done through ODBC, so you must setup a system DSN to the database before you can use this facility.
When setting up DSNs we recommend (if possible) that you use Windows Authentication (Trusted Connection). This ensures that your username and password are not required to be stored in CRD (more secure) and overcomes a large number of security restrictions which Windows places on DSNs. When using Windows Authentication, make sure that the CRD NT service user (or background application service user) has full rights to the database otherwise, though you will connect when you are logged in, automated scheduling will fail if the Service user has not got rights to the database.
When setting up a DSN to a SQL server, you must ensure that the "Default Database" setting is set to the database you are connecting to (Windows defaults this to "Master").
- UserID: Enter the User ID CRD should use to log on to the database
- Password: Enter the password associated with the above user.
- Connect: Connect to the Database.
Here is where Ray connects to the database and tells CRD where it will find the StoreID value, and what the corresponding email address is.
- Select the table name (e.g. ContactInfo) and the column in that table (e.g. StoreID) which matches the parameter value (StoreID) which you determined in the previous step.
- Select the column in the table that holds the email address (or folder path or printer name) that corresponds to the above parameter value.
Click Next to continue to the next wizard section.
Destination Wizard
Under the Destinations tab, the destination that you chose previously under the Schedule section will now automatically pop-up. Secondly, there is no ‘To’ address because this information is being retrieved from a database. The reason for this is because the destination type was defined in the previous step.
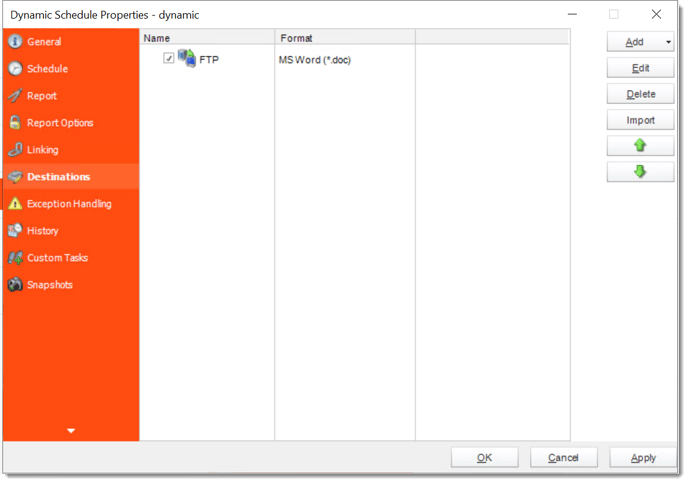
- Use the Inserts Function to customize the email subject and body as desired. Simply drag and drop Dynamic Table Fields from your Inserts list.
- Select the format for your report.
Click Next to continue to the next wizard section.
Report Options Wizard
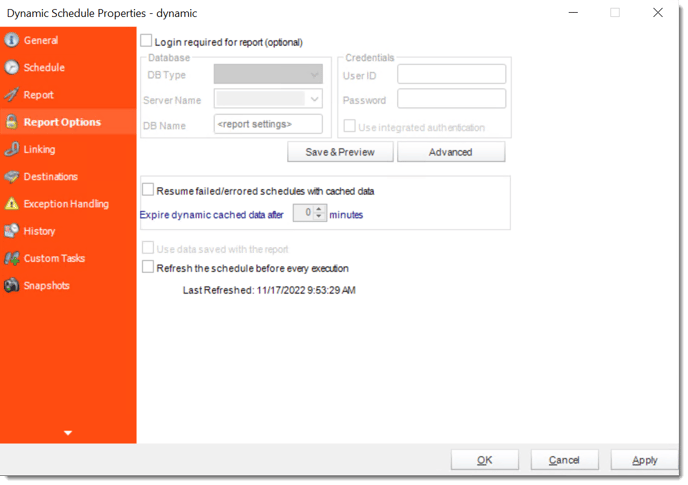
- Database Login: If the database requires logon credentials, check this option and enter the required username and password. If credentials are not required, uncheck the option and continue as normal (default). All values are optional. You only need to enter a value if your database, security, networking or infrastructure require it.
- DB Type: Select the type of Database.
- Server Name: Enter the server name of the database.
- DB Name: Enter the name of the database.
- Credentials: Enter the User ID and Password for the Database. Clicking on the Advanced tab, you can set logins for each table.
- Advanced: Enables you to specify credentials at the table level. Double click the table to set its login information.
- Resume failed/errored with cached data: If the schedule fails, resume the schedule from where it left off. You can then select how long the cached data should be kept.
- Save snapshots of the execution and keep them for (days): Keep a copy of the report for how many days.
Click Next to continue to the next wizard section.
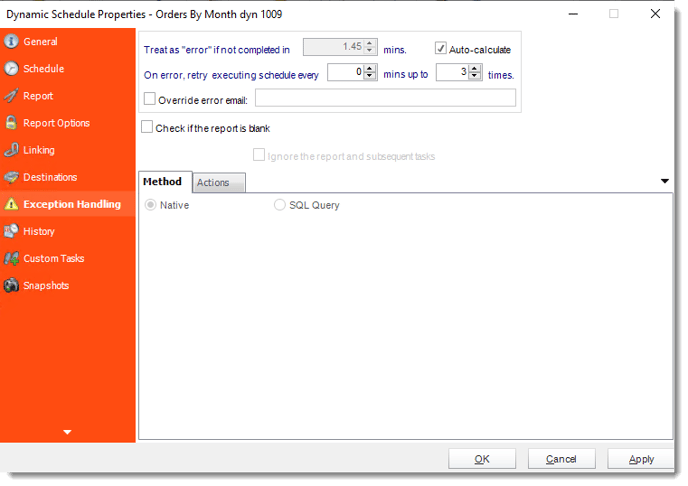
Exception Handling Wizard
In this section you will determine Schedule Retries should an error occur and set up what action should be taken if a Report Export is Blank or if an Exception occurs.
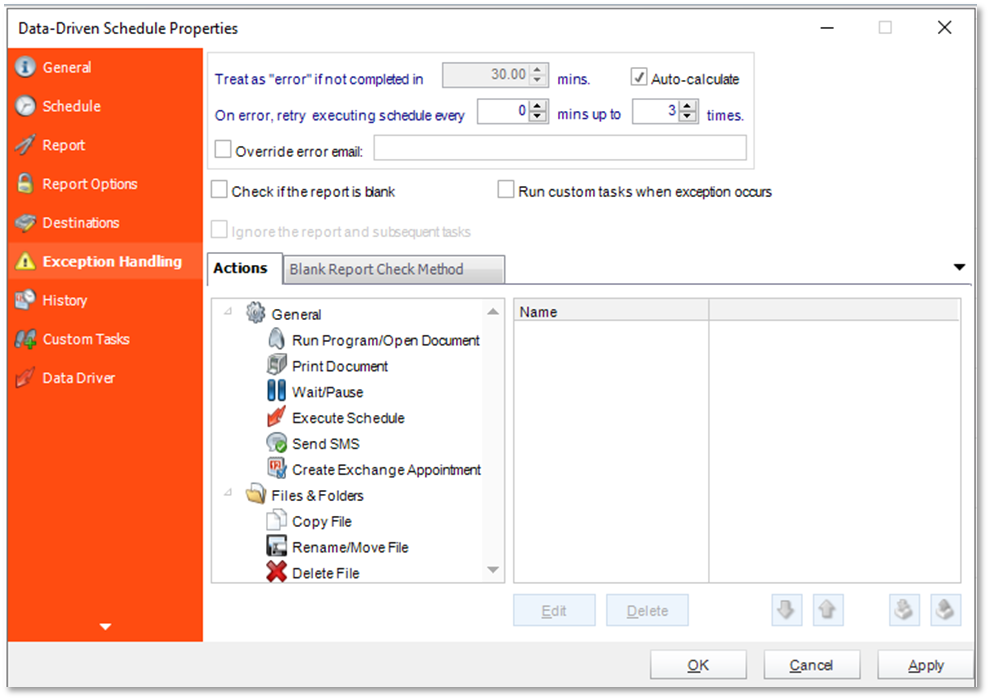
- Treat as “error” if not completed in X minutes: If a report takes longer than the specified amount of time to run, this option will treat the schedule as an error and follow the appropriate action. The “Auto-calculate” option instructs CRD to automatically determine how long a schedule should take to run the report. If it takes longer than the calculated amount of time, then it is an error.
If manually determining the error timing, please double-check the run time of the report in order to get the correct time estimate.
- On error, retry executing schedule every: If set to 0, CRD will deem the schedule as "Failed" the first time it encounters an error. The schedule will not run again until its next scheduled time. Change the value to tell CRD how many times you want it to retry running the report before declaring it as "Failed."
- Override error email: Check this option if you want to specify an email address that receives the error alert when it fails. This overrides the default email specified in Options.
- Check if the Report is Blank: If a report is blank because it genuinely returned no data, recipients can misconstrue this as an error with the scheduler. This option allows you to identify genuine empty reports and instruct CRD on what to do with them.
- Ignore the report and subsequent tasks: If the report is blank, do not send the report. The report will not be delivered to the destination. No custom tasks will be run.
Method

- Select the Method that will determine whether a report is blank.
- Native: CRD will check to see if the report returns any data. If not, the report is considered blank.
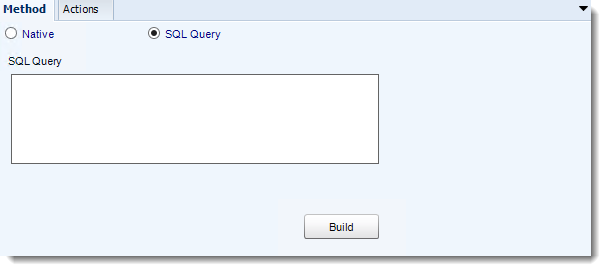
- SQL Query: Select this option to use a user made query that will determine if the report is blank. If the query returns no results, the report is blank.
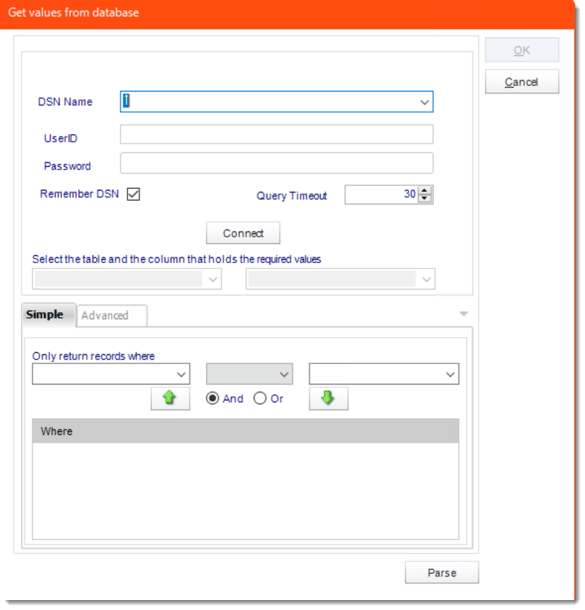
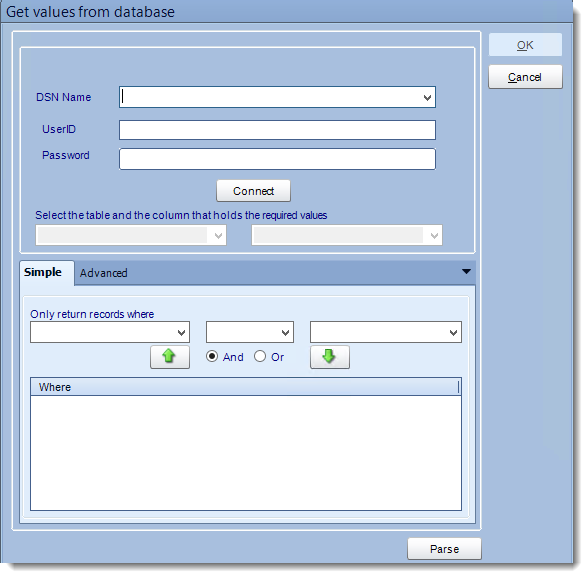
- Click Build.
- Get values from a database window will appear. For more information about Get values from database, click here.
Actions
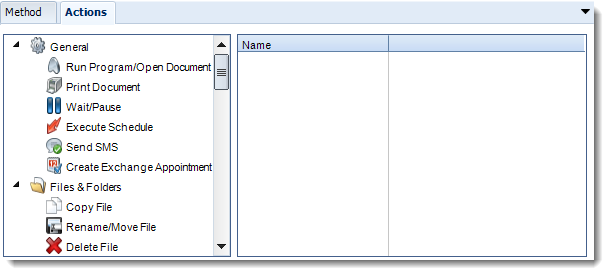
- Select an action from the task list. This task will be executed in the event that a schedule is blank.
- For more information about tasks, click here.
Tip: You can send a notification if a report is considered blank instead of sending the report. Simply select “check if a report is blank” then select “Ignore the report.” In the actions tab, select “Send Email” from the list. Compose your email and save.
Click Next to continue to the next wizard section.
Custom Tasks Wizard
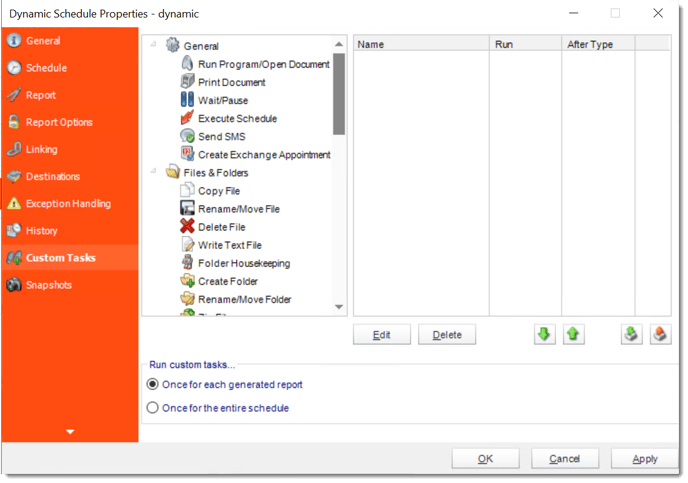
- In the section you have the option of setting up custom tasks. Custom tasks are business process automation tools that can be auto triggered before or after a report runs.
- For more information on Custom Tasks, click here.
- Once for each generated report: Each task will be ran for each successfully generated report within the schedule.
- Once for the entire schedule: Each task will be ran once when the schedule has completed successfully.
- If you have no desire to add a Custom Task, you can click finish to complete the schedule.
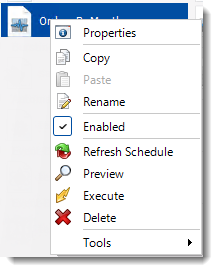
Dynamic Schedule Context Menu
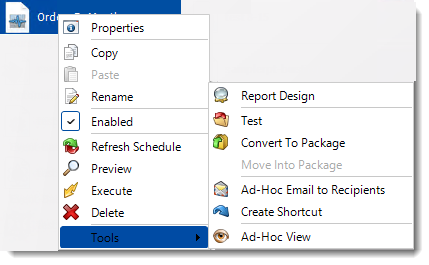
- Right-Click on a schedule to see the following actions:
- Properties: Edit the schedule from here. Or you can just double click on the schedule.
- Copy: Use this to copy the schedule. Right-click in the "white space" of the folder you wish to copy it to and select Paste button.
- Rename: Rename the package.
- Enabled: Schedules are enabled when there is a check icon beside this option. To stop a schedule from running, or to "pause" it for a while, select this option to remove the check icon. Disabled schedules will not run until they are enabled again.
- Refresh: When a schedule is first created, CRD caches (saves) a copy of the report. All executions of the schedule are performed using this copy. If you make changes to your master report, you must select this option in order to pull the changes into CRD.
- Preview: Preview the report before execution.
- Execute: This button will execute the schedule immediately. Note that the next run date and time is not moved on as a result of a manual execution. They only move on if the schedule is run automatically by one of the schedulers.
- Delete: Selecting this option will delete the schedule.
- Report Design: Preview the report Design.
- Test: Use this option to test the schedule and export it to selected "test" destinations.
- Convert To Package: This button will convert this report into a package. The package will have the name of the single schedule report.
- Move into a package: Use this option to move the report into an existing package.
- Ad-Hoc Email to Recipients: Select this option to send an ad-hoc email to all recipients of this package. You can use this to alert recipients to a planned system outage, or any other useful information.
- Create Shortcut: Use this option to create a shortcut you can save in any location on your PC. Execute the shortcut to execute the schedule in CRD.
- Ad-Hoc View: This button allows you to preview the report.
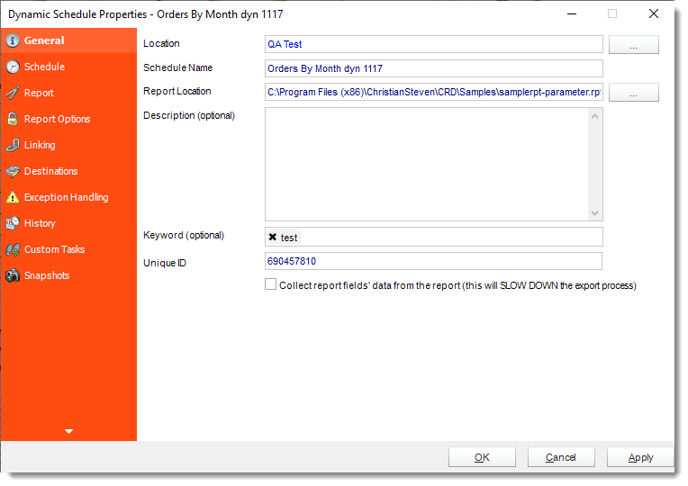
Dynamic Schedule Properties
- To access your schedule properties, right-click on a schedule and select properties.
- Similar to the schedule wizard, you adjust settings to your schedules such as timing, error handling, or custom tasks.
- General
- Schedule
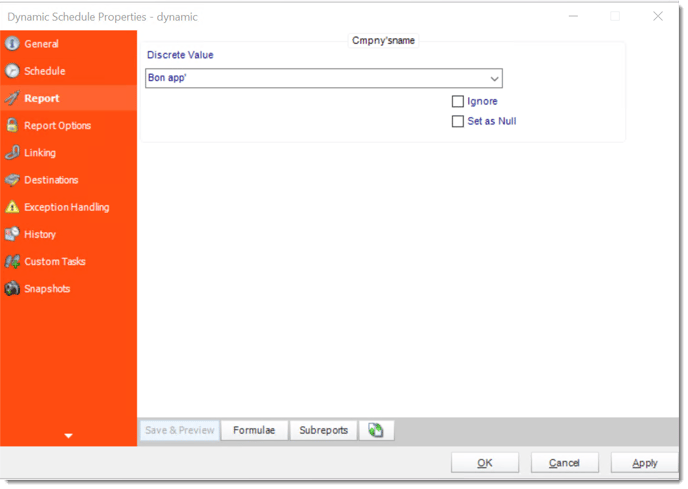
- Report
- Report Options
- Linking
- Destinations
- Exception Handling
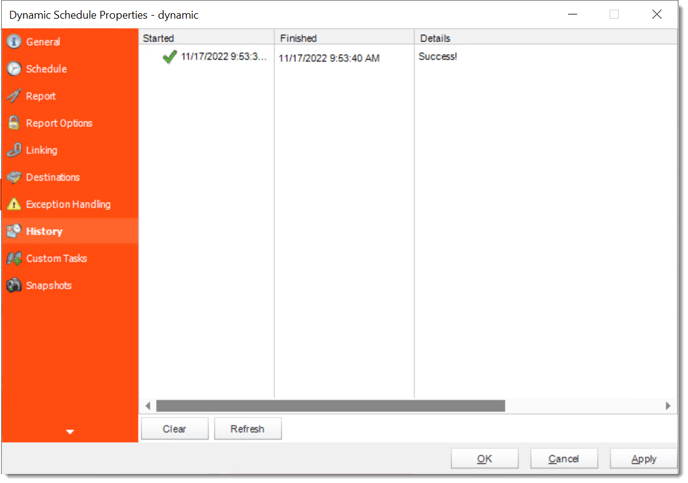
- History: Review the schedule's history. Successes, failures, and other data is located here.
- Custom Tasks
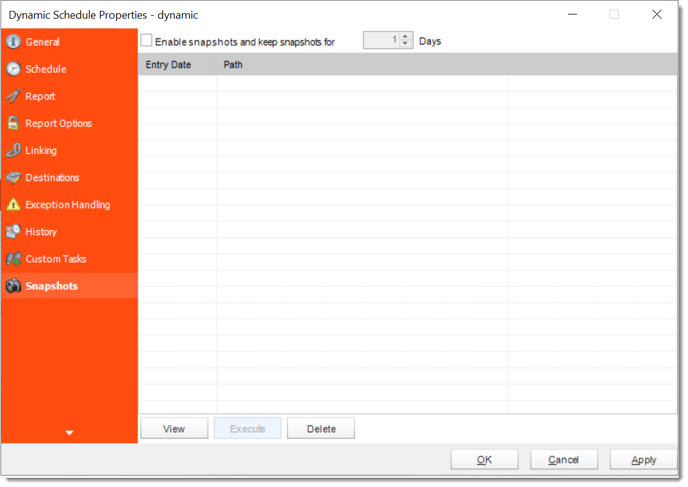
- Snapshots: A snapshot is a copy of each report a schedule or a package generates. Keeping snapshots enables you to resend past reports without generating them afresh - especially if the data has changed in the meantime.
- Simply select the number of days to keep the snapshots.