Accounts - Power BI
In order to access Power BI, you must create a Power BI account.
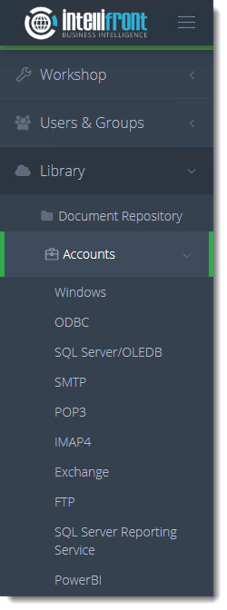
- Go to Library, select Accounts. In Accounts, select Power BI.
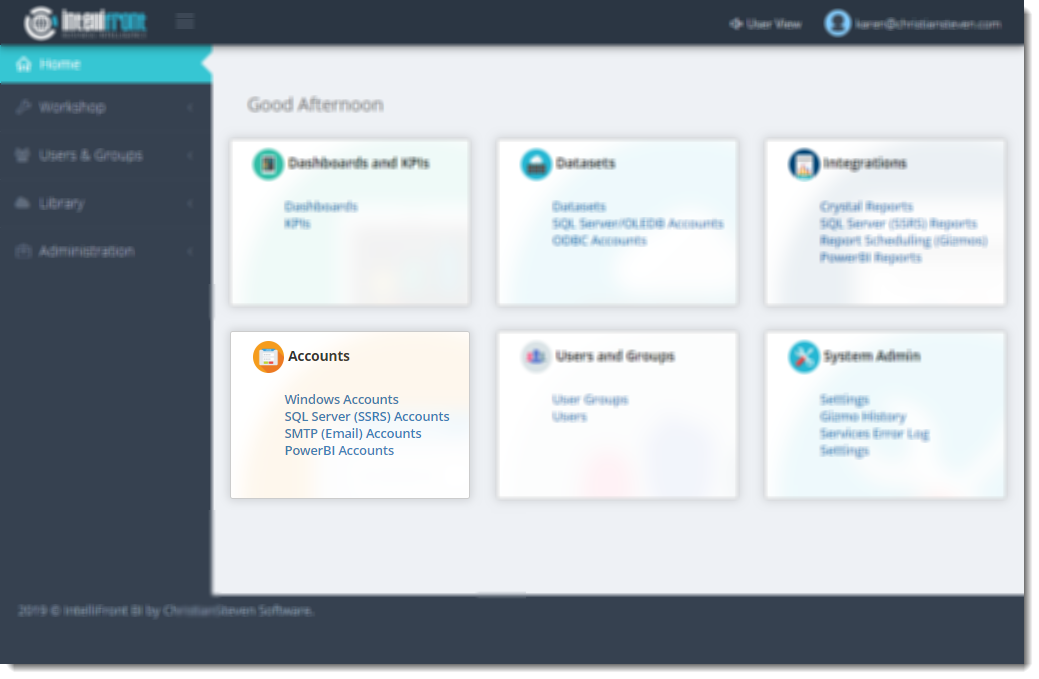
- Or select Power BI Accounts from the card on the home screen.
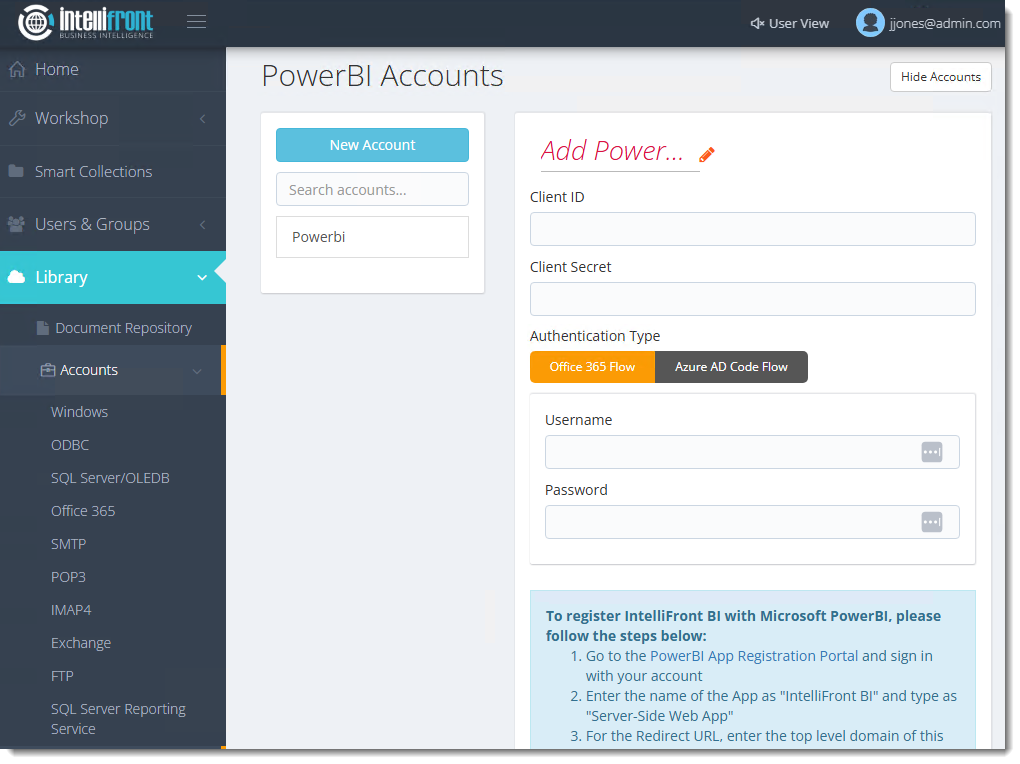
- In the bottom portion of the screen, you will see a blue rectangle with the words To register Intellifront BI with Microsoft PowerBI, please follow the steps below:. Follow the listed steps before proceeding.
- In the Add PowerBI name field, enter a name that will easily identify this PowerBI Account. Then, click the checkmark to save the name you entered.
- In the Client ID and Client Secret fields, paste Client ID and Client Secret given by PowerBI.
- In the Username and Password fields, enter the username and password that will be used to authenticate to your PowerBI.

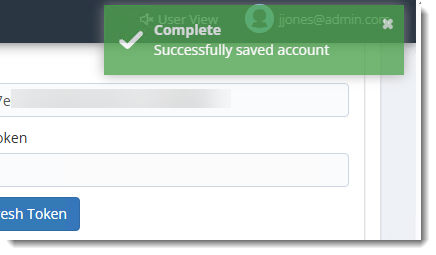
- Click Save. Once saved successfully the account will appear in the list of Power BI Accounts.