How do I view schedules in the ATRS Web Application?
You can preview, execute, and enable/disable schedules using ATRS Web Application. Here's how.
Schedules
All report folders in ATRS will be shown in the Schedules section. To view schedules simply select the folder to view the contents.

Preview a Schedule
Step 1: To preview a schedule navigate to the Action Menu of the schedule and select Preview.

Step 2: Click the expand button to view the report in another tab.

Execute a Schedule
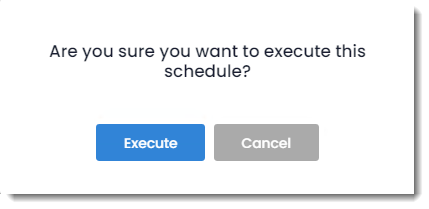
Step 1: To execute one schedule go to the Action Menu of the schedule and select Execute.


Alternatively, you may execute the contents of a Folder.
Step 1: Navigate to the chosen Folder and click on the (...) dropdown and select Execute Folder Contents.

You may view all the schedules that have been manually executed from within the ATRS Web Application using the Execution Queue button.


Enable/Disable Schedules
Step 1: To enable/disable a schedule Navigate to the Action Menu of the schedule and select Enable. Alternatively If the schedule is disabled it will show 'Enable' in the Action Menu. If the schedule is enabled, it will show 'Disable' in the Action Menu.

Clone a Schedule
Step 1: To clone a schedule, navigate to the Action Menu of the schedule and select Clone Schedule.

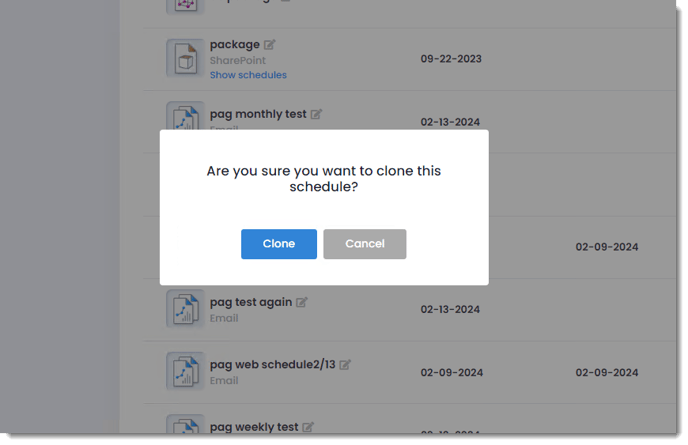
Step 2: A confirmation pop-up will appear, asking you to verify your intention to clone the schedule. Upon confirmation, the new schedule will appear in the same folder, labeled as "Clone of ScheduleName."

Edit a Schedule
Step 1: To edit a schedule, go to the Action Menu of the schedule and select Edit Schedule.

The schedule will open and you can then go in and change any settings you previously set for the schedule.
Delete a Schedule
Step 1: To delete a schedule, go to the Action Menu of the schedule and select Delete Schedule.

Step 2: You will get a pop up asking you to confirm if you want to delete the schedule. Selecting Delete will delete the schedule.

Renaming a Schedule
Step 1: Rename a schedule by clicking on the Rename symbol by a schedule and entering the new schedule name.
