Destinations - Email Destination
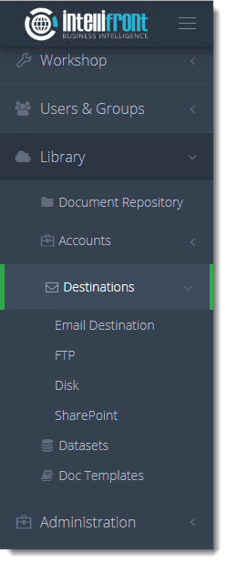
- Go to Library and select Destinations. In Destinations, select Email Destination.
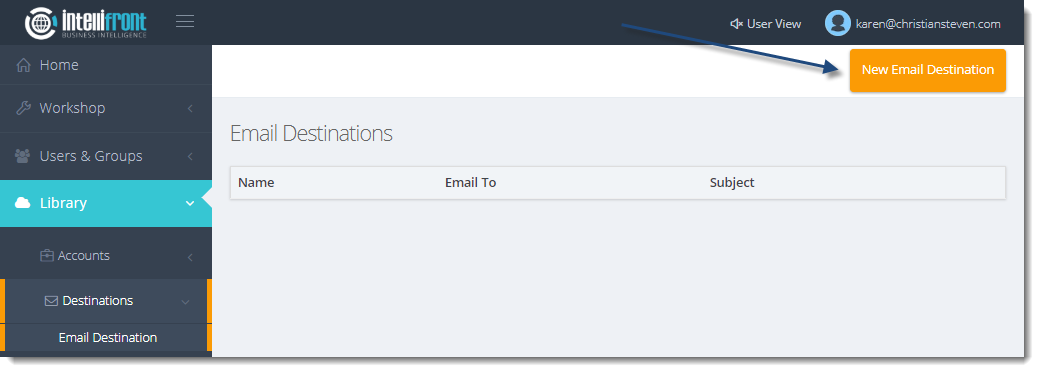
- Click New Email Destination.
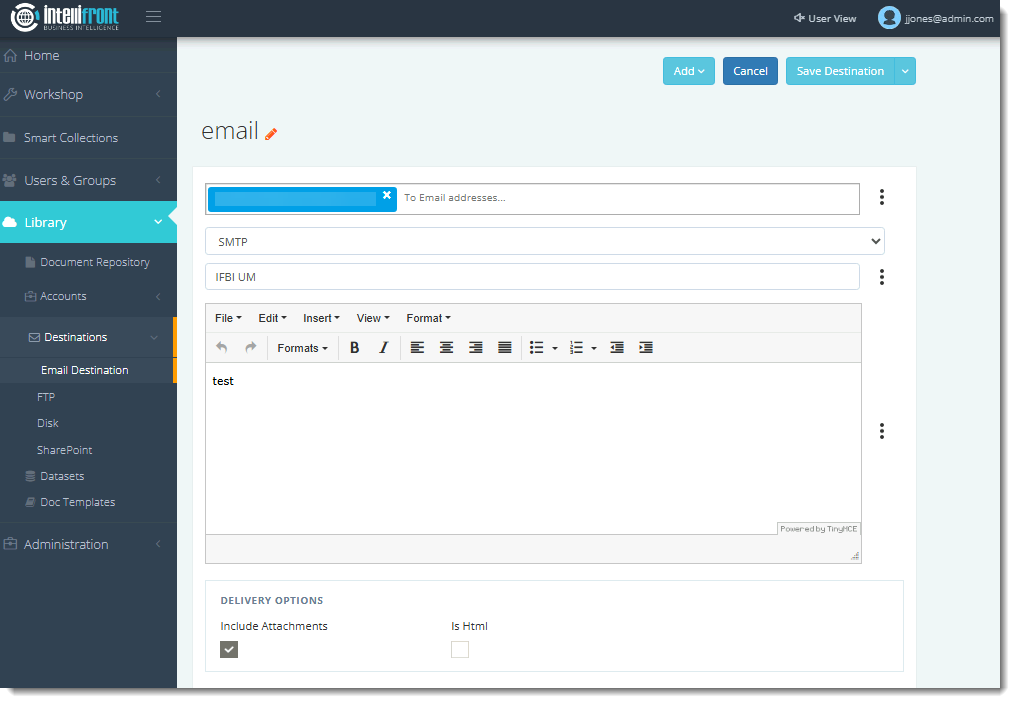
- Destination Name: Give the destination a unique name.
- To Email Address: Enter the required email addresses.
- Select Email Account: Select the email account that will be used to send to this destination.
- Subject: Enter an email subject. To access the insert menu click on the (...) button and you can insert system constants such as CurrentDate, CurrentDateTime etc.
- Body of the email: Compose the email. To access the insert menu click on the (...) button and you can insert system constants such as CurrentDate, CurrentDateTime etc.
- Include Attachments: Select whether or not you would like to include or exclude an attachment.
- Is HTML: Check this option if the email is to be formatted in HTML, leave unchecked for plain text.
Add Menu
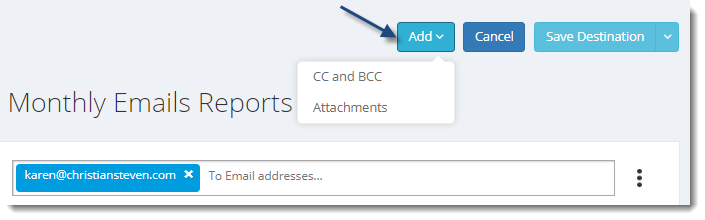
- CC and BCC: Select this option to access CC and BCC fields.
- Attachments: Select this to add additional files to the email output.
Save Destination Menu
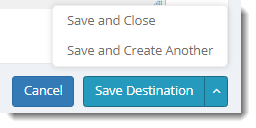
- Save Destination: Will save the destination and return to the main Email destination screen.
- Save and Close: Will save the destination and return to the main Email destination screen.
- Save and Create Another: Will save the destination and allow you to create another Email destination without returning to the main Email destination screen.