Before Upgrading...
- Please make sure you are using a 64-bit Operating System.
- PBRS DSNs will only support ODBC Data Sources (64-bit).
- Installing Microsoft Office 64-bit is recommended.
Download the most current build
- In order to obtain the link to the most current build, go to Resources and select Check for Updates.

- You can also obtain the most current build of the software by visiting the Software Release Announcements Blog.
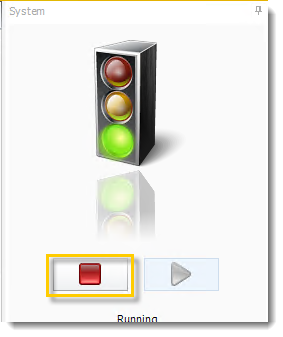
Stop the Scheduler
- Click the blue System bar on the far right side of the screen.
- Underneath the traffic light image, click the red Stop button.
Perform a backup
- Go to System and select Backup.

- Select the location you want to save the backup to.
- Click OK.
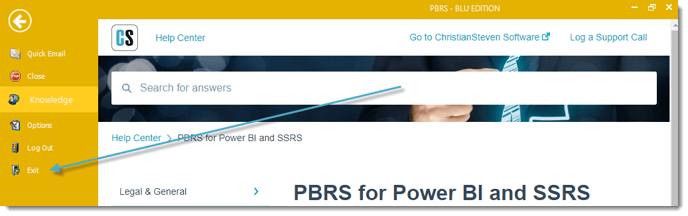
Ensure all instances of the software are closed
- Go to File and select Exit.
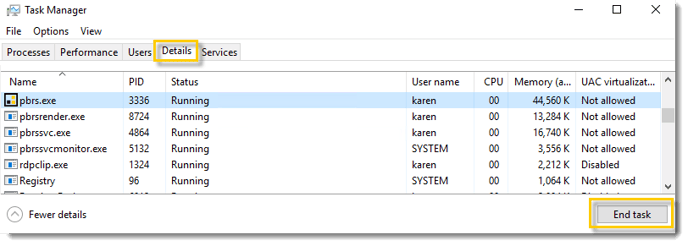
- Right-click on the Windows taskbar at the bottom of your screen.
- Click Task Manager.
- Click the Details tab.
If the Details tab is not displayed, you may have to click More Details at the bottom of the task manager window.
- Under the Name column, verify that no instances of pbrs.exe and pbrssvcmonitor.exe appear.
If they do, click on them and select End Task in the lower right of the Task Manager window.
Upgrading PBRS 32 bit to 64 bit
To upgrade the latest build/version of PBRS, perform the following steps:
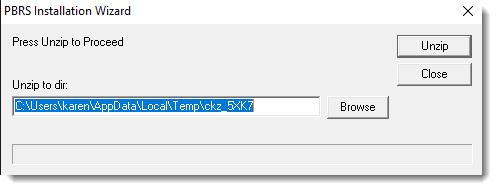
- Double-click PBRSSetupX.
- Click Unzip.
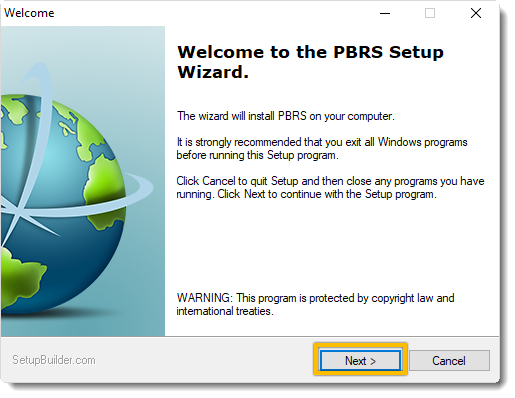
- Click Next on the Welcome message.
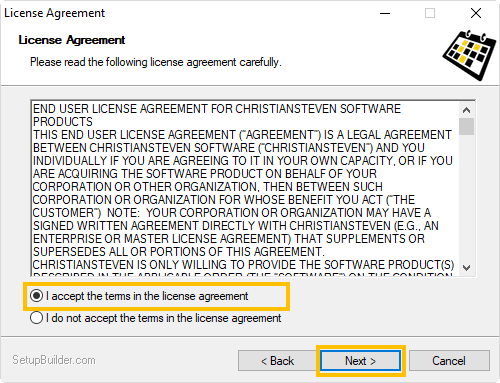
- Carefully read the License Agreement.
Once you have fully read and understood the License Agreement, check I accept the terms in the license agreement checkbox. Then, click Next.
If you do not accept the terms of the license agreement, you will not be able to proceed with the upgrading process.
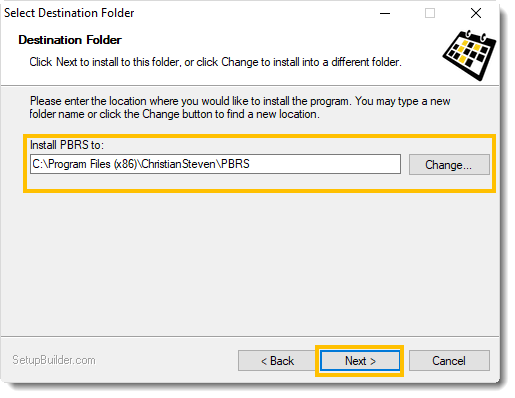
- Now, you will see the Select Destination Folder screen. You can choose to leave the default destination folder that is currently listed or select your own. Click Next.
Leaving the default destination as the destination folder is recommended.
- You should now see a Ready to Install window detailing the current settings for the PBRS installation. These details include the destination folder you chose in Step 10, as well as the Disk Space Requirements for the PBRS installation.
- Click Next.
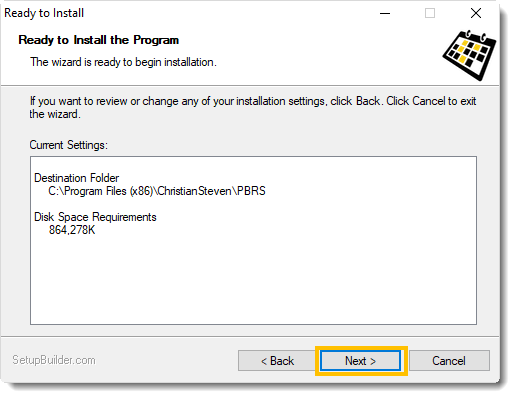
The Disk Space Requirements will vary from build to build. This is only the amount of disk space that is required for the installation/components of PBRS.
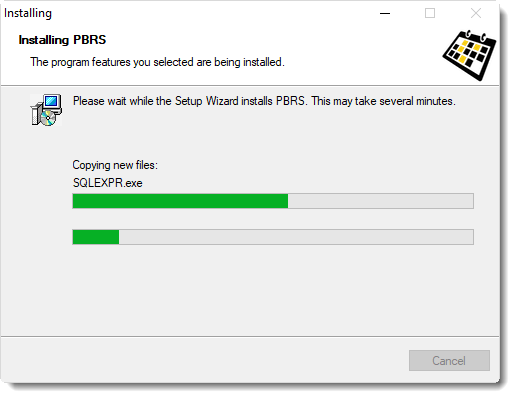
- Allow the PBRS installation to complete. You do not need to click anything during this process.
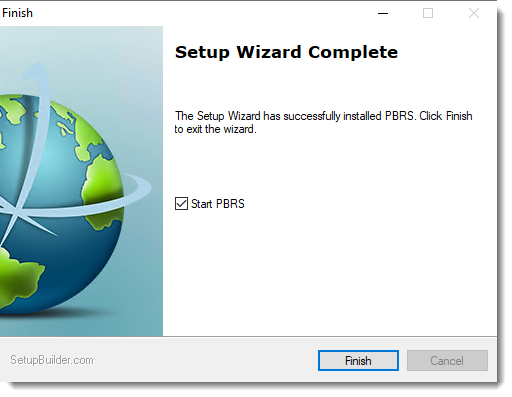
- When the Setup Wizard Complete screen appears, click Finish and it will start PBRS.
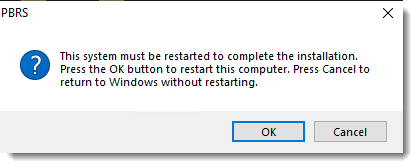
- At this time, you may see a pop-up stating that you will need to restart your computer in order to complete the PBRS installation. Click OK.
- PBRS is now successfully upgraded on this server.
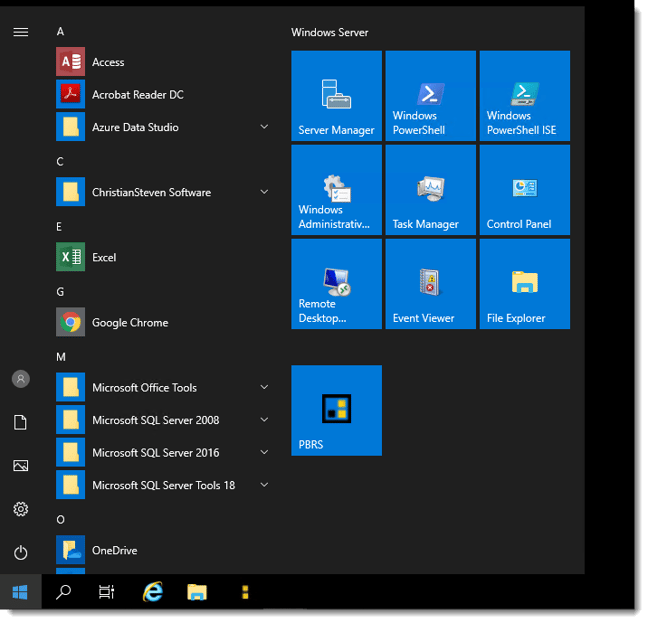
- Open PBRS.
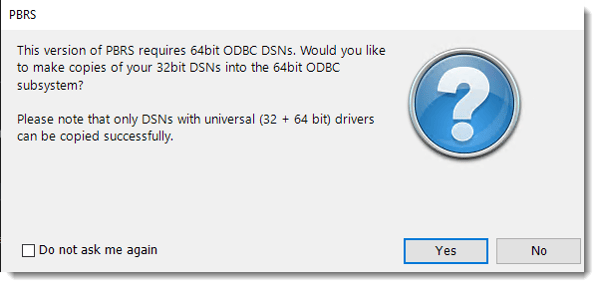
- The Registry Migration Wizard will appear for you to copy your 32 bit DSNs into the 64bit ODBC DSN's. Click Yes.
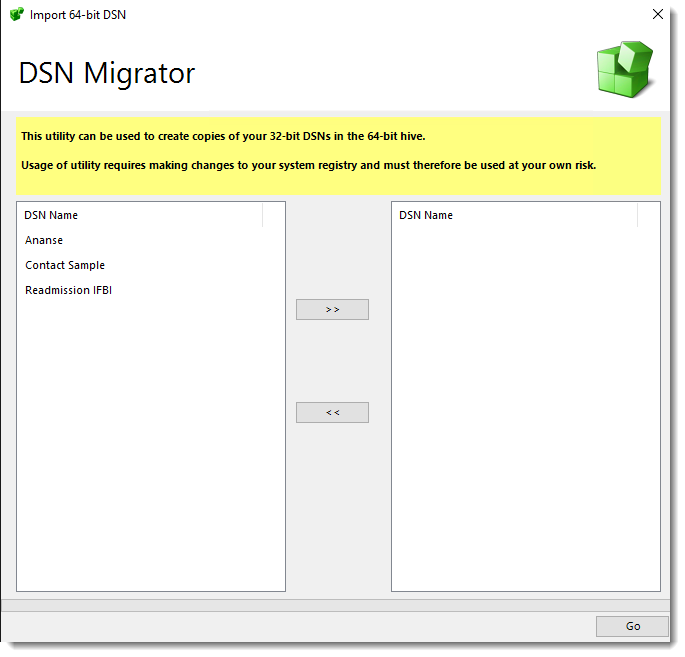
- Select the 32-bit DSNs you would like to copy into the 64-bit hive.
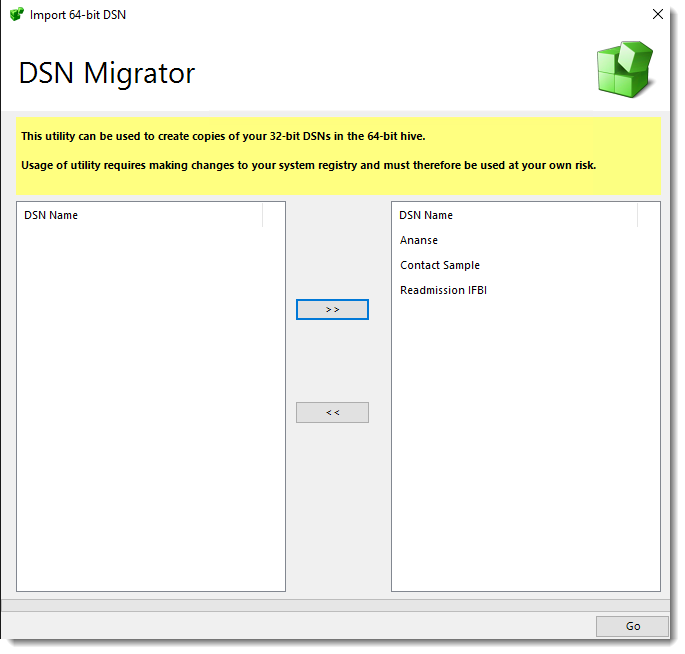
- Use the right arrow button to move the selected 32-bit DSNs to the right-hand column.
- Click Go to create the copies.
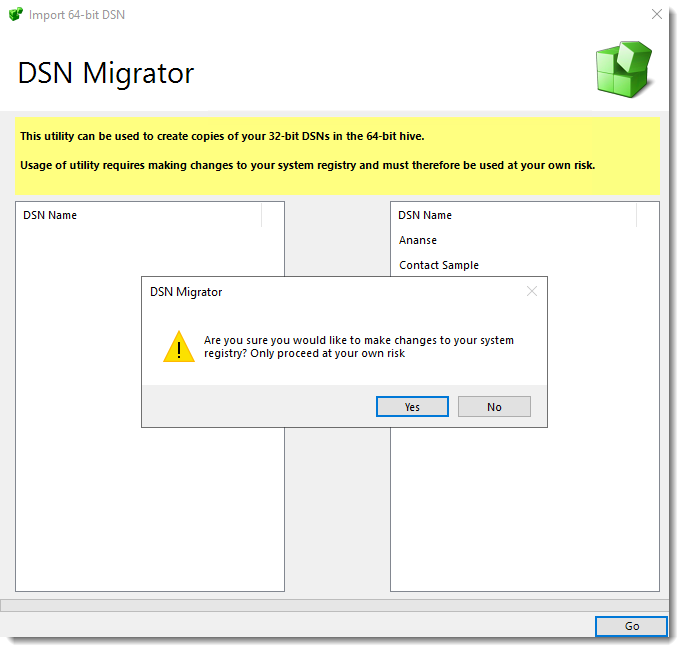
- Click Yes.
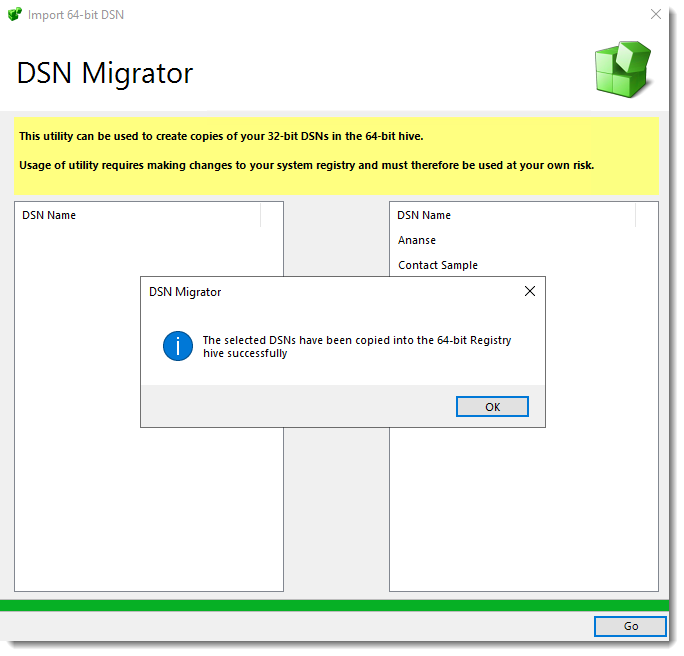
- Click OK and Exit the Registration Wizard.
- The selected DSNs have been copied into the 64-bit Registry hive successfully.
- You may now use PBRS with the selected DSNs.