How do I disable UAC for PBRS?
This is a step by step instruction on how to disable UAC for PBRS, and still keep the Windows UAC setting as it is.
This article is for only Windows 10 users.
The purposes of this procedure are:
- To disable UAC for PBRS, and still keep the Windows UAC setting as it is.
- To log into Windows as a normal user and run PBRS without entering the administrator password.
Disable UAC for PBRS
- Download Windows Assessment and Deployment Kit for Windows 10.
Here is the link: https://docs.microsoft.com/en-us/windows-hardware/get-started/adk-install
- Click the application and select Application Compatibility Tools in Features and click Install.
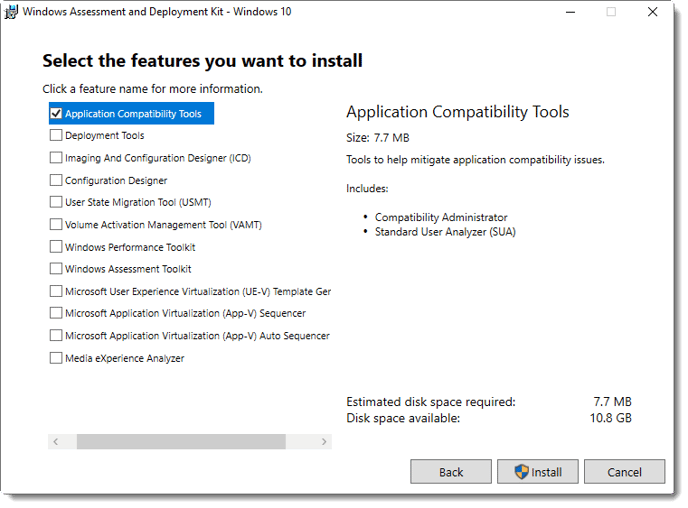
- Application Compatibility Tools are installed.
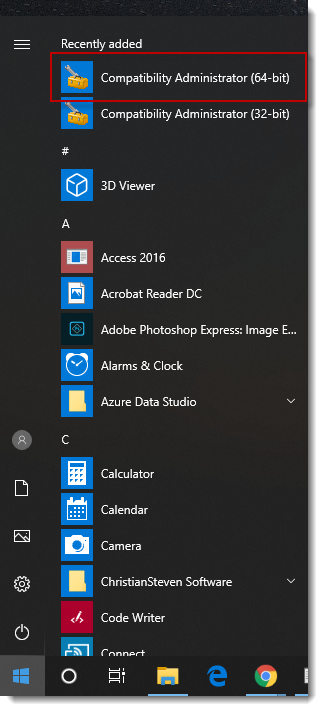
- In the Start Menu, go to Compatibility Administrator. Right-click it and click Run as Administrator.
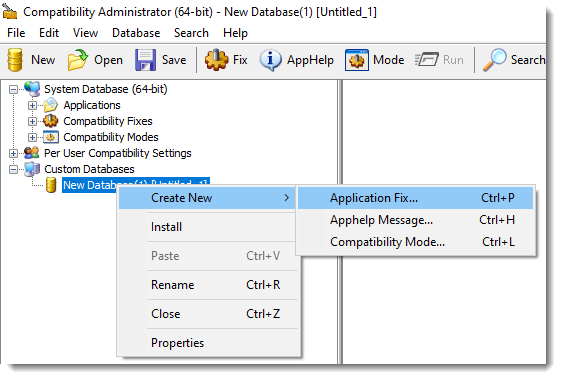
- In the left-hand pane, right-click on the database under Custom Databases and select Create New, and select Application Fix.
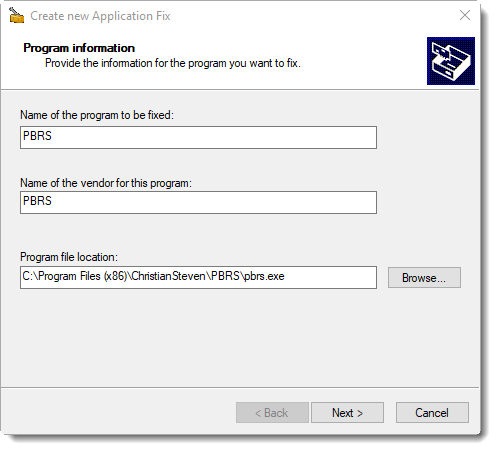
- Enter the name and other details of the application you want to alter behavior on and then browse to it to select it. Click Next.
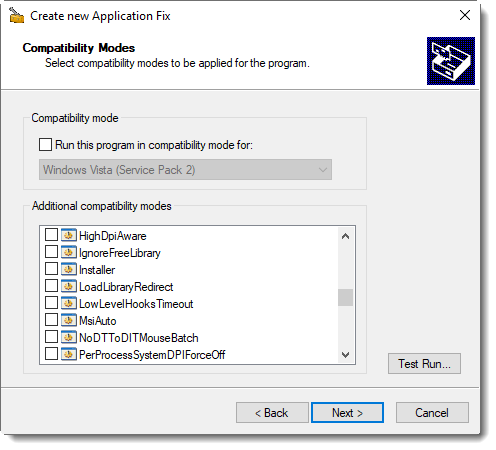
- On the Compatibility Mode screen, click Next.
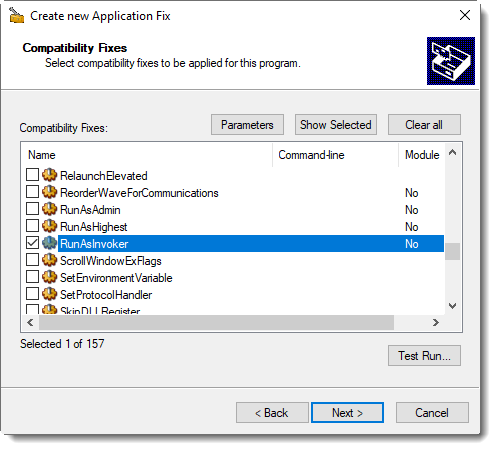
- On the Compatibility Fixes screen, check RunAsInvoker. Click Next.
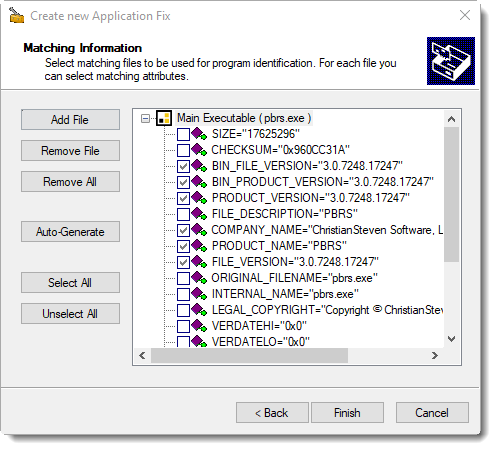
- Click Finish. Create new Application Fix Wizard will disappear.
- Save the file. Go to File and select Save As. Save the file as a filename.SDB type file.

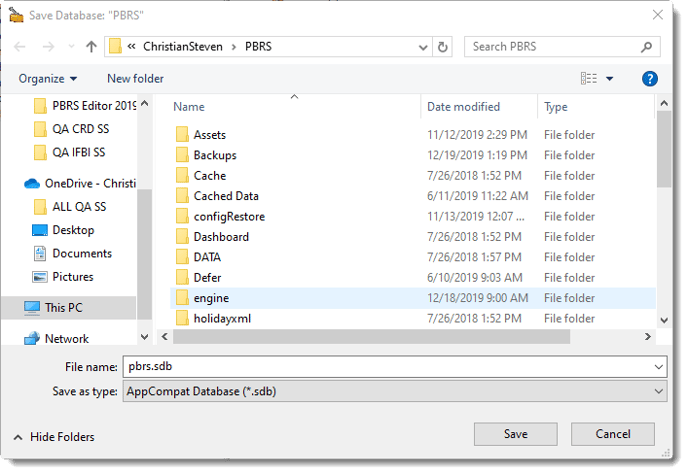
- Click Save.
- Go to Command Prompt and use an Elevated Command Prompt.
- Run the commando below:
"cd <filepath>"
"sdbinst <filename>.sdb"
For example, if you saved the '.sdb' file as pbrs.sdb in the c:\Windows folder, the command should be like this:
"sdbinst c:\windows\pbrs.sdb"
- It should prompt: Installation of <name> complete.
