How do I set up a Disk destination in PBRS?
The Disk Destination allows you to send exports of Power BI Reports, Paginated Reports, and SSRS reports directly to local or network folders.
This article applies to:
- Power BI Reports & Dashboards (Cloud - Power BI Service)
- Power BI Paginated Reports (Cloud - Power BI Service)
- Power BI Reports & Dashboards (On Premise - Power BI Report Server)
- Power BI Paginated Reports (On Premise - Power BI Report Server)
- Microsoft SSRS Reports (On Premise - SQL Server Reporting Services)
Disk - Destinations
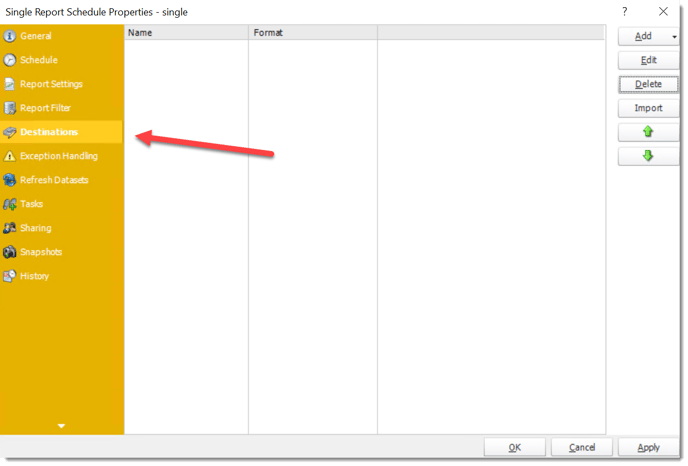
- In the Schedule Wizard, go to Destinations.

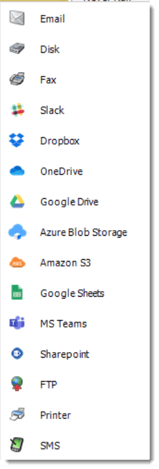
- Click Add and select Disk.


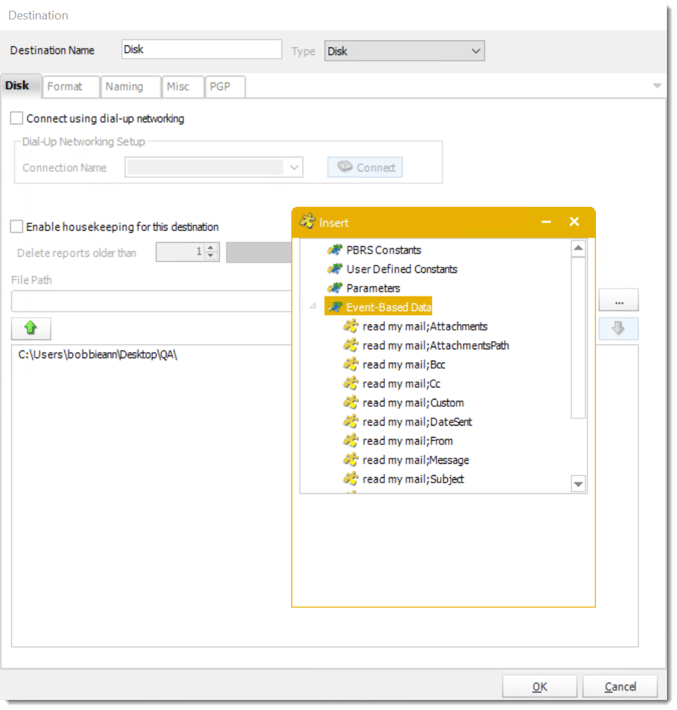
- Destination Name: Give the destination a name.
- Connect using dial-up networking: Select this option if you wish to connect to the destination network using Dial-Up Networking or RAS. Select an already existing connection from your existing Windows connections list.
- Destination Directory: Browse to select a folder, or type in a path.
- Enable Housekeeping for this destination: Check this option if you want to delete reports on a regular basis which are older than a specified date.
- Insert: You can insert constants, formulas and database field values instead of a static "typed in" value.
- Right-click in the above field to expose the Inserts menu.
For information on format tab, click here.
For information on naming tab, click here.