Insert Menu
The Inserts module, which pops up automatically, gives you the ability to drag and drop constants, variables, user constants and data items into almost any field in PBRS.
Inserts is arguably one of the most versatile features in PBRS. This feature enables the advanced schedule types to work, deals with a variety of parameters, and customizes outputs for recipients.
- The insert function is activated in two ways:
- PBRS will automatically launch the insert module at points where it can be used. (e.g. in a wizard's parameter screens).
- In the field into which you wish to insert a function, right-click, and select Insert.
- The following types of constants are available:
- PBRS Constants (@@PBRS Constants)
- User Defined Constants (@@User Defined Constants)
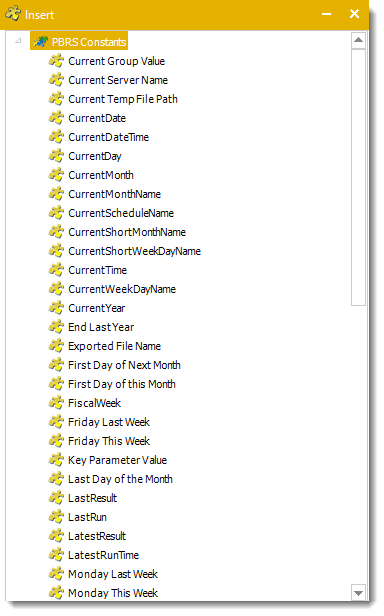
PBRS Constants
-
- Current Group Value: Return the current group value.
- Current Temp File Path: Return to the temp file path.
- CurrentDate: Returns the current date.
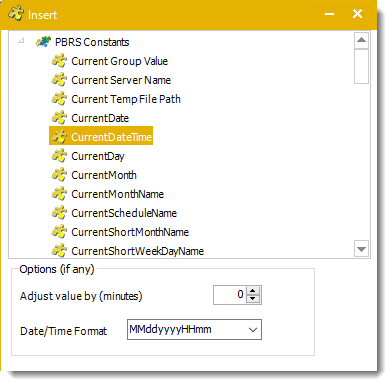
- CurrentDateTime: Returns the current date and time.
- CurrentDay: Returns the current day date.
- CurrentMonth: Returns the current month number.
- CurrentMonthName: Returns the current month name.
- CurrentScheduleName: Returns the name of the current schedule or package.
- CurrentShortMonthName: Returns the name of the short month.
- CurrentShortWeekDayName: Returns the name of the short week.
- CurrentTime: Returns the current time.
- CurrentWeekDayName: Returns the day name of the day the schedule is run.
- Current Year: Returns the current year.
- End Last Year: Returns the date of the last day of last year.
- Exported File Name: Returns to the name of the exported file.
- First Day of the Next Month: Returns to the first day of the next month.
- First Day of this Month: Returns to the first day of the current month.
- FiscalWeek: Returns to the fiscal week.
- Friday Last Week: Returns the date for last Friday.
- Friday This Week: Returns the date for this Friday.
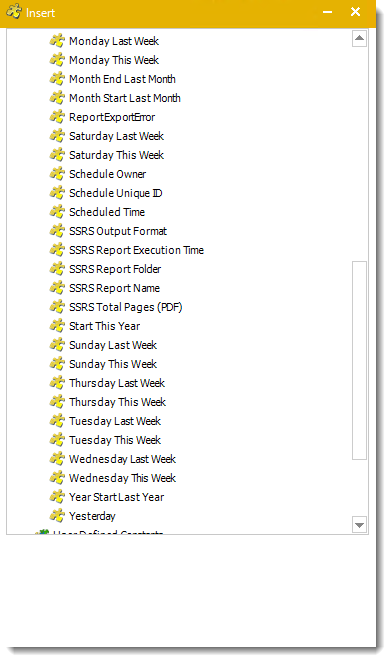
- Last Day of the Month: Returns to the last day of the month.
- LastResult: Returns to the last result.
- Last Run: Returns to the last run of the schedule or package.
- LastestResult: Returns to the latest result of the schedule or package.
- LatestRunTime: Returns to the latest run time of the schedule or package.
- Monday Last Week: Returns the date for last Monday.
- Monday This Week: Returns the date for this Monday.
- MonthEndLastMonth: Returns the date of the last day of last month.
- MonthStartLastMonth: Returns the date of the first day of last month.
- SaturdayLastWeek: Returns the date for last Saturday.
- SaturdayThisWeek: Returns the date for this Saturday.
- Schedule Owner: Returns to the schedule owner.
- Scheduled Time: Returns to the scheduled time.
- StartThisYear: Returns the date of the first day of this year.
- SundayLastWeek: Returns the date for last Sunday.
- SundayThisWeek: Returns the date for this Sunday.
- ThursdayLastWeek: Returns the date for last Thursday.
- ThursdayThisWeek: Returns the date for this Thursday.
- TuesdayLastWeek: Returns the date for last Tuesday.
- TuesdayThisWeek: Returns the date for this Tuesday.
- WednesdayLastWeek: Returns the date for last Wednesday.
- WednesdayThisWeek: Returns the date for this Wednesday.
- Year Start Last Year: Returns the date of the first day of last year.
- Yesterday: Returns the date of before.
For certain PBRS constants, you can adjust the constant's value by a certain increment (days, hours, minutes, etc).
User Defined Constants
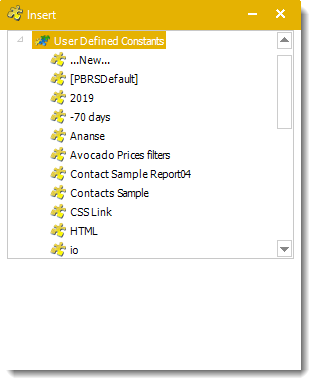
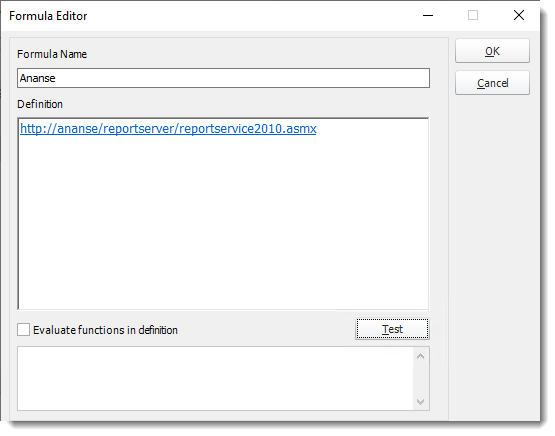
To use User Defined Constants, select @@User Defined Constants from the Type list and then select the constant you want from the resulting Name list. Or select New to create a new constant. You can insert other constants and create a new formula of your own.
- If you would like even more functionality, you can now use Javascript in your custom constant definition.

- For more information about User Constants Data, click here.
Parameters
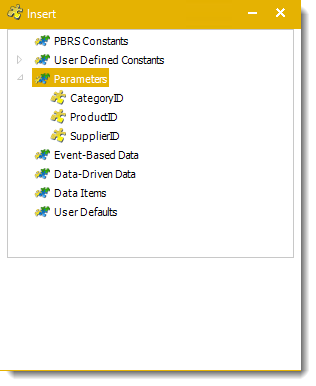
Parameters Inserts are only available on Paginated Reports on Premise or SSRS Reports.
- If the Paginated Reports on Premise or SSRS Reports have parameters, the values of the parameter will appear here.
- Use these to insert the current report parameter value into an email, report name, etc.
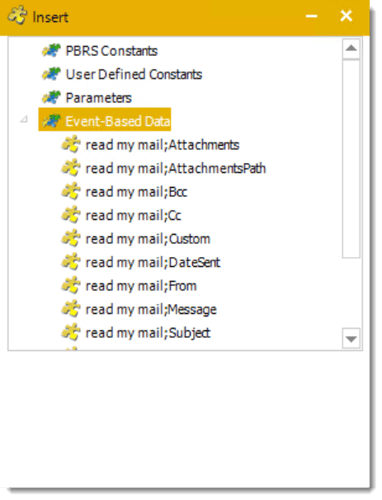
Event-Based Data
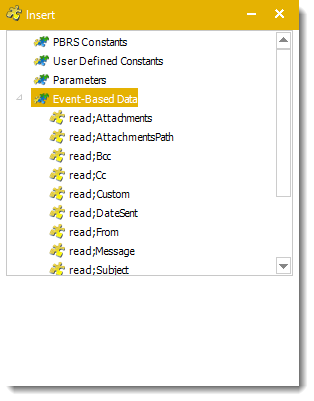
- Once you set up the Event-Based Condition, the data from the Event-Based Condition will appear here.
- Data from the database record or email body that triggered off the event can be inserted into emails, reports etc.
- For instructions on how to parse the body of an email, see the last section of this page.
Data-Driven Data
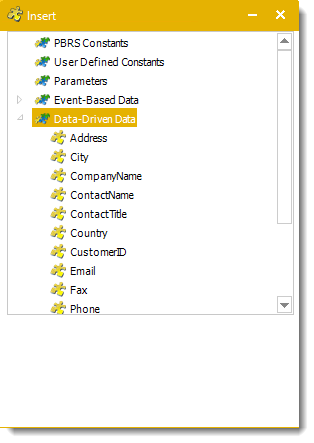
Data-Driven Data inserts are only available on Data-Driven Schedules or Data-Driven Packages.
- Data from the data driver can be inserted in all possible areas to drive the schedule.
- For more information on Data-Driven schedules, click here.
Data Item
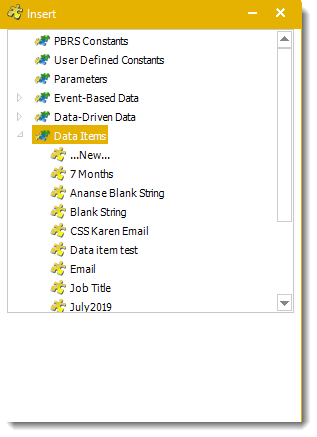
- Construct a SQL statement to collect the information from a database field. Selecting this option will bring up the Data Items Module.
- Here you can pick an already existing SQL script, or construct a new one to query a database and return a specified value.
User Defaults

- Default Attachment: This will insert the attachment in the Default Attachment field from the User Defaults menu (in Options).
- Default Message: This will insert the wording in the Default Message field from the User Defaults menu (in Options).
- Default Signature: This will insert the wording in the Default Signature field from the User Defaults menu (in Options).
- Default Subject: This will insert the wording in the Default Subject field from the User Defaults menu (in Options).
- For more information on User Defaults, click here.
How to parse the values in the body of an email and insert them into PBRS fields?
- For an Unread Email event, PBRS can read the body text of the email and place selected values into Event-based constants.
Here is an example:
- Mary has an email that will contain values, and she wants the values to update a database. Here's how she would set it up in PBRS.
- Firstly, PBRS will expect the email text to be in the format [Constant]:[Value]. Here is how Mary will set up her email:
EmployeeID: xxxxx
EmployeeName:yyyyy
EmployeeStartDate:zzzzzzzz
- As you can see, the required constant is on the left of the colon (:) and the required data is on the right.
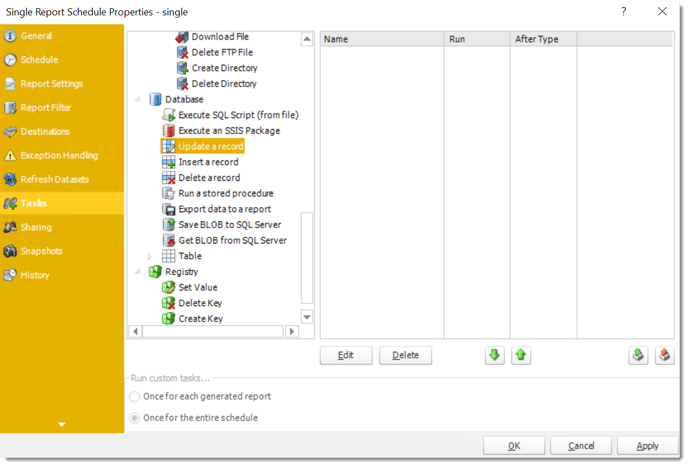
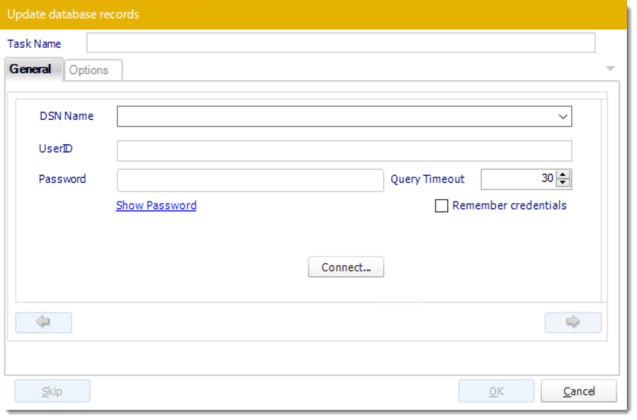
- To insert the data into her database, Mary uses an "Update a database" custom task as shown below:
- She inserts Event-Based Constants, selecting a Custom Constant:
- She types in the Custom Field Descriptor:
- When she drags the Insert, "<[e]Read my Email;To>" is placed in the field:

- She clicks the down arrow to add the statement to the list. And repeats the process for all the custom constants she will need to parse the email.
- The above instruction tells PBRS to read the email body text and to place the value to the right of "EmployeeID:" in the database.
The colon (:) is only required in the email body. It is not used as part of the definition process above, but PBRS will automatically read the value to the left of the colon and apply the data to the right of the colon.