How do I setup Default Destinations in PBRS?
Default destinations are destinations which can be reused each time you create a schedule (without having to enter the same destination information over and over again).
Options - Default Destinations
- Go to Options.

- Select Default Destinations.
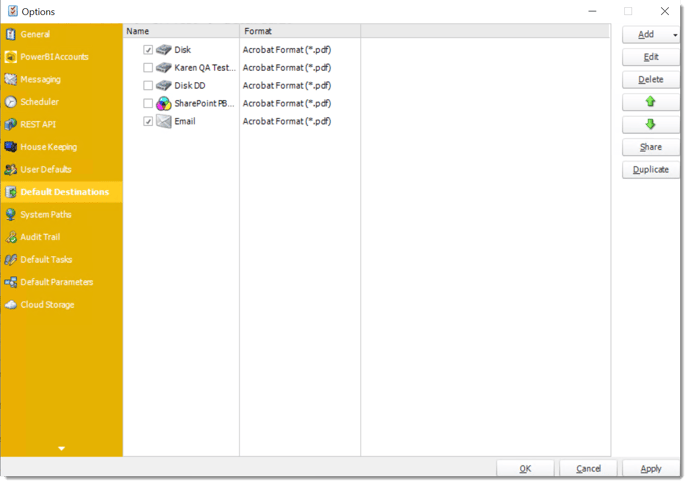
Adding a Default Destination
To add a Default Destination, perform the following:
- Click Add
- Select the Type of destination from the drop-down list.
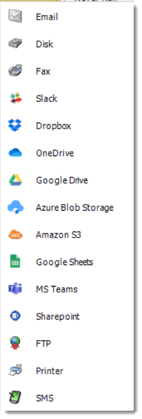
- Enter the name you wish the destination to be called, click OK on the Destination window. Then, click Apply.
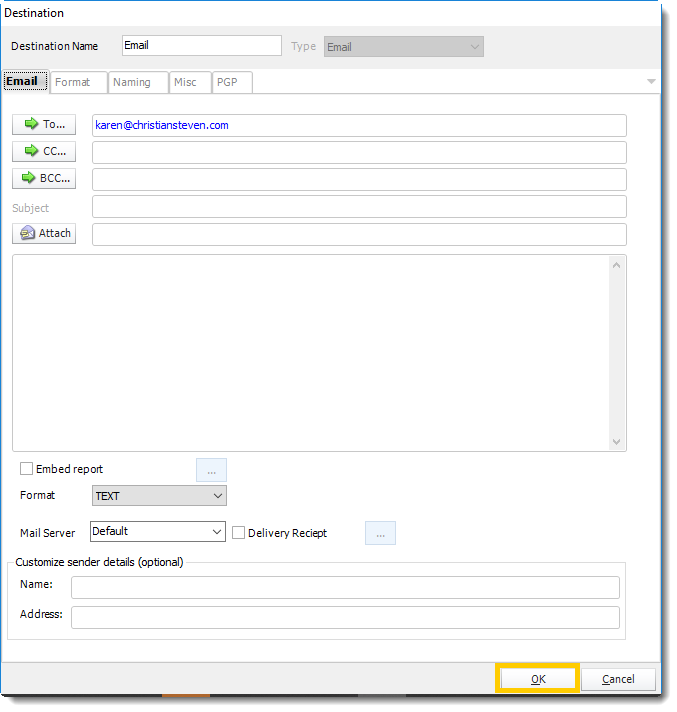
- The Default Destination has been successfully created.
Using a Default Destination
To add the Default Destination to a schedule, perform the following:
- Navigate to the Destinations tab of the Schedule Properties and click Import.
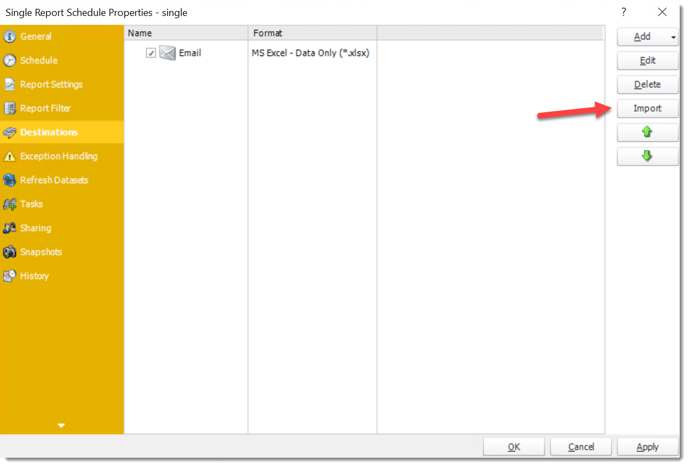
- Select the Default Destination you wish to use and click OK.
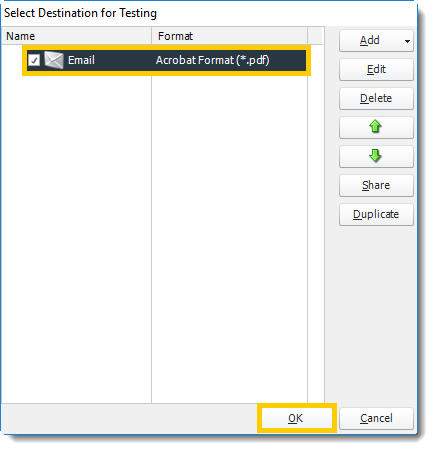
- Click Apply.
This report will now use the specified default destination without the need to set up the destination specifics.
Testing Using a Default Destination
One of the features of PBRS is the ability to set up specific default destinations for testing purposes (such as a test folder on the server's C: drive or a testing e-mail address).
To test a schedule using a default destination instead of the schedule's actual destination, perform the following:
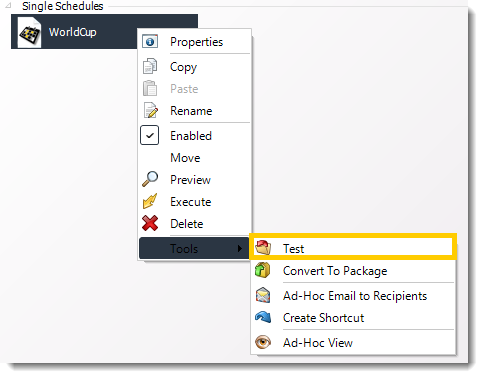
- Right-click on the schedule you wish to test.
- Click Tools. Then, click Test.
- Click the destination you wish to use from the list of Default Destinations that pops up. Then, click OK.
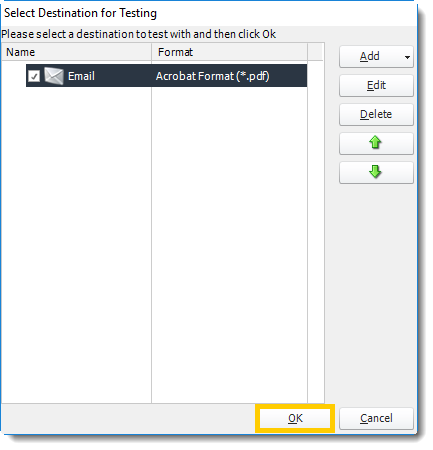
Once you click OK, the schedule will automatically execute to the test destination, and you will receive a success or failure message.
Sharing Default Destinations
- Default Destinations can be assigned to specified user groups. These groups are created in the User Manager. If you want to "pre-make" a destination so that a certain group of users can only have schedules export to that location, you can find how to assign them that default destination.