How do I install IntelliFront BI?
This is a step by step installation process for IntelliFront BI.
- Before beginning the installation, please ensure that ALL of the prerequisites listed on the IntelliFront BI Prerequisites page have been met. This ensures that IntelliFront BI runs as expected. Failure to meet the listed prerequisites may result in errors occurring.
Preparing for the Installation
These steps must be completed prior to running the IntellIFront BI installer.
After downloading and extracting the latest build/version of IntelliFront BI, perform the following steps:
User Account Control
- If you are installing IntelliFront BI for the first time on this machine, turn off the User Account Control (UAC). You can turn it back on once the installation of IntelliFront BI has completed.
- You must be logged into the server as a local administrator for IFBI to install.
Unblock the IFBI installer
- Open the appropriate IntelliFront BI version/build folder.
This is most likely located in your Downloads folder.
- Highlight and then right-click the IntelliFrontSetup file.
Note: Newer versions of Intellifront have disabled Elmah/API logs by default from outside the server for better security. On older versions of Intellifront these logs are still visible so they may need to be disabled manually from the Intellifront server.
Beginning the Installation
To install the latest build/version of IntelliFront BI, perform the following steps:
- Right-click the IntelliFrontSetup.exe and select Run as Administrator.
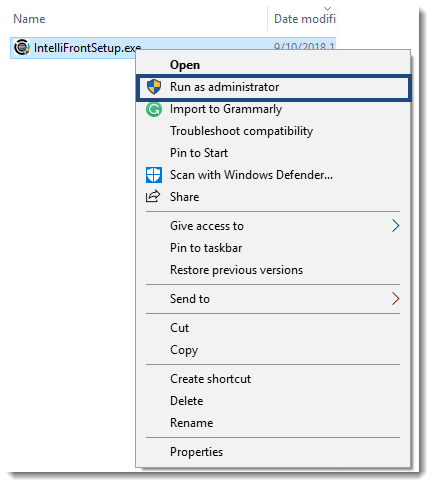
Unzipping the files
- You can unzip the files to the default location or to a location of your choice.
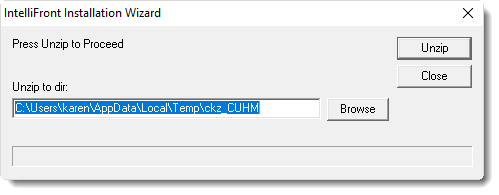
- Click Unzip to unzip the files, this will take a few minutes.
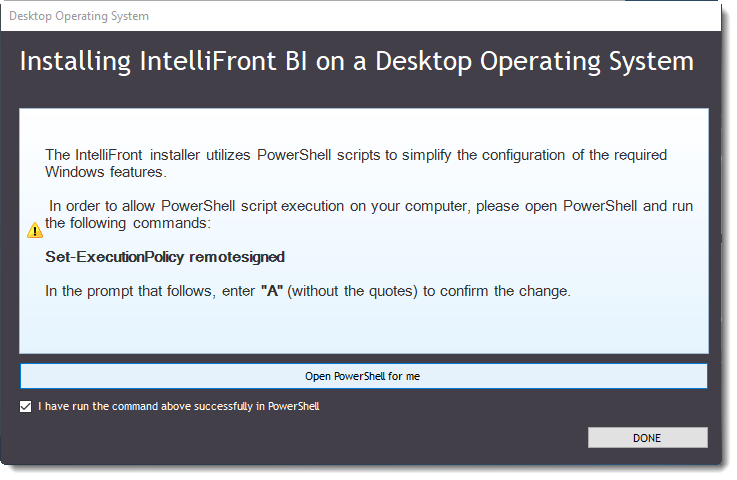
- After unzipping is complete if you are installing IntelliFront BI on a Desktop operating system the following dialogue box will automatically be displayed for you to enable PowerShell script execution.
- To do this click on the option to Open PowerShell for me.
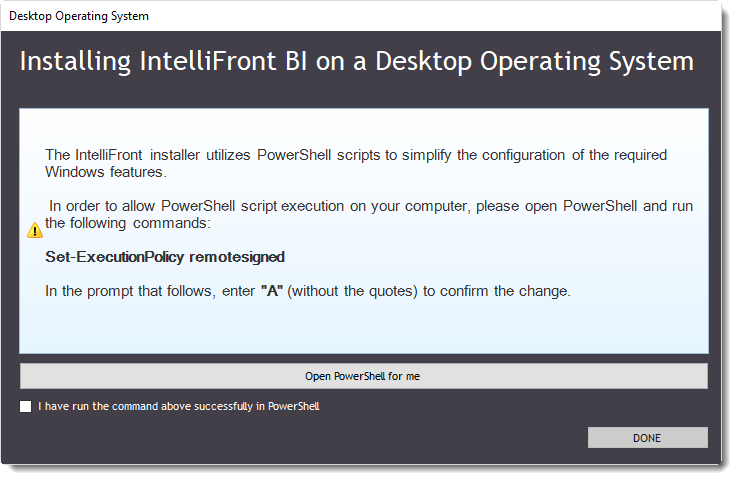
Make sure you are running Power shell as an administrator.
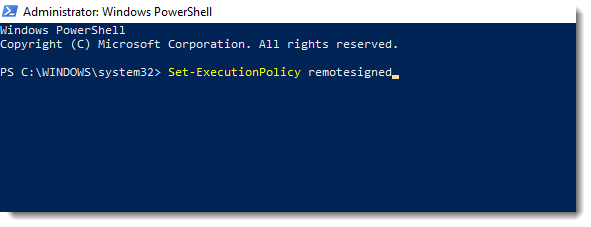
- From this screen Type in Set-ExecutionPolicy remotesigned.
- Press Enter.

- In the prompt that follows press A.
- Once you have done this return to the installation wizard and check the box for I have run the command above successfully in PowerShell.
- Click Done to continue with the installation.
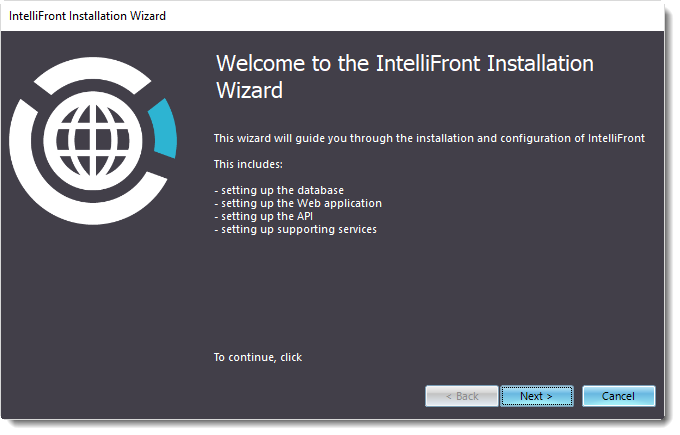
- Click Next.
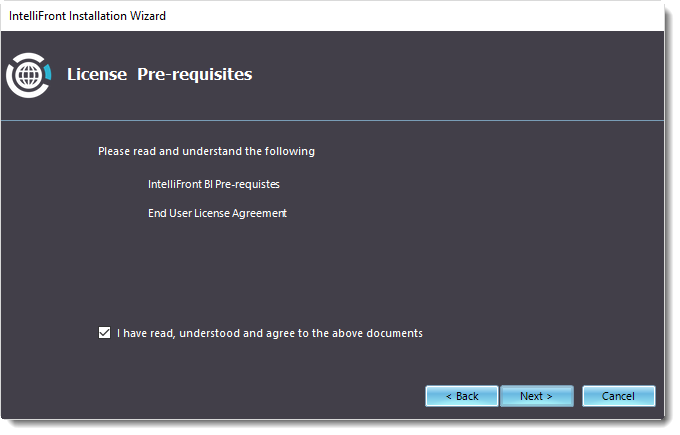
- Please read and understands the Pre requisites and End User License Agreement documents before continuing with installation.
- Check to say that you have read and understood before clicking Next to continue with the installation.
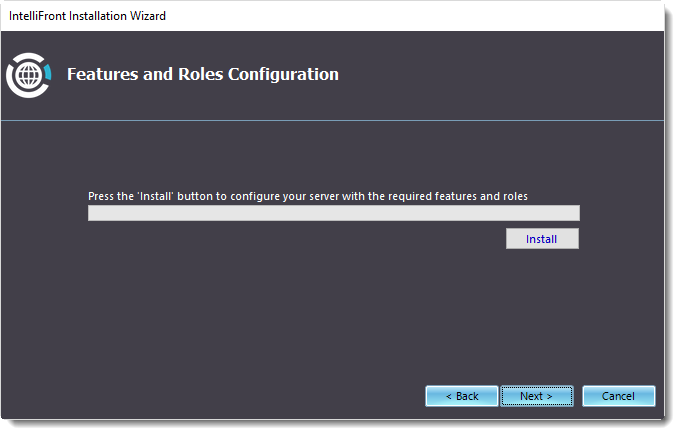
- Click Install.
SQL-Server 2016 Setup
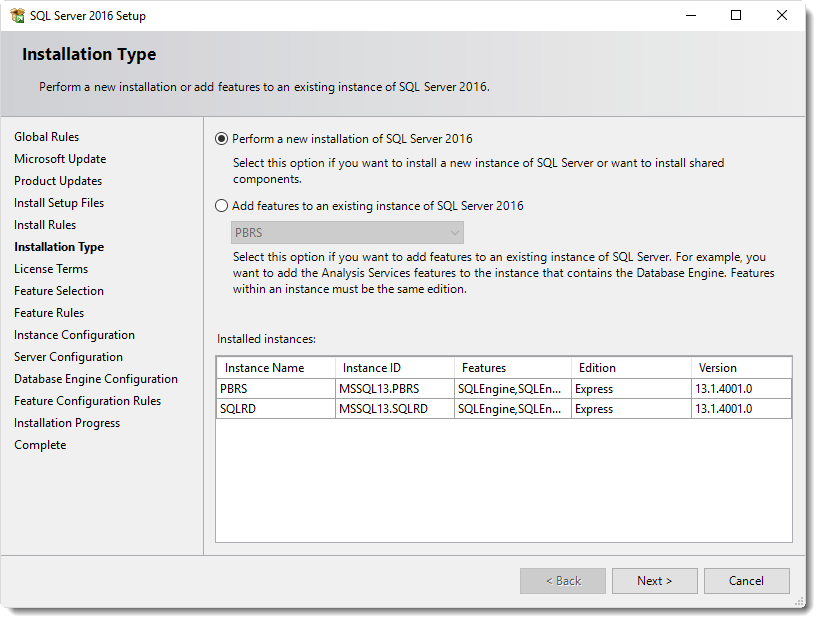
- If you already have a version of SQL Server 2016 installed on the machine where you are installing IntelliFront BI you may be asked to perform a new installation or add features to an existing instance.
We recommend a new installation of SQL-Server 2016
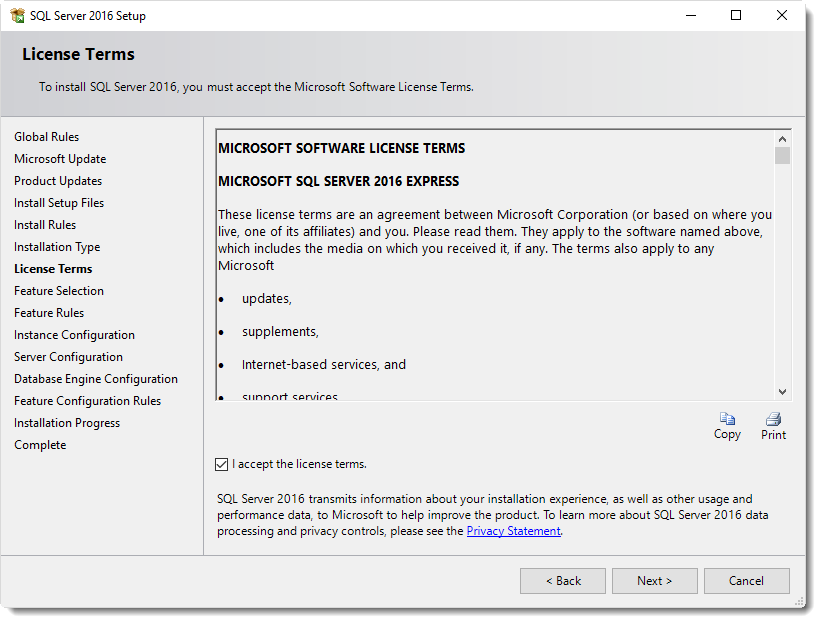
- After selecting new installation, check to accept the license terms.
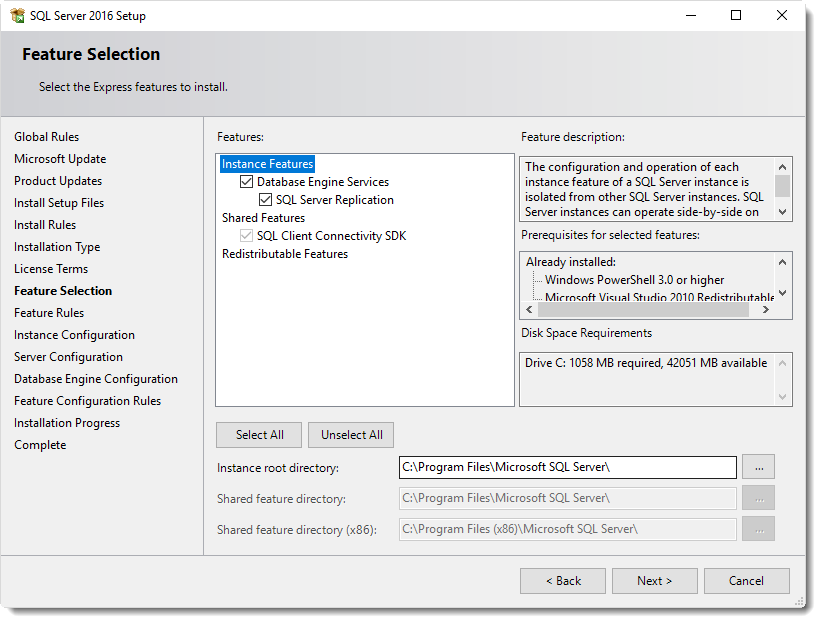
- You can accept the defaults.
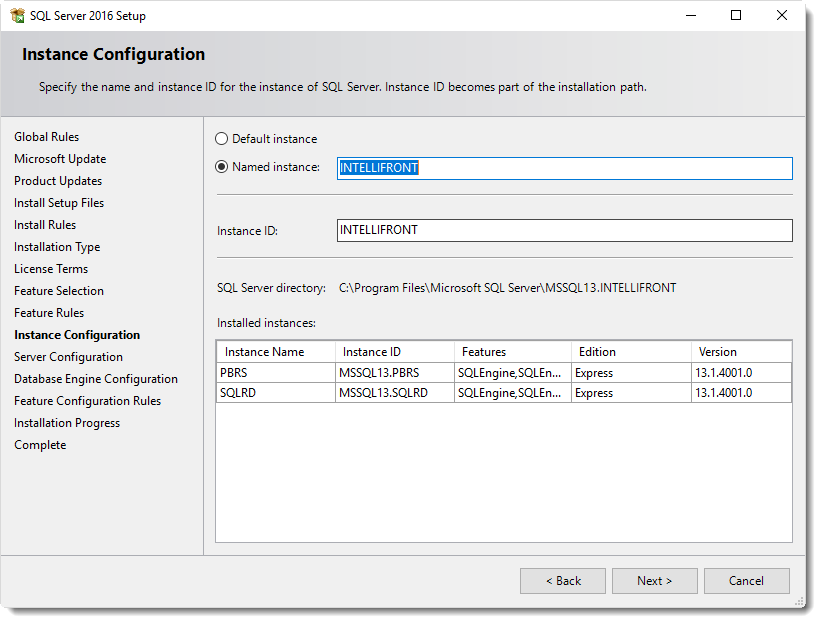
- Named Instance: Intellifront
- Instance ID: IntelliFront
- Click Next.
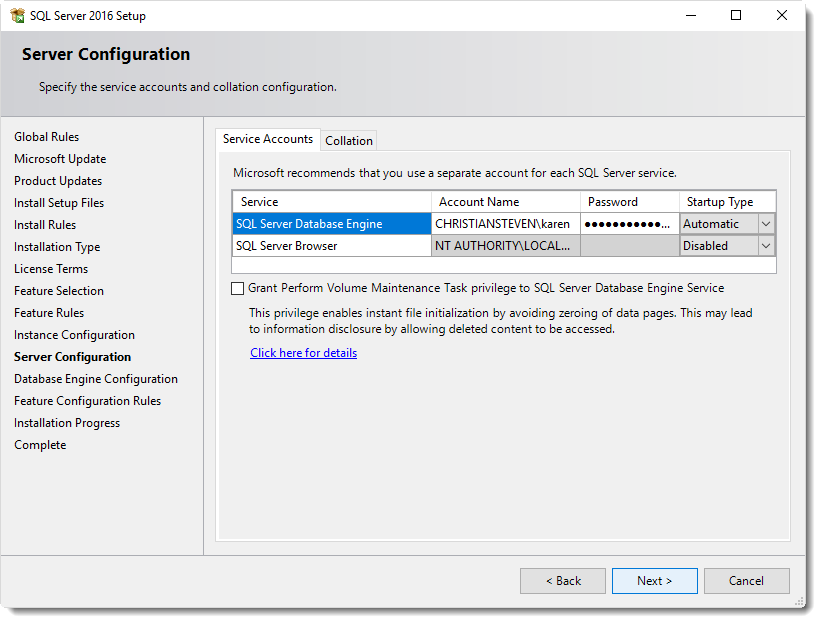
- Accept the defaults and click Next.
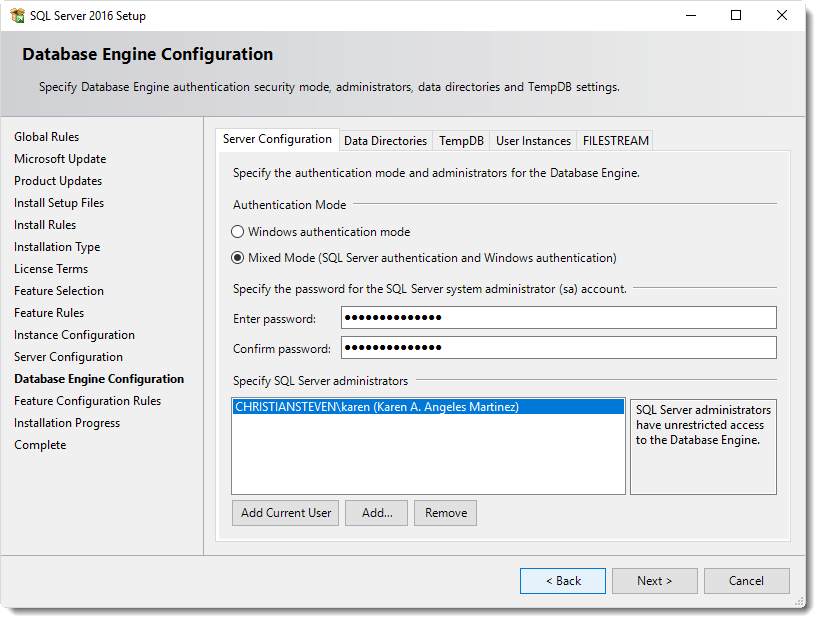
- Enter the password for the SQL Server Administrator. Confirm the password.
- Click Next.
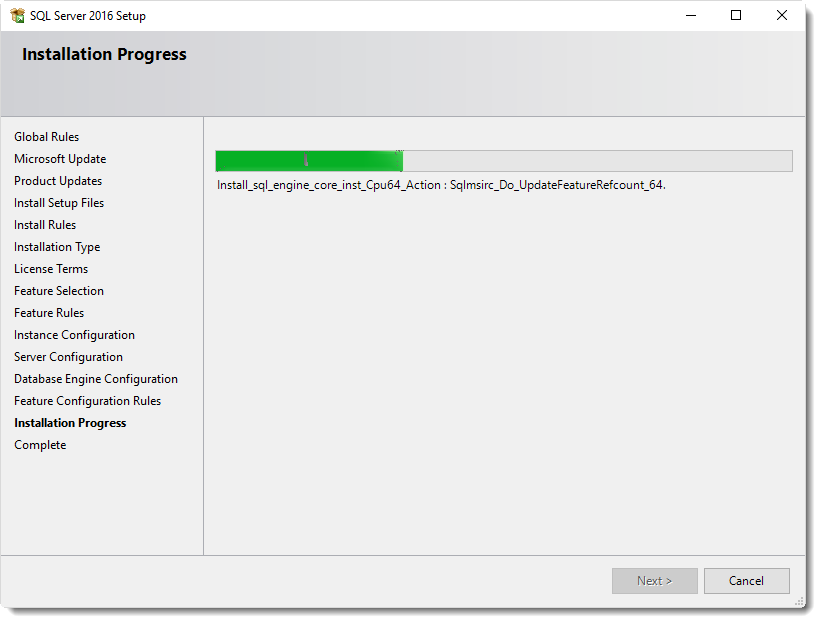
- Once installation of the SQL Server 2016 has been completed the following screen will be displayed.
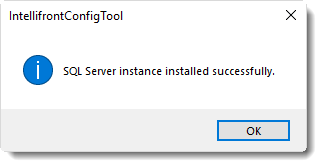
- Click OK.
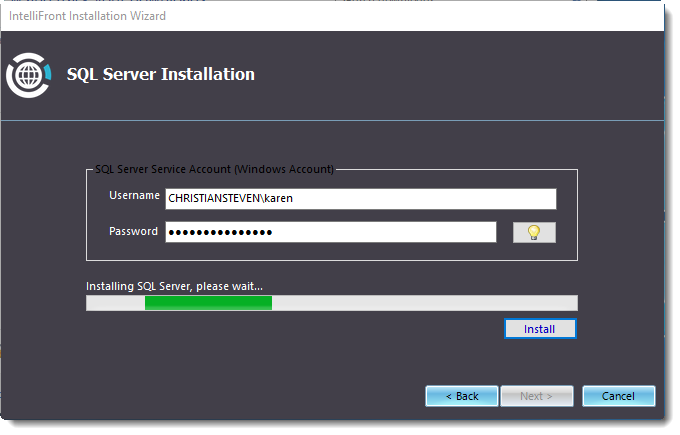
- Click Install if install does not continue automatically.
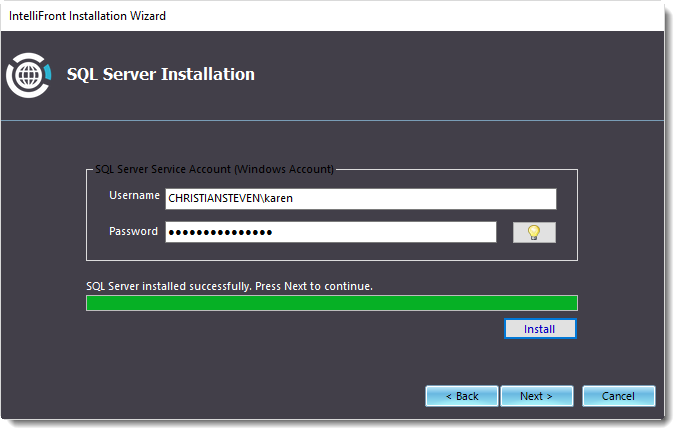
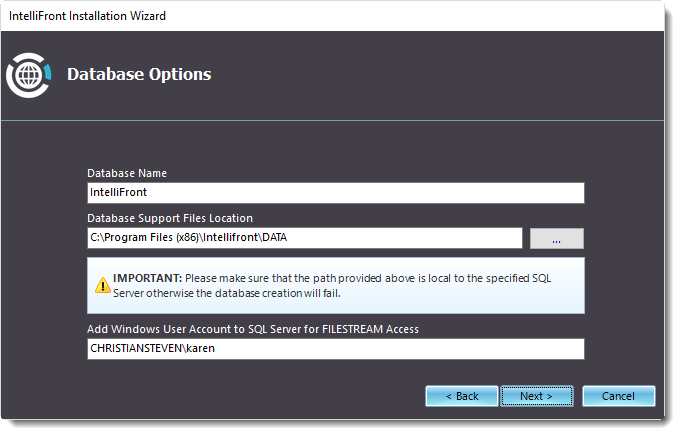
- Click Next.
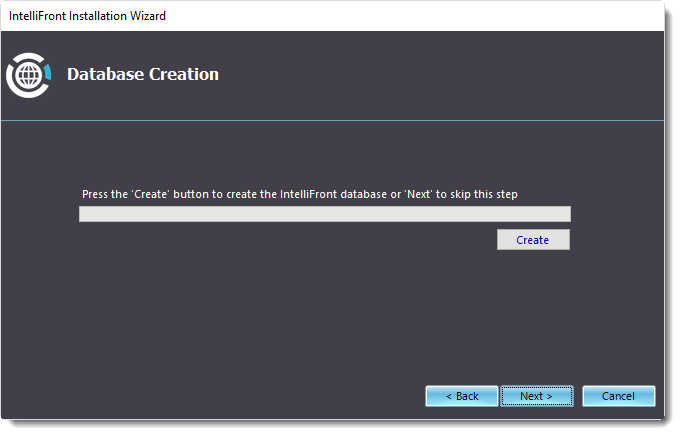
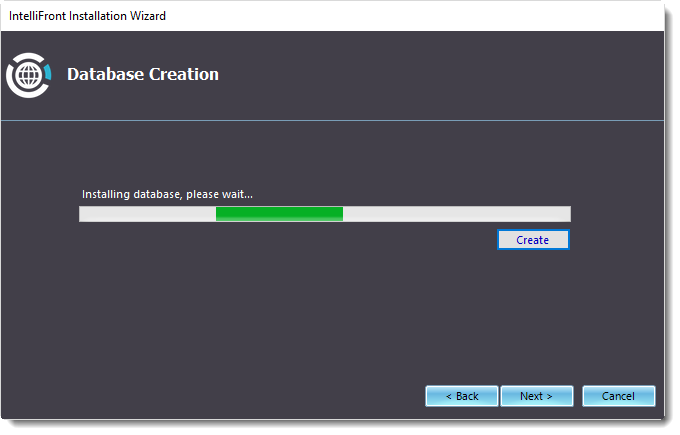
- Click Create to create Database.
- Once the Database has been created successfully the following message will be displayed.
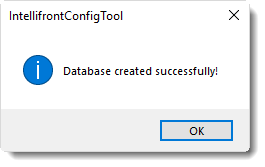
- Click OK.
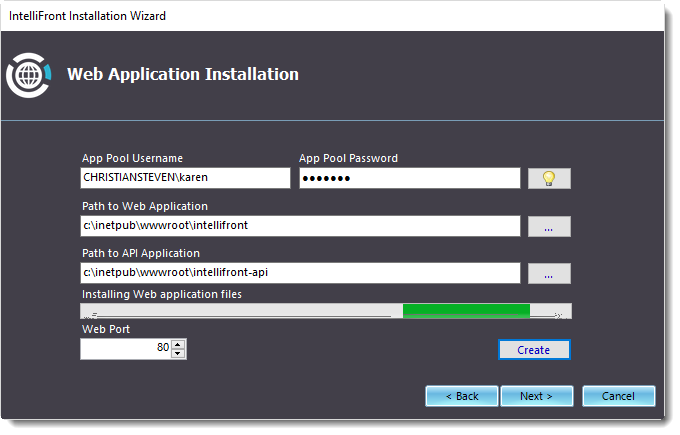
- Click Create to create the Web Application installation.
- The IntelliFront - Web set up wizard will now be displayed. Follow all the steps in the Wizard.
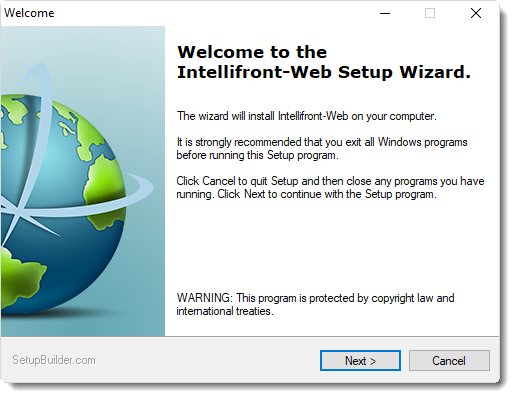
- Click Next.
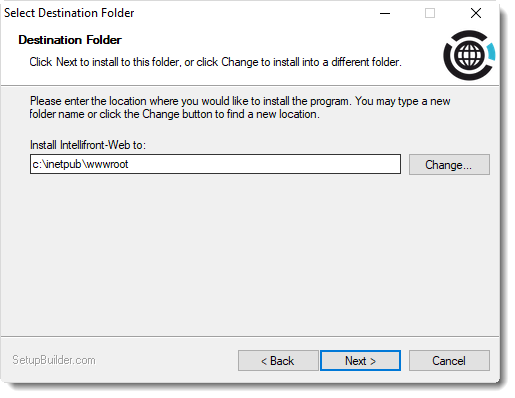
- Accept the default path or change it if you need to.
- Click Next.
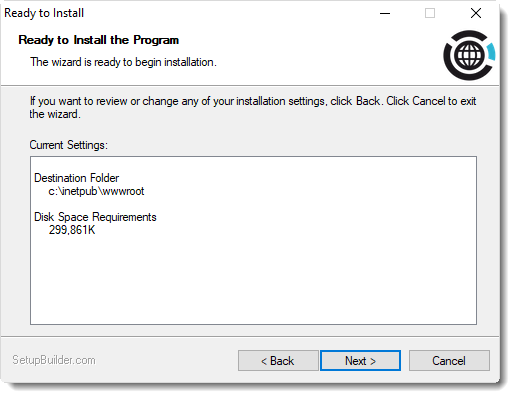
- Click Next.
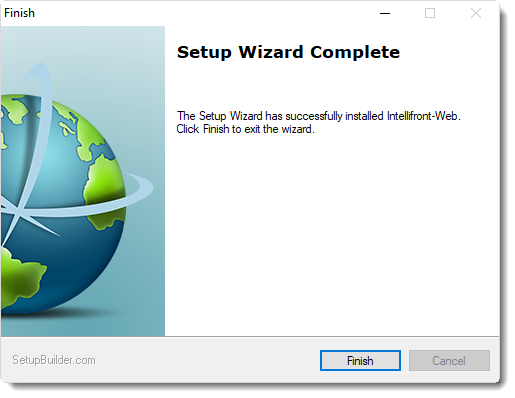
- Click Finish.
- The Microsoft IIS installer will now open.
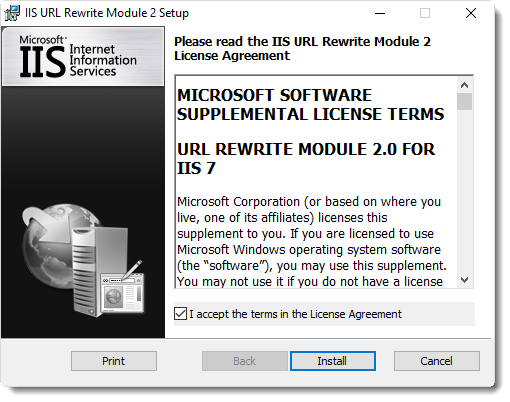
- Accept the license terms to begin the installation.
- Click Install.
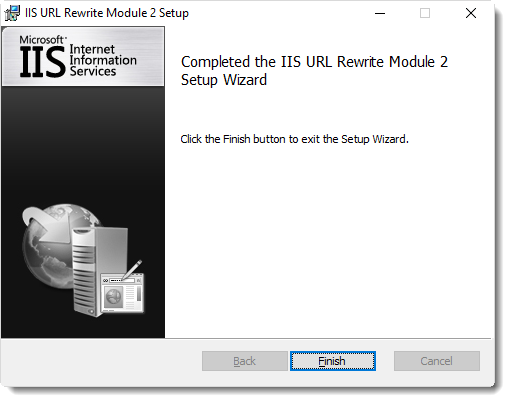
- Click Finish.
- Create an IntelliFront BI Administrator User.
- You will need to use the information to log into IntelliFront BI after the installation is completed.
The Password must contain:
-
- An Upper Case Letter
- A Symbol
- No First or Last Names
- No Illegal Characters (%/,?)
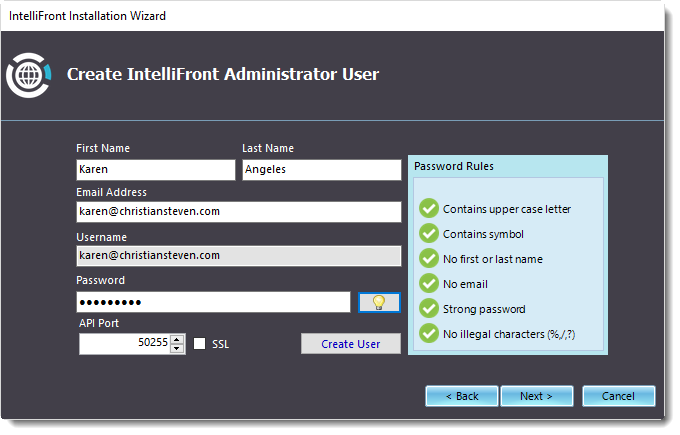
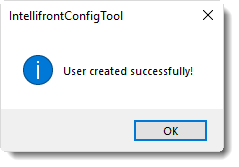
- When you have all green checkmarks for the password, click Next.
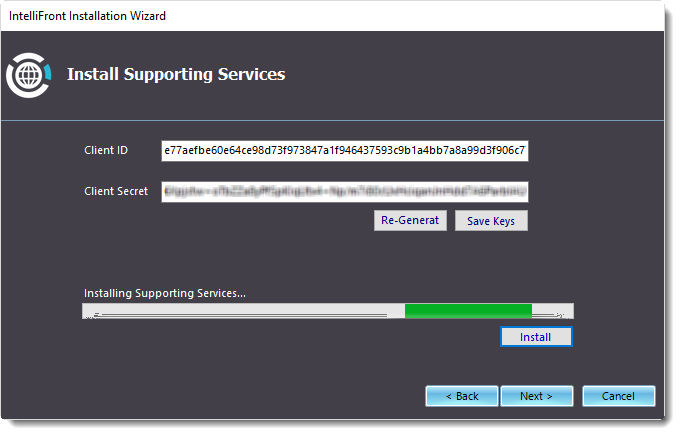
- The Client ID and the Client Secret will be populated automatically.
- Click Install to Install the supporting services.
- The IntelliFront Set up Wizard will now open.
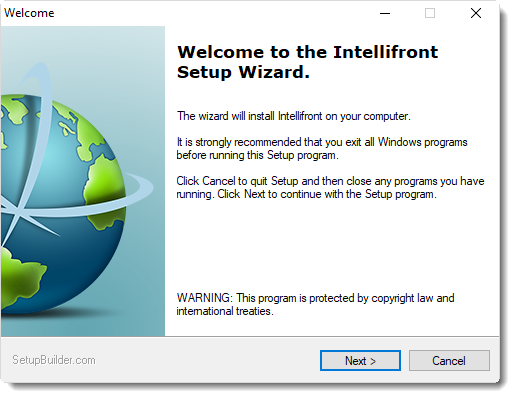
- Click Next to begin the Installation.
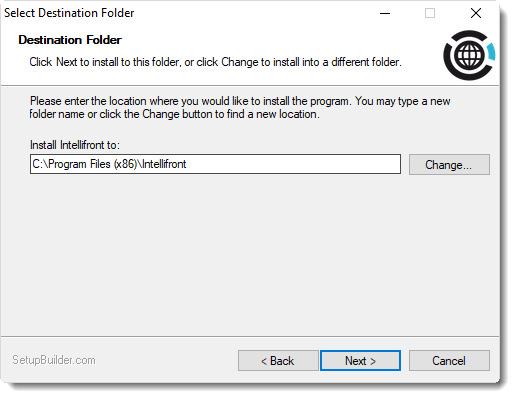
- Click Next.
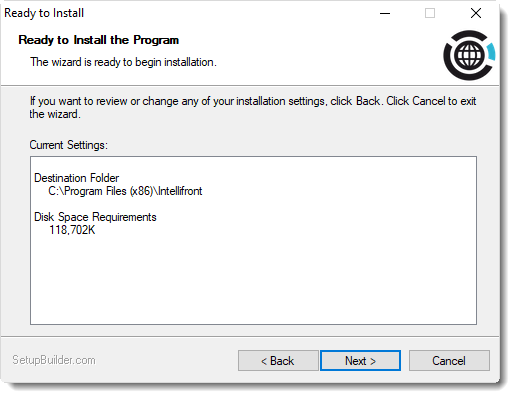
- Click Next.
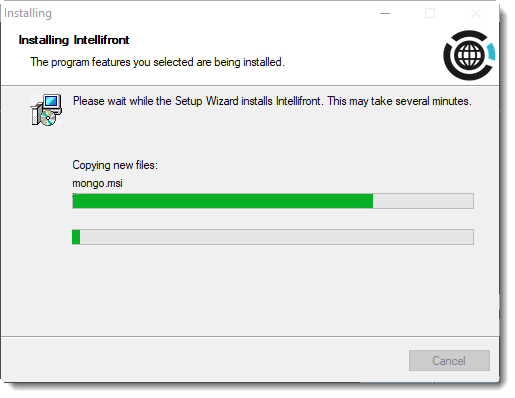
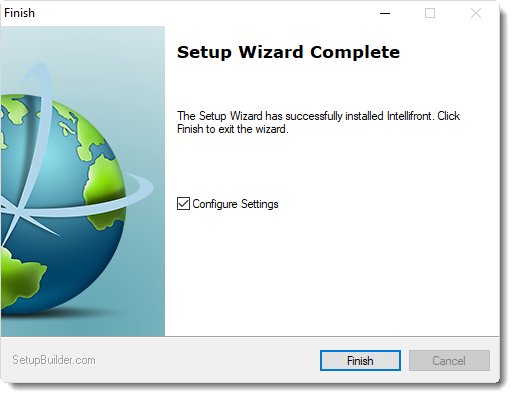
- Click Finish.
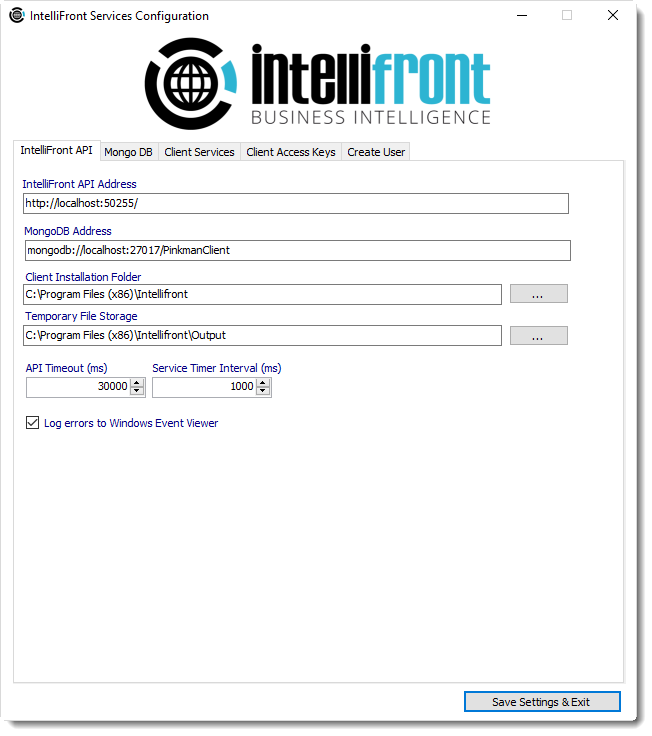
- Once all the Wizards have installed successfully the following screen will be displayed.
IntelliFront API
Mongo DB
- Here you can install a Mongo DB if you wish.
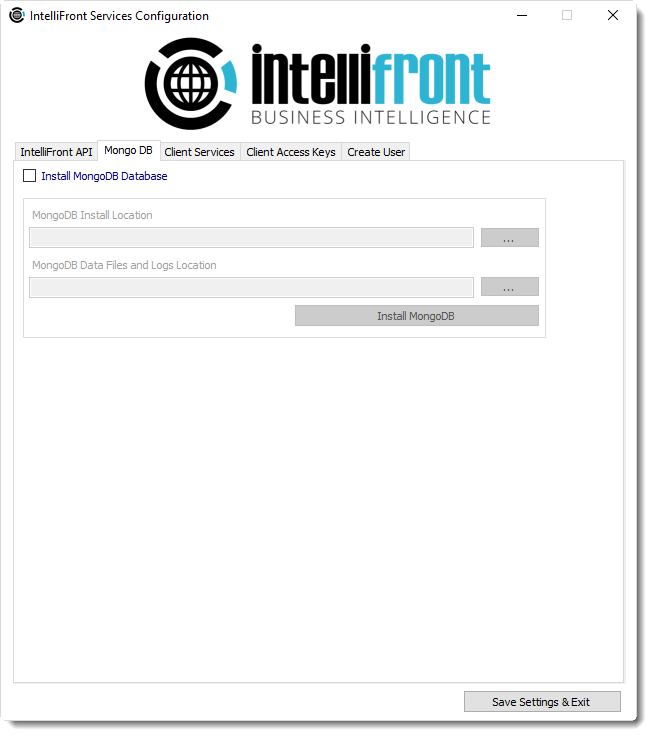
- Check the option to install a Mongo DB.
- Complete the Install location information if you require it to be different from the defaults.
- Click Install MongoDB.
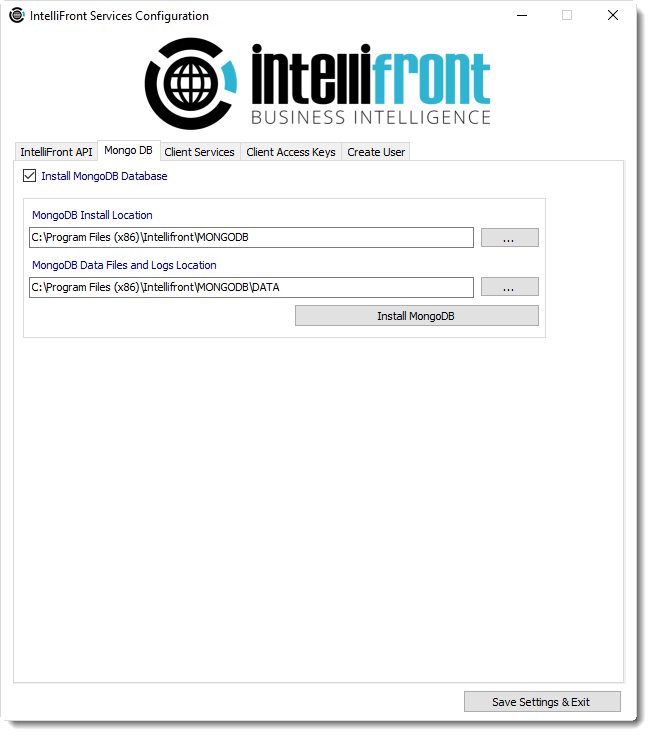
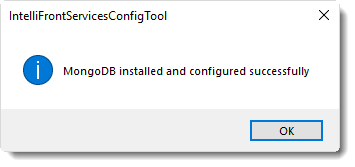
- Once the MongoDB has been successfully installed the above message will be displayed, Click OK.
Client Services
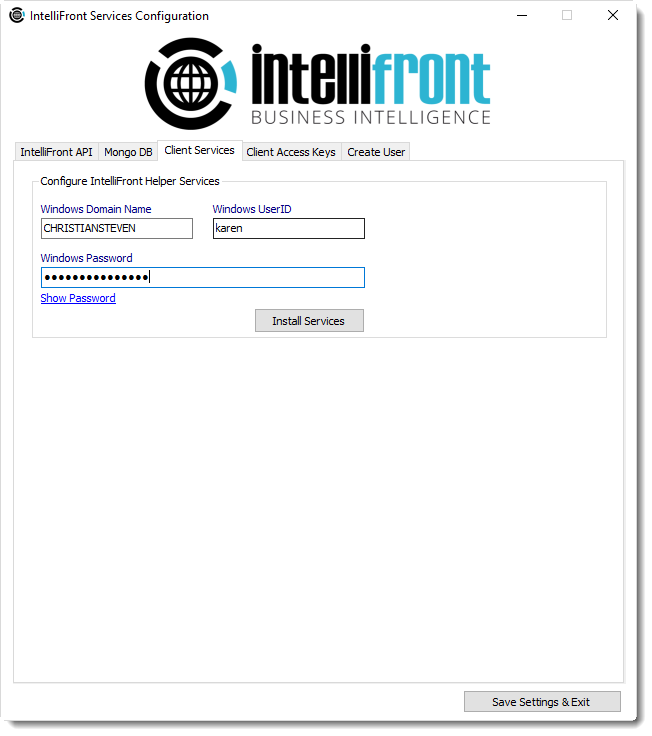
- Enter the Windows Domain.
- Windows User ID.
- Windows password.
- Click Install Services.
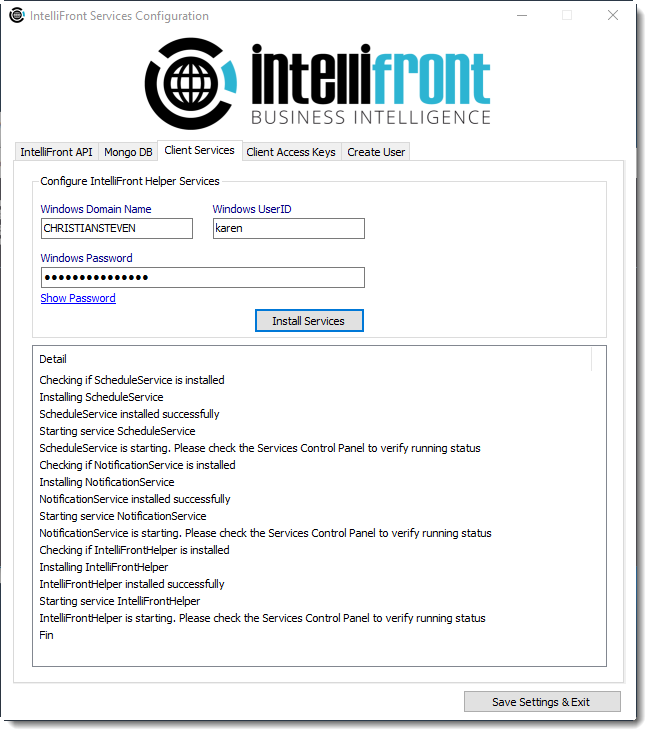
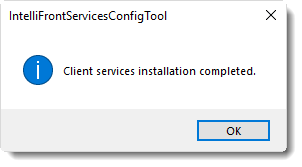
- Once the Client Services have been installed correctly the following message will be displayed.
- Click OK.
Client Access Keys (Optional)
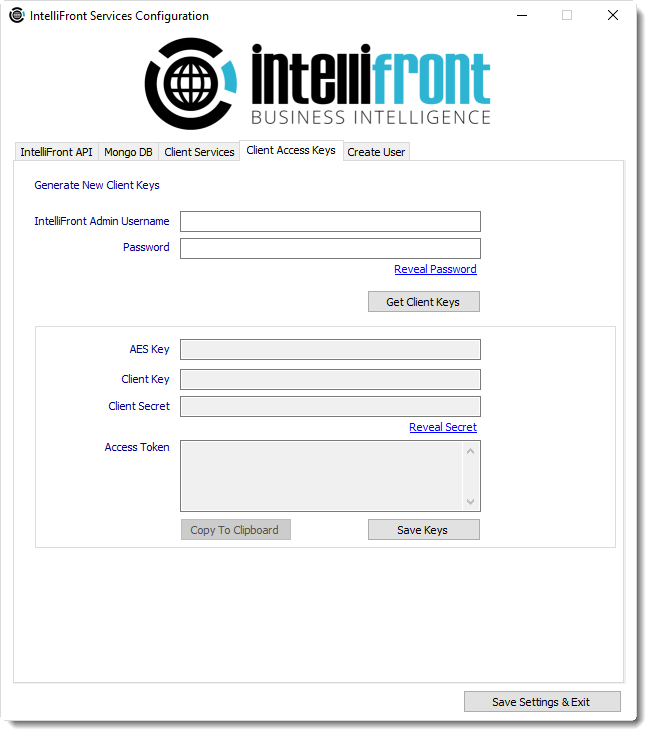
- This keys are used for the services authentication to be able to communicate with IntelliFront API.
Create User
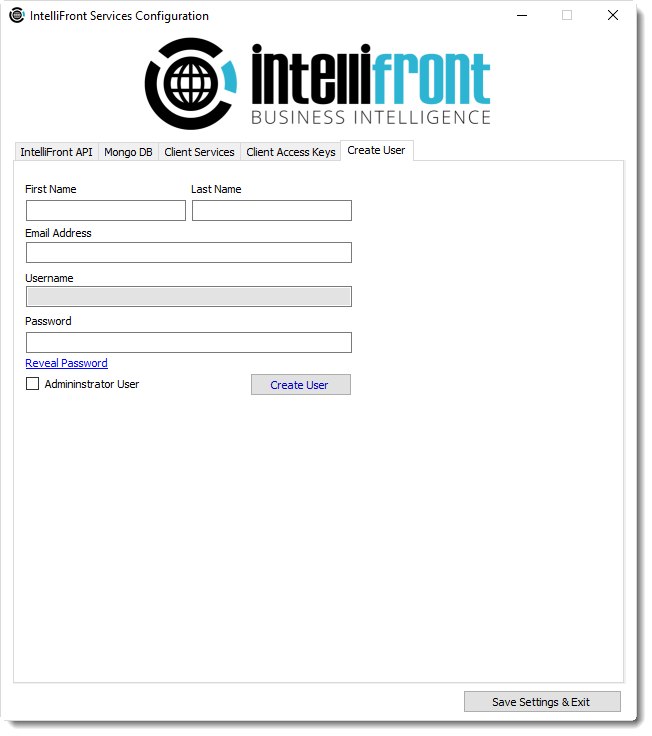
- Create an additional IntelliFront BI user here if you wish.
- Once completed ALL tabs click Save Settings and Exit.
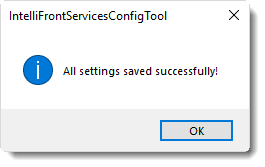
- Click OK.