How do I install CRD?
This is a step by step installation process for CRD (Crystal Reports Scheduler).
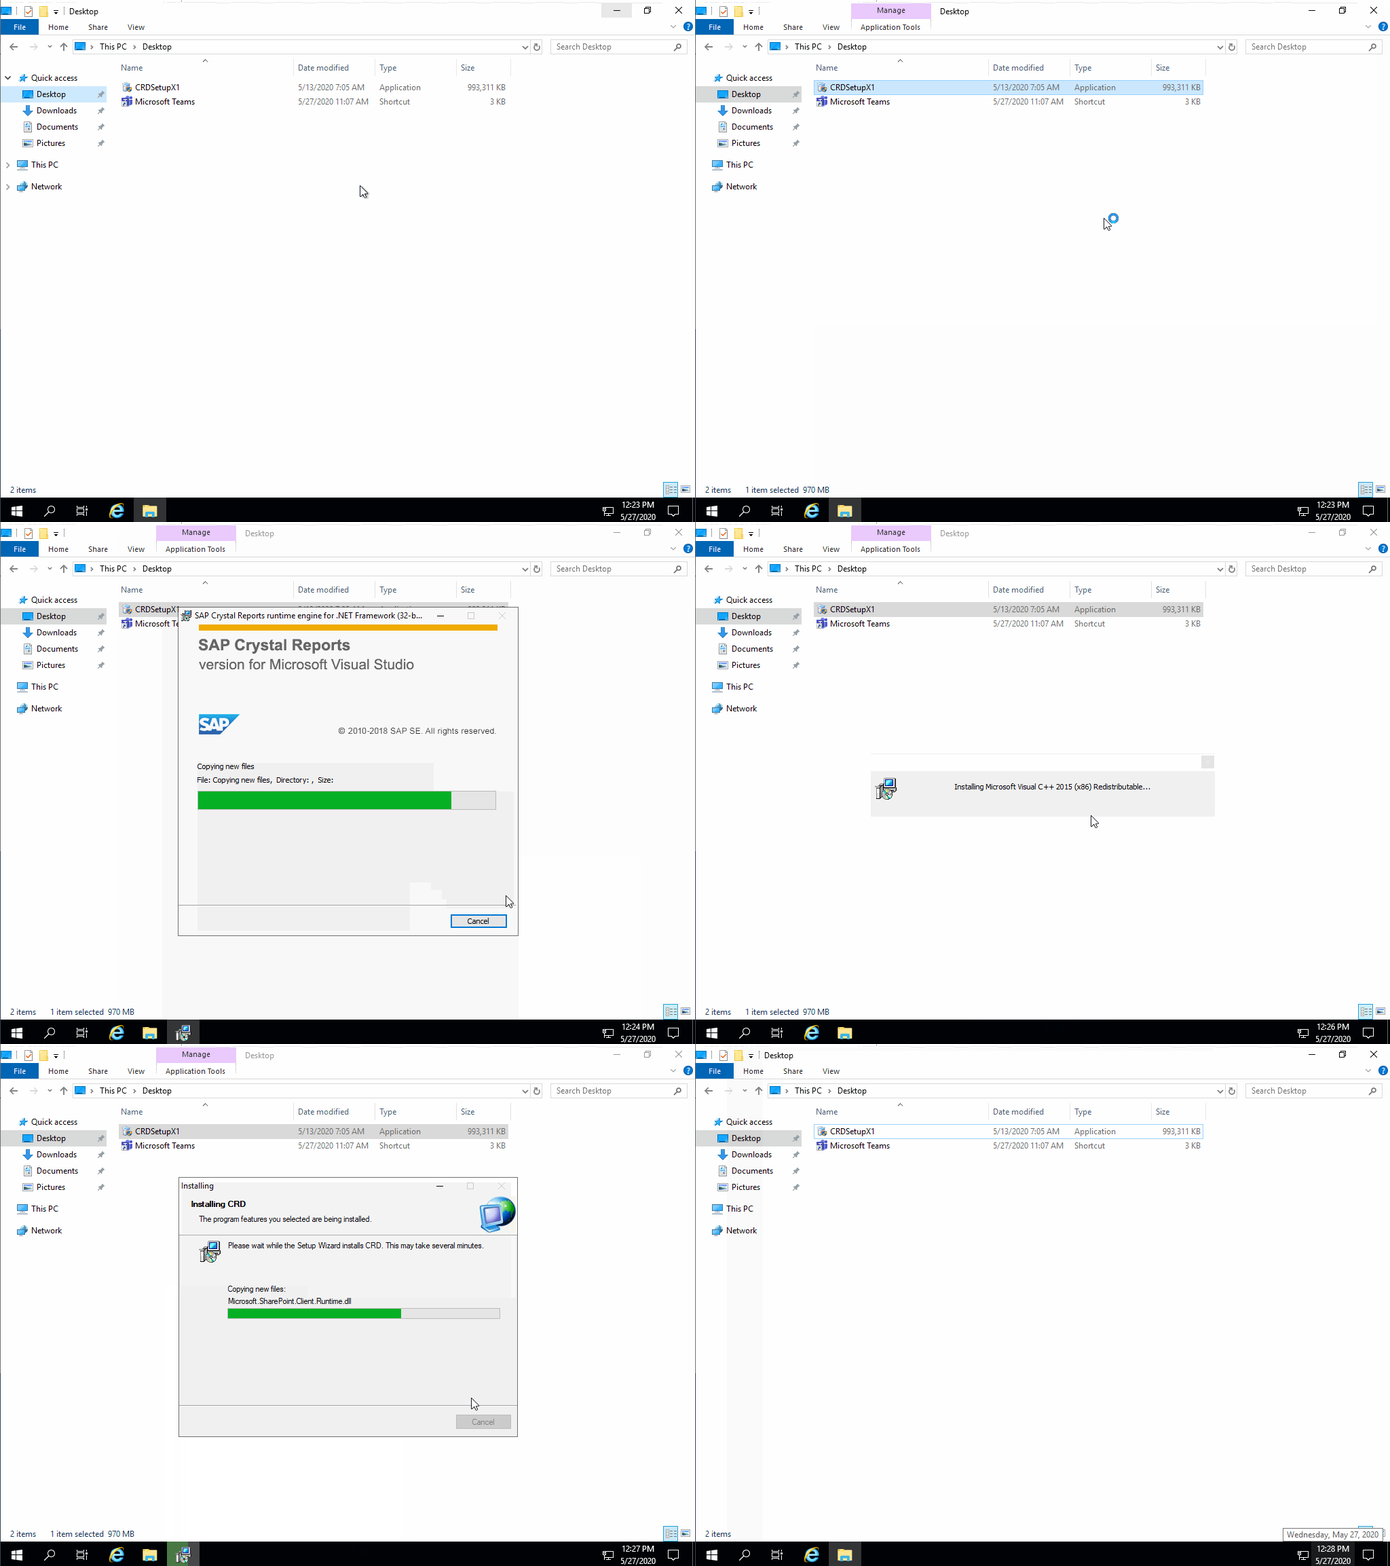
Before Installing...
- Before beginning the installation, please ensure that ALL of the prerequisites listed on the CRD Prerequisites page have been met. This ensures that CRD runs as expected. Failure to meet the listed prerequisites may result in errors occurring.
- A reboot of the CRD server will be required after installation is complete.
Preparing for the Installation
These steps must be completed prior to running the CRD installer.
After downloading and extracting the latest build/version of CRD, perform the following steps:
User Account Control
- If you are installing CRD for the first time on this server, turn off the User Account Control (UAC). You can turn it back on once the installation of CRD has completed.
Unblock the CRD installer
- Open the appropriate CRD version/build folder.
This is most likely located in your Downloads folder.
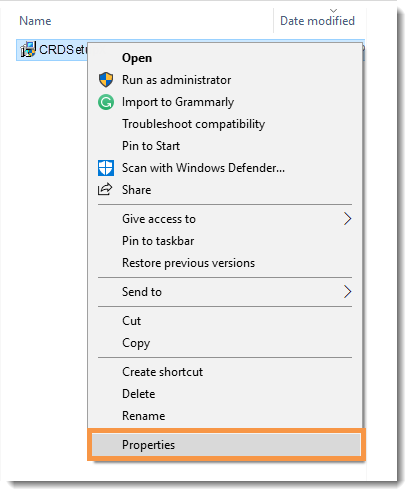
- Highlight and then right-click the CRDSetup file.
- Click Properties.
- On the General tab, click Unblock in the lower right corner.
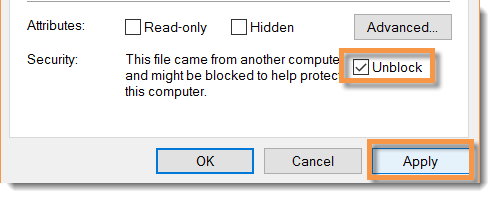
If Unblock is not present, the CRD installer is already unblocked.

Some security features, such as Windows SmartScreen, can block certain files or flag them as potentially unwanted. If the CRD installer is run without being unblocked, CRD will not run properly.
- Click Apply.
- Click OK.
Beginning the Installation
To install the latest build/version of CRD, perform the following steps:
- Double-click the CRDSetupX.
- Click Unzip.
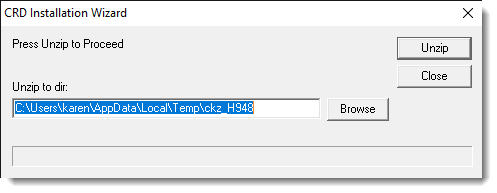
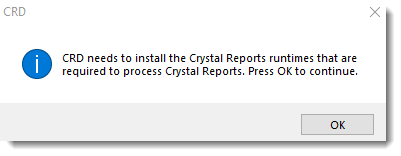
- Click OK.
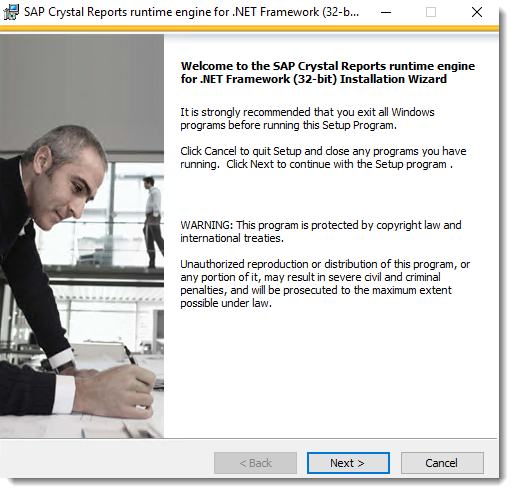
- Click Next to Install Crystal Reports Runtimes.
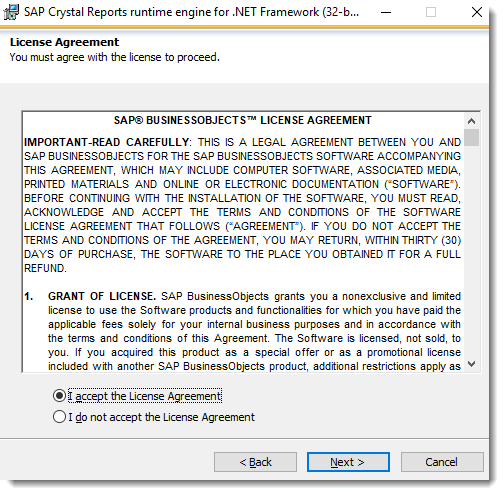
- Check I accept the License Agreement checkbox and click Next.
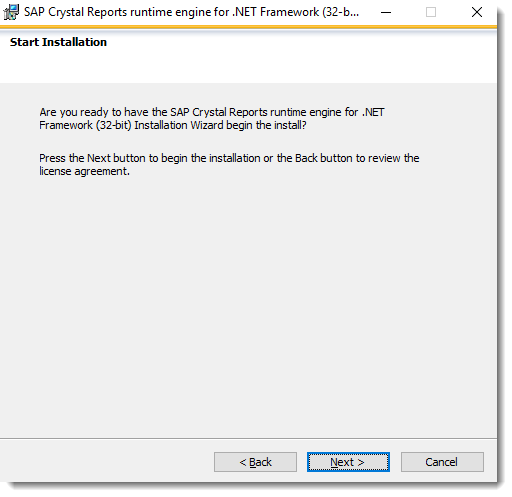
- Click Next to Sart Installing Crystal Runtimes.
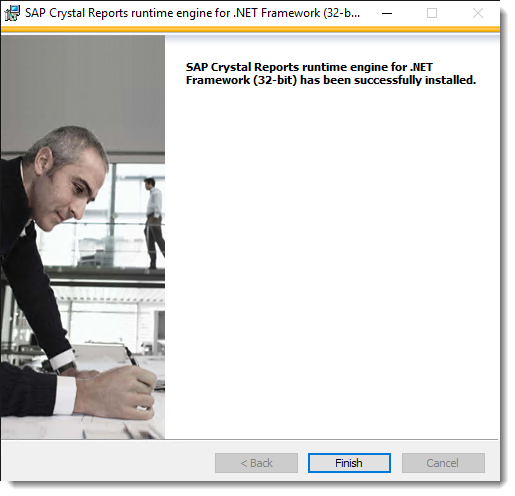
- Click Finish.
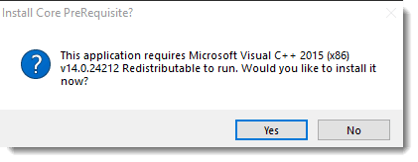
- Click on the Yes on the Install Core PreRequisite? pop-up window.
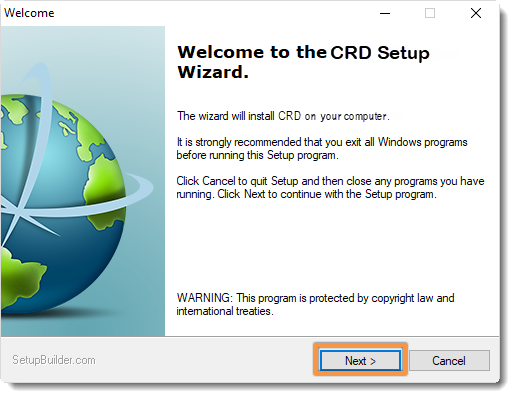
- Click Next on the Welcome message.
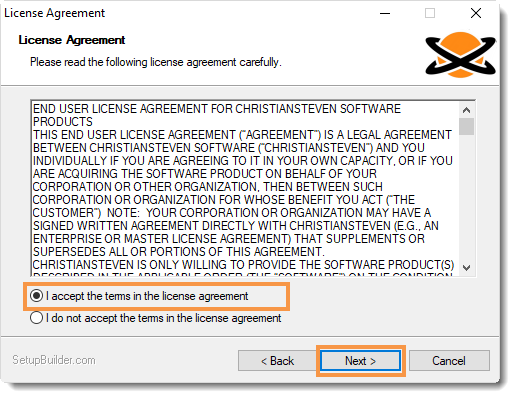
- Carefully read the License Agreement.
Once you have fully read and understood the License Agreement, click the radio button next to I accept the terms in the license agreement. Then, click Next.
If you do not accept the terms of the license agreement, you will not be able to proceed with the installation.
- Now, you will see the Select Destination Folder screen. You can choose to leave the default destination folder that is currently listed or select your own. Click Next.
Leaving the default destination as the destination folder is recommended.
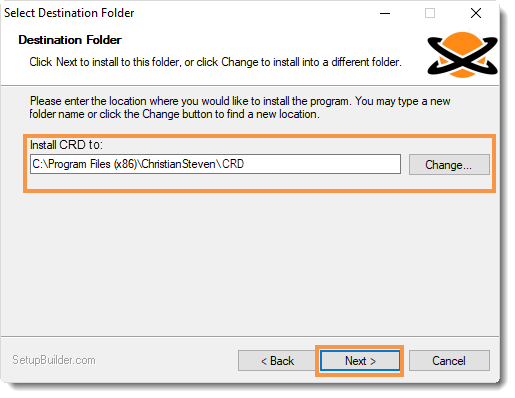
- You should now see a Ready to Install window detailing the current settings for the CRD installation. These details include the destination folder you chose in Step 10, as well as the Disk Space Requirements for the CRD installation.
- Click Next.
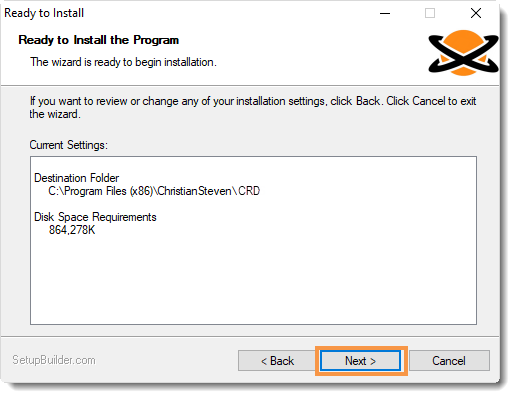
The Disk Space Requirements will vary from build to build. This is only the amount of disk space that is required for the installation/components of CRD.
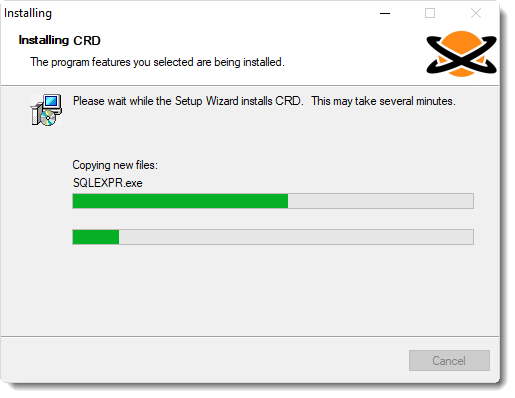
- Allow the CRD installation to complete. You do not need to click anything during this process.
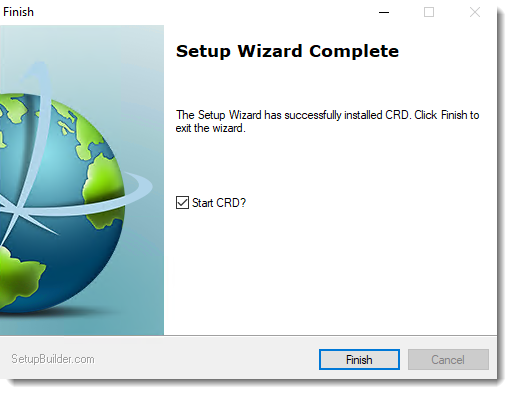
- When the Setup Wizard Complete screen appears, click Finish and it will start CRD.
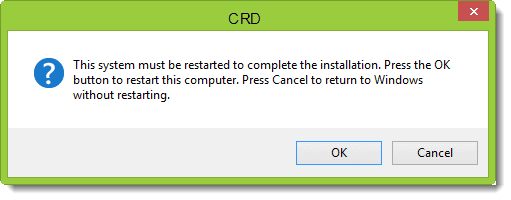
- At this time, you may see a pop-up stating that you will need to restart your computer in order to complete the CRD installation. Click OK.
Should you not receive this message (below) you will need to manually reboot the server at this time.
- CRD is now successfully installed on this server.
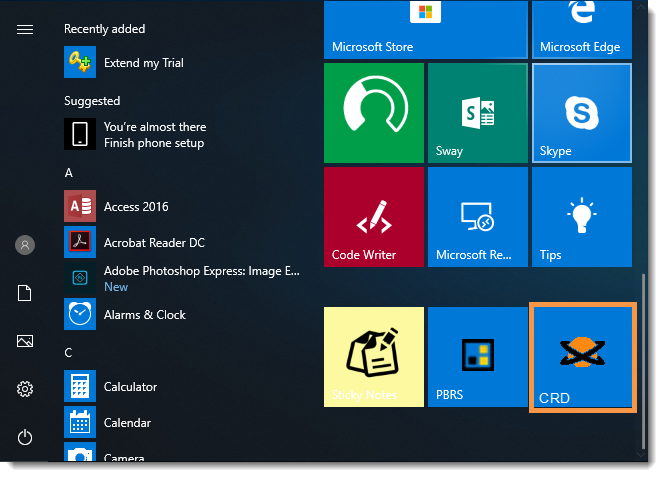
Database Installation
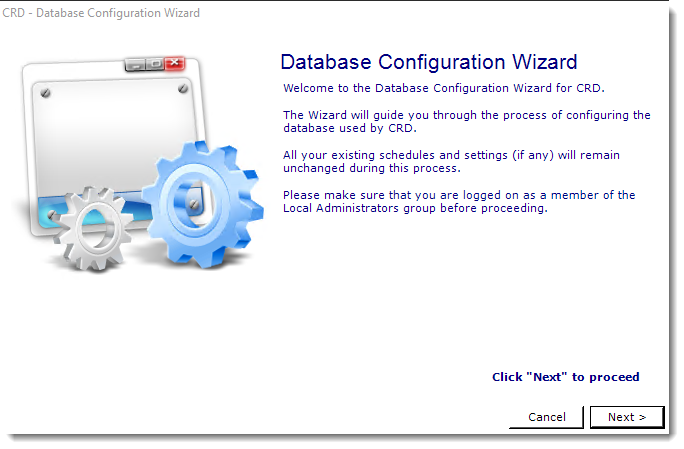
The first time you open CRD, you will need to configure the CRD database. This is where CRD will store the information regarding the schedules you set up within the software.
Select how you want to install the CRD database to proceed with the database installation steps.
- Option 1: Default CRD Database Installation.
- Option 2: Use my existing databse server.