How do I setup Crystal Reports in IntelliFront BI?
You can create and schedule Crystal Reports from within IntelliFront BI.
Integrations - Crystal Reports
Please make sure you have 32-bit ODBC System DSN created for your Crystal Reports in the server and added the ODBC Account in IntelliFront BI to view and run Crystal Reports in IntelliFront BI.
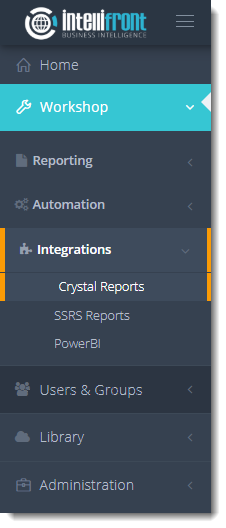
- Go to Workshop and select Integrations. In Integrations, select Crystal Reports.
- Or select Crystal Reports from the card on the home screen.

- Click New Crystal Report.

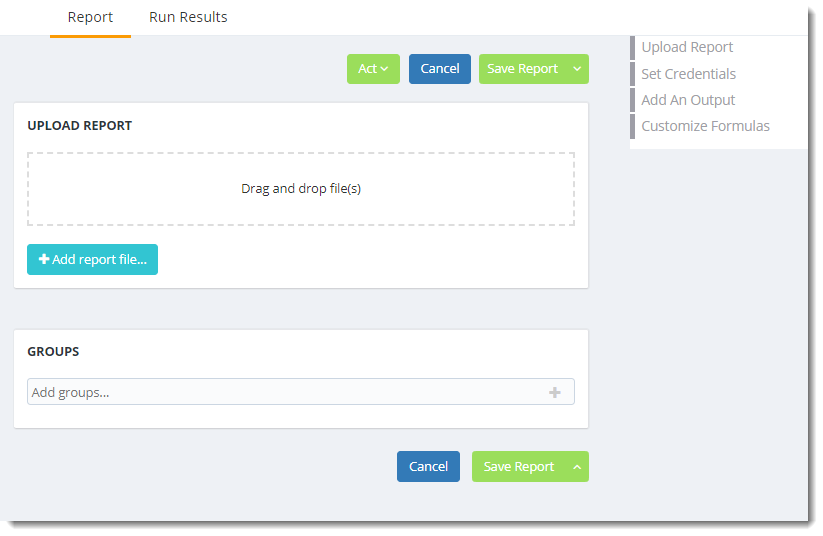
Upload Report
- You can Drag and Drop the Crystal reports or click Add report files to navigate to and select the desired Crystal Reports.
- Once the report has been chosen you will need to upload the report.
- Groups: Determine who will be able to see the Crystal Report. You can use the Groups set up within Users and Groups to do this.
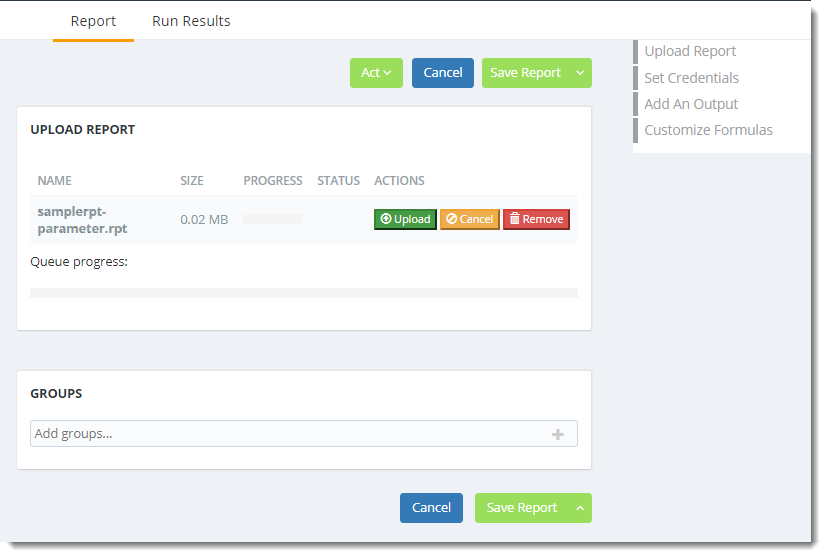
- Upload: Upload the selected report.
- Cancel: cancels the uploading process.
- Remove: Removes the uploaded Crystal Report.
- Once successfully uploaded the report details screen will become visible.
- The name of the report will be displayed in the Report Details window.
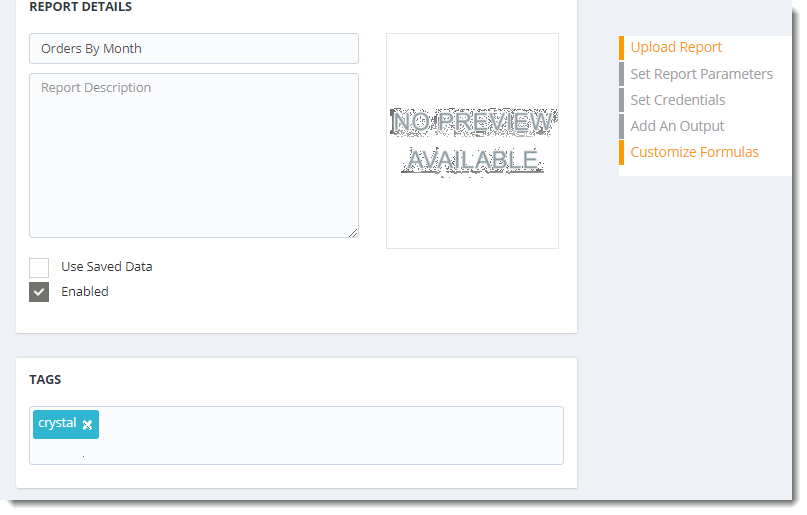
- Report Name: Enter the name for the report.
- Report Description (Optional): Enter a description for the report.
- Use Saved Data: By default, IntelliFront BI will always attempt to run the report using the very latest data in your database. If your report is saved "with data" and you want IntelliFront BI to simply export the data in the report, then check this option.
- Enabled: To enable this report check this box.
- Tags (Optional): Add a tag to this report if required. Tags may be used for categorizing reports and boards.
Report Credentials

- New Credentials: Enter new Database Credentials
- Pick Account: Chose from an already existing account.
The account must have been set up within accounts before it will be available here.
Record Selection Formula

Customize Formulas
- To modify the record selection formula, simply type your modification into the formula space. Once this formula is changed, IntelliFront BI will always use this formula for this schedule. It will ignore the original report's formula.
- The changes are stored in IntelliFront BI. The report in your database is not changed, so it can be reused for other schedules or for its previous general use.
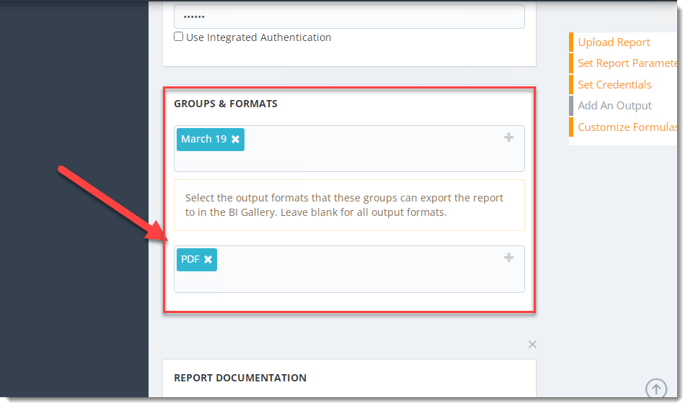
Output Formats
- Select an Output Format that you would like the crystal report to be exported to.
- As an Administrator, you can 'lock' the output formats that you would like the users to have access to. For example, if you select PDF as the output format, the users will only be able to export to PDF.
Parameters tab
Crystal Report Parameters tab
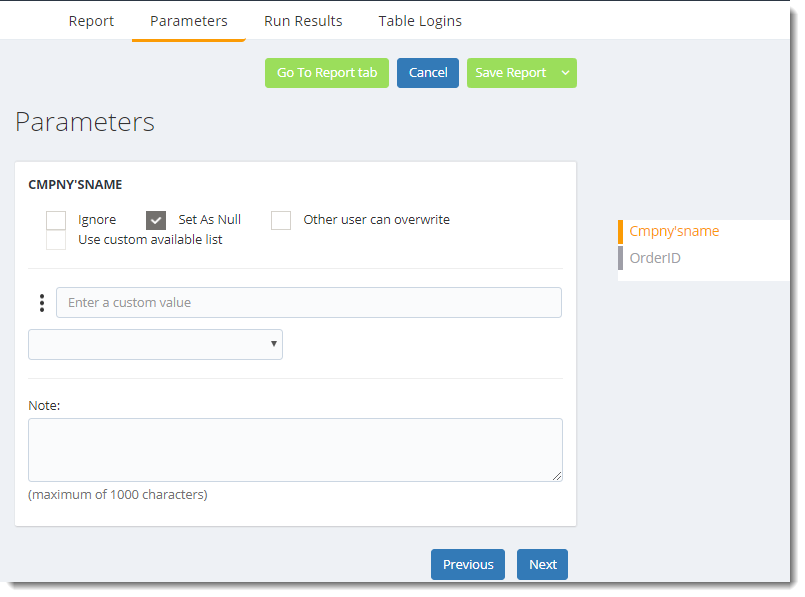
- Click on the Parameters tab.
- Enter the required Parameters.
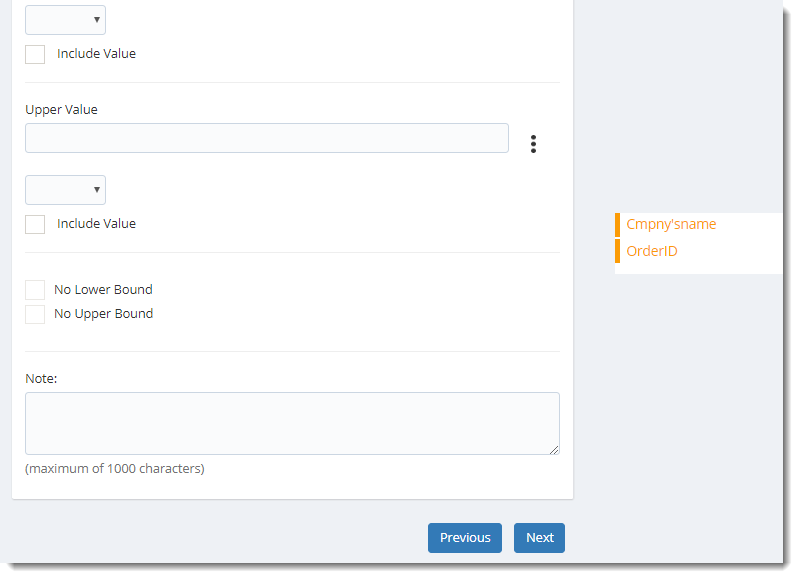
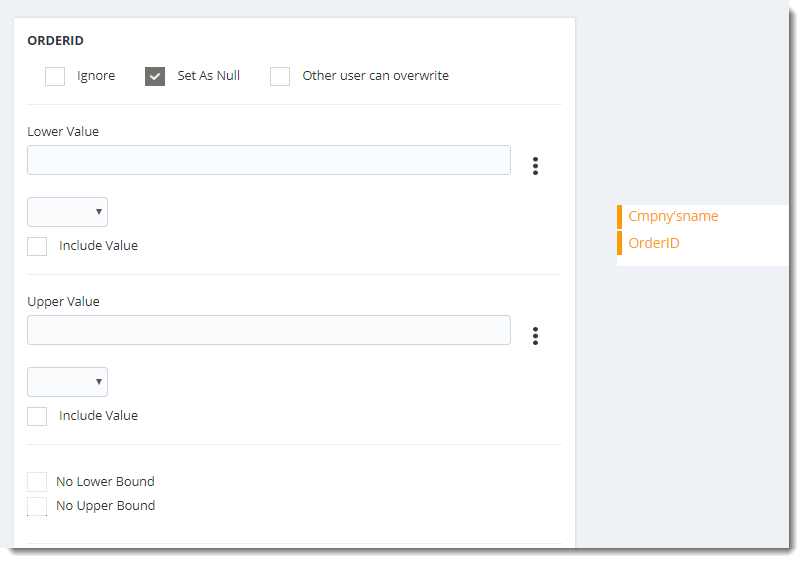
- Click Next to continue adding parameters for the report.
Hint: Each parameter will be displayed on a separate screen.
Run Results Tab

- Run Results: Displays the history for this report.
Table Logins Tab
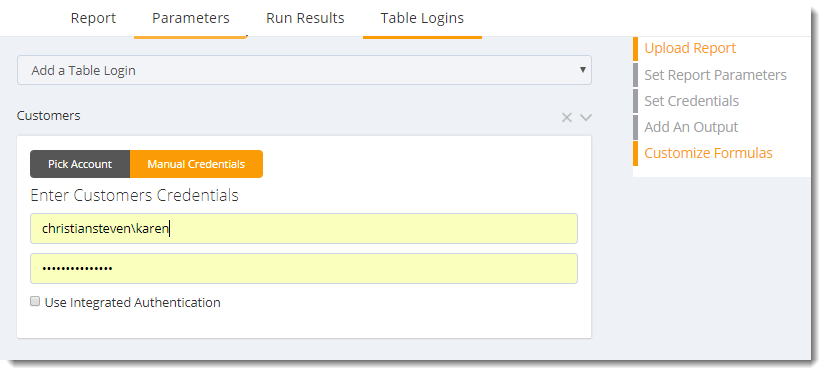
- Table Logins: If the report requires a Table Login enter the information here.
- Select the required table from drop-down list next to Add a Table Login.
- Pick Account: Pick from an already existing account for table Login information.
- Manual Credentials: If you don’t have an existing account, manually enter the table login credentials.
- Integrated Authentication: Check this option if you want to login to the table using Integrated Authentication.
Add Menu
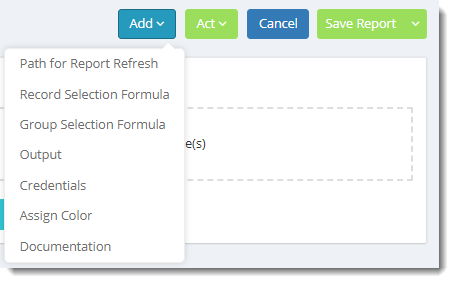
- Path for Report Refresh: Displays a window for you to enter a refresh report path to refresh the Crystal Reports. For more information, click here.
- Record Selection Formula: Select this to add record selection criteria for the report.
- Group Selection Formula: Select this to add the group selection formula for the report.
- Output: Select this option to add or change the output format options.
- Credentials: Select this option to add or edit report credentials.
- Assign Color: Select this option to assign a color identifier to the crystal report. You can remove or change the color when it is no longer needed.
Act Menu
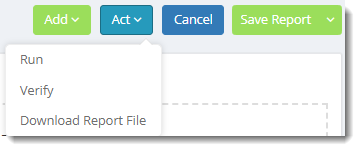
- Run: Execute the report immediately.
- Verify: Verifies the report credentials, parameters etc.
Save Report Menu
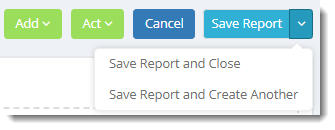
- Save and Close: Closes the Crystal Report screen and returns you to the Report Home Screen
- Save Report and Create Another: Saves the Crystal Report screen allows you to create another report without returning to the Report Home Screen.
Once saved the report will appear on the home screen.

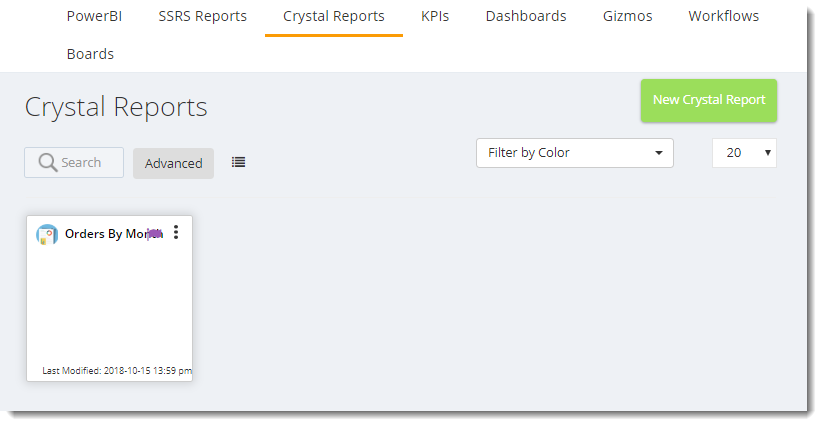
Crystal Reports Context Menu
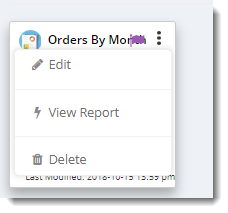
- To Edit, View or Delete the report click on the (...) button.
- Edit: Allows you to make changes to the report
- View Report: Allows you to review the report. Select either Crystal Report Viewer or the IntelliFront BI Viewer.
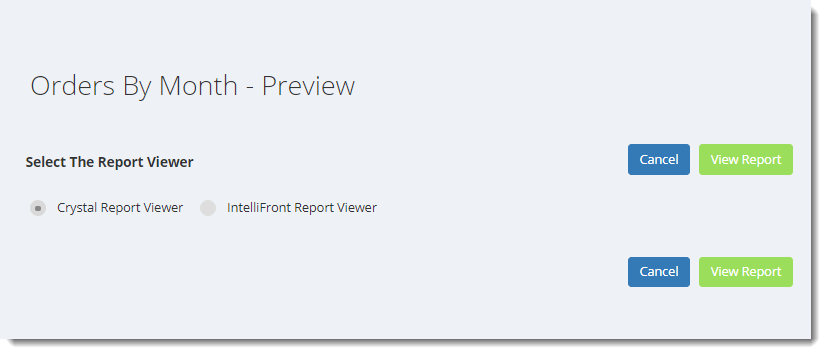
- Crystal Report Viewer: Opens the report in a new Tab
- IntelliFront BI Viewer: You will prompted for the following:
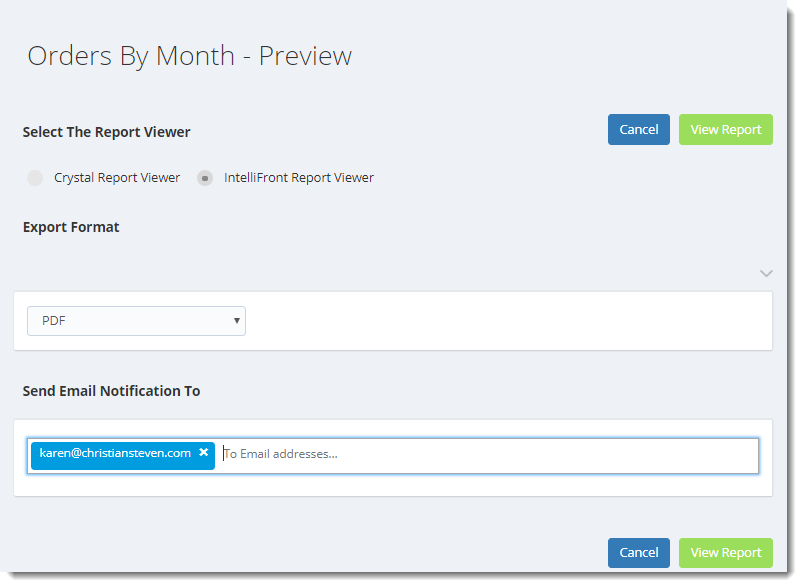
- Export Format: Choose a format to view your report in.
- Send Email Notification to: Enter an email address to receive a notification that the report is ready to view.
The report will open in a New Tab.