This article applies to:
- Power BI Reports & Dashboards (Cloud - Power BI Service)
- Power BI Paginated Reports (Cloud - Power BI Service)
- Power BI Reports & Dashboards (On Premise - Power BI Report Server)
- Power BI Paginated Reports (On Premise - Power BI Report Server)
- Microsoft SSRS Reports (On Premise - SQL Server Reporting Services)
Destinations - Email
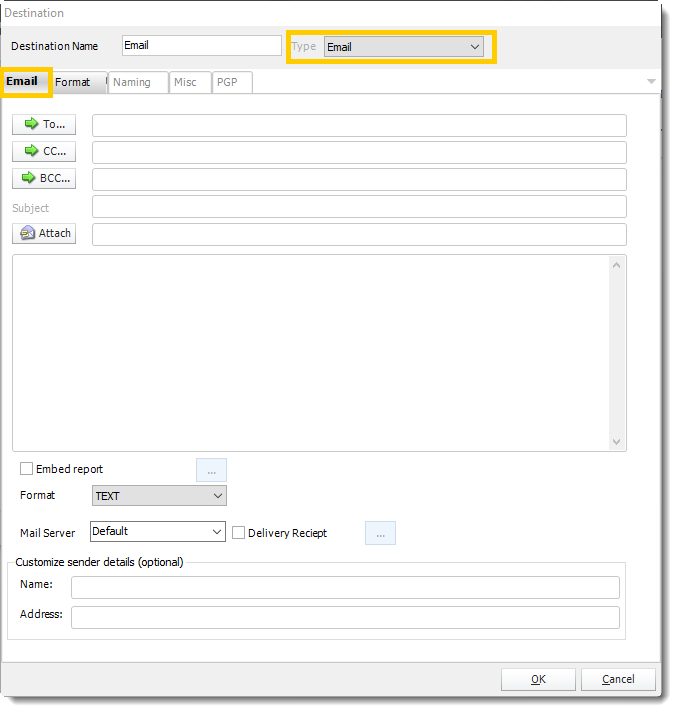
Using the Email Destination you can send Power BI, Paginated Reports & SSRS reports embedded in emails or send emails in HTML or plain text with reports as attachments. You can use Inserts to customize the message body, use mailing lists & much more.
Step 1: In any Schedule Wizard, go to Destinations.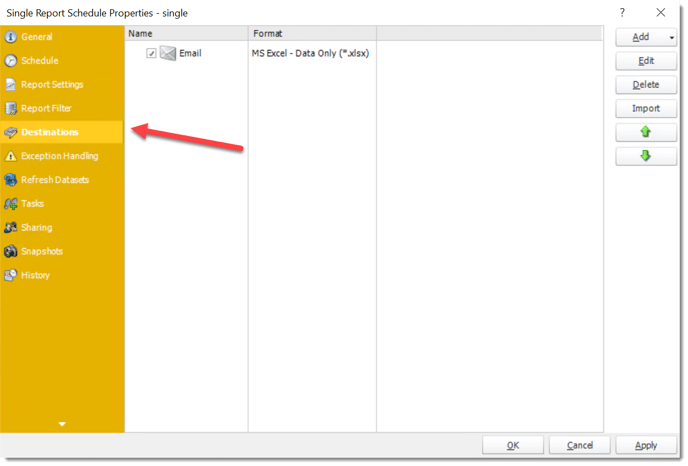
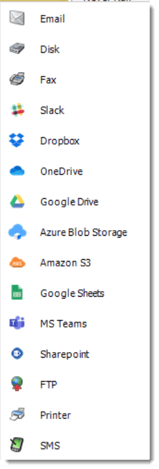
Step 2: Click Add and select Email.
Customize Sender Details
Most mail servers today will no longer allow you to send an email if you attempt to use this function. This restriction is designed to stop spammers from hijacking or spoofing email accounts.
If you use the "Customize sender details" function and find that your emails are not being delivered, your mail server security settings are almost certainly the reason for the failure.
We recommend that, instead of using this function, you set up a number of email accounts here. Then, select the mail server you want from the dropdown in the schedule.
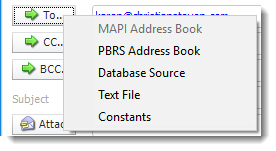
Step 3: Enter the required email addresses, these may be manually entered, or you may use an Address Book, a Database Source, a Text File or Constants to populate the addresses.
To, CC, and BCC:
-
- MAPI (Outlook) address book (Only available if you are using MAPI): Select one or more email addresses or groups.
- PBRS Address Book: Select one or more email addresses or groups.
- Database Source: Build a SQL query to pick the email address or addresses from a database.
- Text File: Store your email addresses as a standard mailing list in a text file. (Format: no delimiters, each email address on a new line)
- Constant
You can use "Inserts" at any time if required. For more information about Inserts, click here.
Step 4: Manually enter a subject or right-click and select Insert to insert constants, database values and defaults.
Step 5 (optional) Click to select an attachment or right-click and select Insert to insert constants, database values, and defaults.
Hint: Web addresses can be attached as well.
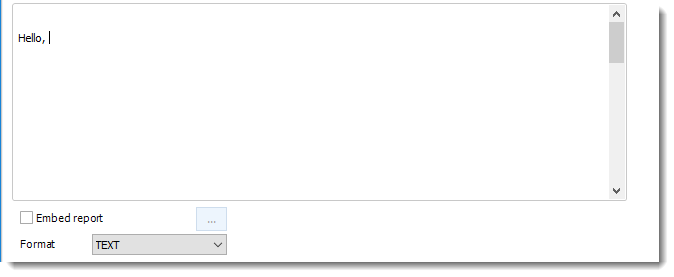
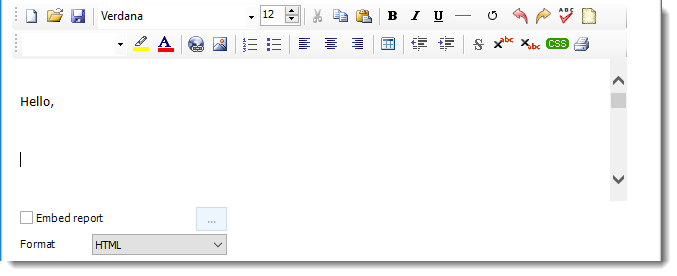
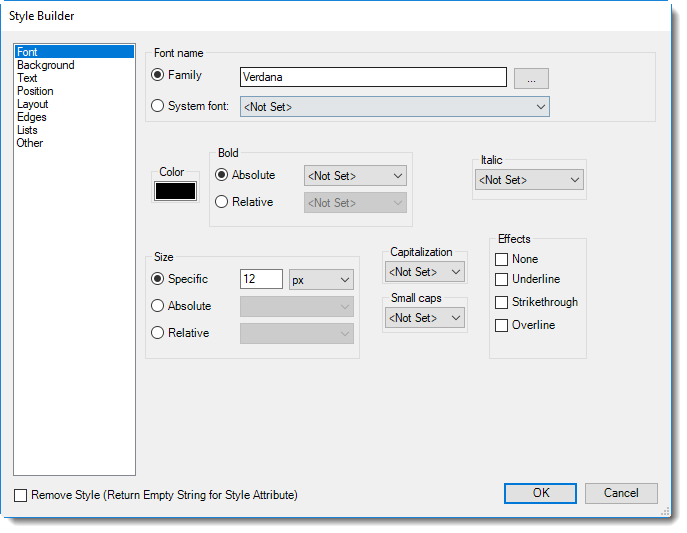
Step 6: To finalize the email message, either type your content directly into the body or right-click to utilize the Insert function. This allows you to incorporate constants, database values, and default email settings, enabling you to tailor the message to your recipients effectively.
For more information on the Insert function, click here.
Step 6: Choose the Mail Format, this can be HTML or Text.- Text Format: In this format, it will be just a plain message.
- HTML Format: In this format, you can format the message.
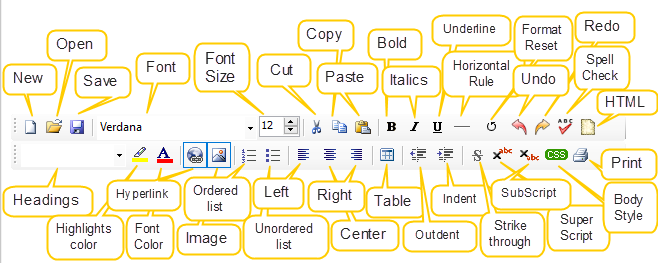
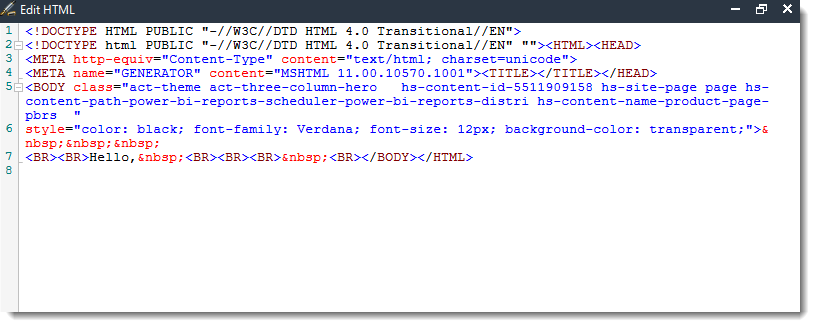
- You can enter HTML tags by clicking the HTML icon.
- Body Style (CSS): If you want to specify the format that you want, click CSS and you may choose the type of format and change the setting accordingly.
Embed Report
Step 7 (optional): Check this option to embed the report into the email body. When using MAPI messaging you can only embed reports in Text format. To embed reports in HTML format you will need to change your messaging type to SMTP.

-
- You can click the (...) button to edit the output format options as required.
- By default, if a report is embedded in the email body, there will be no attachment.
- You can enter an additional text when the embedded report is enabled.
- If you are uncertain whether the recipient can read HTML formatted emails, you can click Include Attachment so that the recipient receives an additional attachment of the same report in any other format e.g. a PDF, word document, etc.+
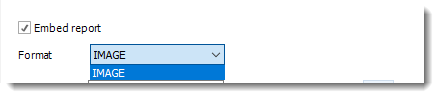
Embed Report option for Power BI Reports & Dashboards and Power BI Service Paginated Reports
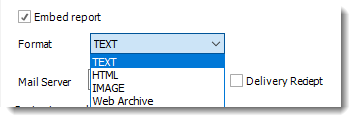
Embed Report option for SSRS or Paginated Reports on Premise
Step 8 (optional) Embed an AI Summary of the Report

If you desire to have an AI Summary of the report embedded into the email body of the schedule, then check this box to set it up

In the AI Summary Options, you have the ability to set up the summary how you would like. You can enter the prompt you would like it to create, select if you want an HTML formatted response, enter the character size, and select the Chat GPT account you would like to use. Just make sure to check the 'I agree to the AI Summary usage terms' if you would like to use this feature.
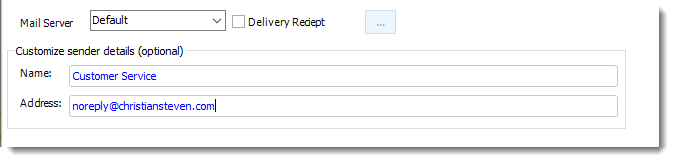
Step 9 (optional) The Mail Server will automatically be set to Default. This can be changed if the email is to be sent from a different server than the default one that was originally set up.
Step 10 (optional): When permitted you may check the Delivery Receipt option if a delivery receipt is required. Use it if you require Custom Actions to be used once a receipt has been/has not been received.
Step 11 (optional): If you wish to change the Sender Name and email address you may do so here. For example, it could be set to Donotreply@mycompany.com.
Customize Sender Details
Most mail servers today will no longer allow you to send an email if you attempt to use this function. This restriction is designed to stop spammers from hijacking or spoofing email accounts.
If you use the "Customize sender details" function and find that your emails are not being delivered, your mail server security settings are almost certainly the reason for the failure.
We recommend that, instead of using this function, you set up a number of email accounts here. Then, select the mail server you want from the dropdown in the schedule.
For information on format tab, click here.
For information on naming tab, click here.