Data-Driven Gizmo for Crystal Reports.
A data-driven gizmo allows you to drive all variables of your reporting requirements (parameters, destinations, email content etc.) from database tables and queries at run time. You can also use static text and default values should you wish.
Here are some examples:
- Distribute a report to a fluctuating list of recipients. For example, you can distribute a report throughout a large organization where recipients vary from one month to the next, or use other criteria that determines group membership from an existing set of users. E.g. select * from mytable where firstname = ‘john’ will generate the report and distribute only for records where the recipient’s first name is John.
- Filter the report output using report filter values that are retrieved at run time. For example, the filter value returned from the table for the Last Name will be “Doe” for John Doe and “Smith” for John Smith.
The following simple example will illustrate the process of creating a Data-Driven Gizmo.
Scenario: You have a report which has a large number of parameter and destination combinations. Representing the combinations in a table may look something like the example below (Yellow = parameters)

Gizmos - Crystal Reports Data-Driven
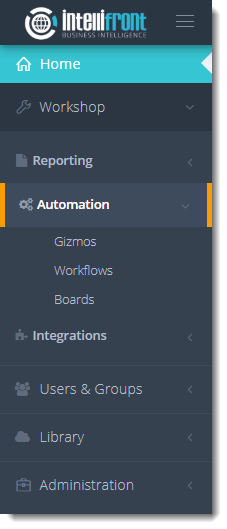
- Go to Workshop and select Automation. In Automation, select Gizmos.
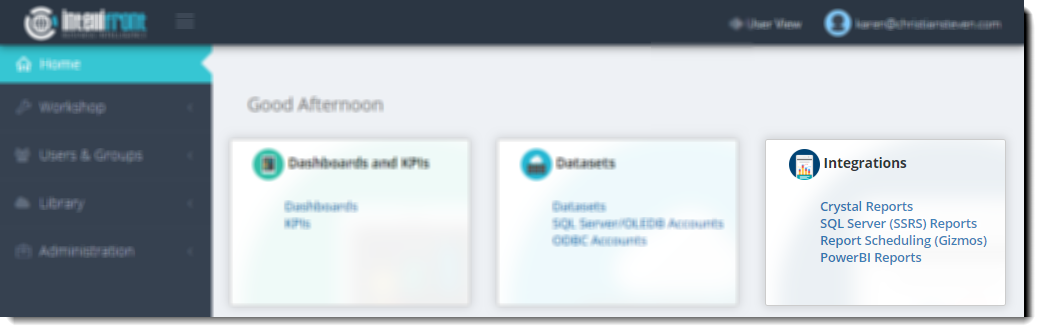
- Or select Report Scheduling (Gizmos) from the card on the home screen.
- Click New Gizmo.


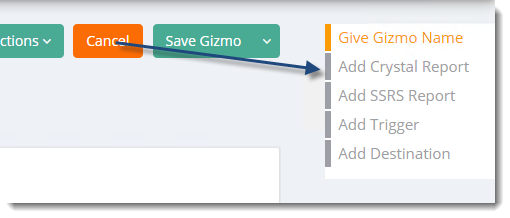
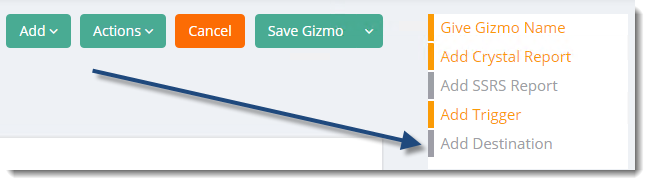
Give Gizmo Name
- Give the Gizmo a name.
The name must be unique.
- Click the checkmark to save the name.
- Add a Tag: Give the Gizmo a Tag. This is optional, it can be useful if you have a lot of Gizmos as you will be able to search for Gizmos using Tags.
- Gizmo Description: Enter the description of the Gizmo here. This is optional, you may want to write the name of the report running and the department and the frequency.
- Select Board: If the Gizmo is to be assigned to a board select the board from the drop-down list.
You must have already created a board before you can use this option.
- Gizmo Status: Click Enabled to enable the Gizmo.
Add the Data Driver
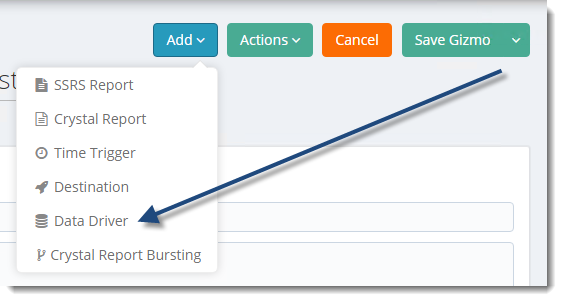
- Go to the Add button and select Data Driver.

- Select the ODBC Account.
You must have the ODBC Account added in order to create Data-Driver.
- Click Connect.

- Select the query table from the database that holds the required data. You can refine your selection query by adding a rule and group.

- You can preview your data by clicking Preview Data.

- Click Validate Query.

- Select the Primary Key.

- Click Save & Close.

- The ODBC Data-Driver will be saved and configured and you will return to the Gizmo.
Add Crystal Report
Adding the Crystal Report in the Gizmo
- Select Add Crystal Report.

- You can Drag and Drop the Crystal reports or click +Add report files to navigate to and select the desired Crystal Reports.
- Once the report has been chosen you will need to upload the report.

- Upload: Click this button to upload the chosen report.
- Cancel: Cancels the upload.
- Remove: Removes the chosen report.
- Once the report has been successfully uploaded the following screen will be shown.
- The name of the report will be displayed in the Report Details window.
Report Details

- Report Name: Enter the name for the report.
- Report Description (Optional): Enter a description for the report.
- Use Saved Data: By default, IntelliFront BI will always attempt to run the report using the very latest data in your database. If your report is saved "with data" and you want IntelliFront BI to simply export the data in the report, then check this option.
- Enabled: Check this box to enable this report inside the Gizmo.
- Tags: Add a tag to this report of required. Tags may be used for categorizing reports and boards.
Report Credentials

- Report Credentials: Select this option to add or edit report credentials.
Add An Output

- Output Name: You can customize the output name by clicking on the (...) button menu to the right. This will bring up a System Constant Inserts and the Crystal Report Fields Menu for you to be able to insert constants such as CurrentDate, CurrentTime, CurrentMonthName, Crystal Report Fields or Data-Driven Values.
- Select the desired format from the drop-down menu.
- For more information about Output Formats, click here.
Customizing the Report file name using Data-Driven Values
- Once you have added the Data-Driver in the Gizmo, you may customize the Output Name of your Crystal Report using the Data-Driven Values inserts.

- Go to the Output section, and click Insert Menu (...) button and select the Data-Driven Value inserts you want to use to customize the Output file name.

Record Selection Formula

- Record Selection Formula: Select this to add record selection criteria for the report.
Parameters Tab

- Click on the Parameters tab.
- Click the Insert Menu (...) button to select Data-Driven Value inserts into the desired parameter fields. If you do not wish to enter the data-driven value in your parameter, you can still select them from the dropdown box.
- Click Next to continue adding parameters for the report.
Each parameter will be displayed on a separate screen.
- The Window on the left displays the parameter fields.
Run Results Tab
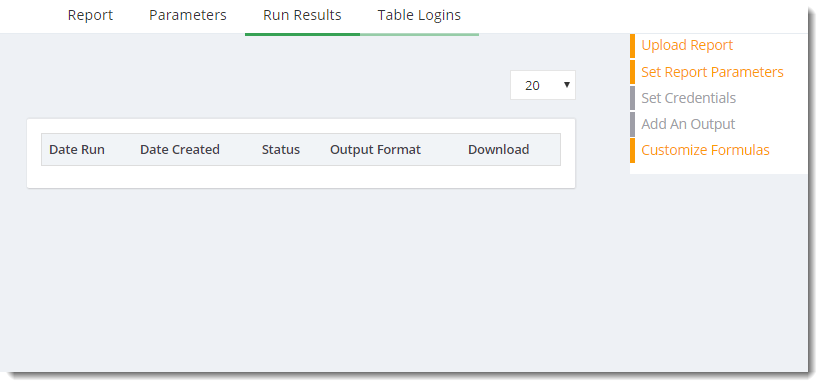
- Run Results: Displays the history for this report.
Table Logins Tab

- Table Logins: If the report requires a Table Login enter the information here.
- Select the required table from the drop list next to Add a Table Login.
- Pick Account: Pick from an already existing account for table Login information.
- Manual Credentials: If you don’t have an existing account, manually enter the table login credentials.
- Integrated Authentication: Check this option if you want to login to the table using Integrated Authentication.
Once finish, go back to Report Tab.
Add Menu
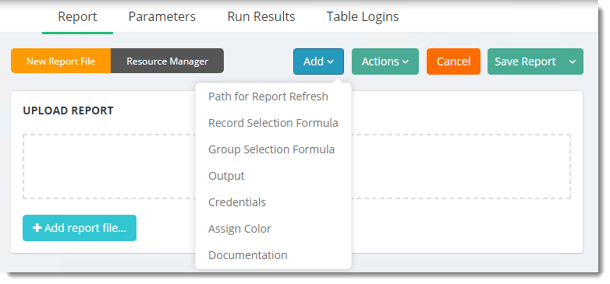
- Path for Report Refresh: Displays a window for you to enter a refresh report path to refresh Crystal Reports. For more information, click here.
- Record Selection Formula: Select this to add record selection criteria for the report.
- Group Selection Formula: Select this to add the group selection formula for the report.
- Output: Select this option to add or change the output format options.
- Credentials: Select this option to add or edit report credentials.
Act Menu

- Run: Execute the report immediately.
- Verify: Verifies the report credentials, parameters etc.
- Download Report File: Download the crystal report.
Save Report Menu
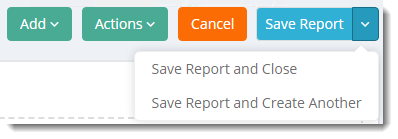
- Save Report and Close: This will close the report screens and return to the Gizmo setup screen.
- Save Report and Create Another: This will add another report to the Gizmo (Package of reports).
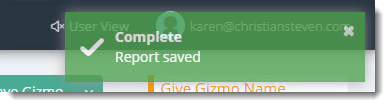
Once the report has been saved successfully the following screen will be displayed.
Add Trigger
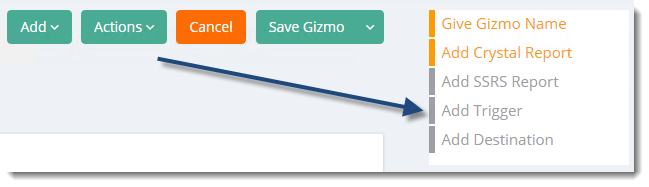
- Select Add Trigger.

- Give the Trigger a name and click the checkmark to save it.
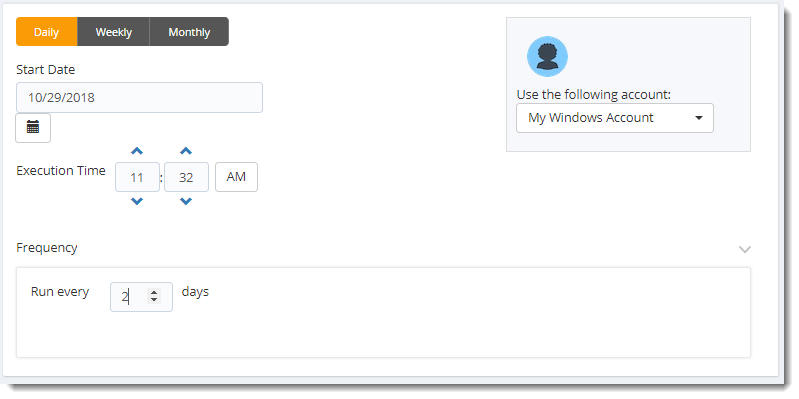
- Start Date: Enter the desired starting date for the schedule. This section can be the current date (providing schedule time has not already passed) or a date in the future.
- Execution time: The gizmo will run at this time.
- Use the following account: Select the windows account to send the report.
In this section, you will decide when the report will execute. There are a variety of options:
- Daily: Run a report every day or at a frequency of days.
- Sub options: Repeat every X Days.
- Sub options: Repeat every X Days.
Example: Run the schedule every 3 days.
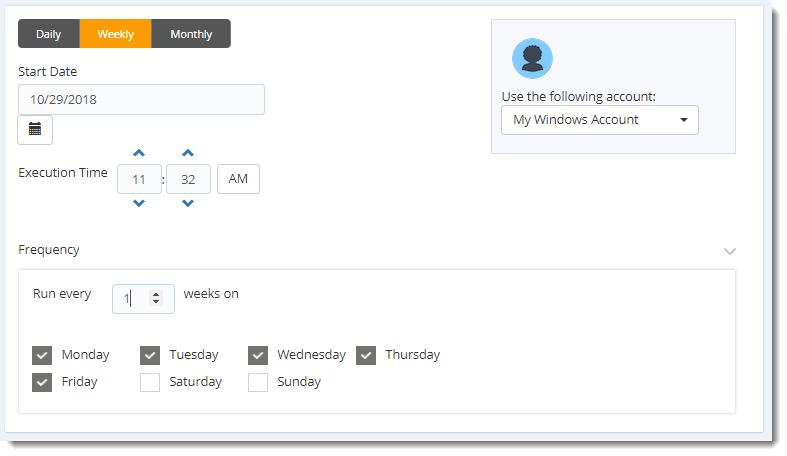
- Weekly: Run a report on a weekly time frame.
- Sub options: Repeat every X weeks.
Example: Run the schedule every 2 Weeks.
-
- On: Select the specific days of the week the schedule will run. If only once a week, select only the day of the week it will run.
Example: Run every Monday, Wednesday, and Friday.
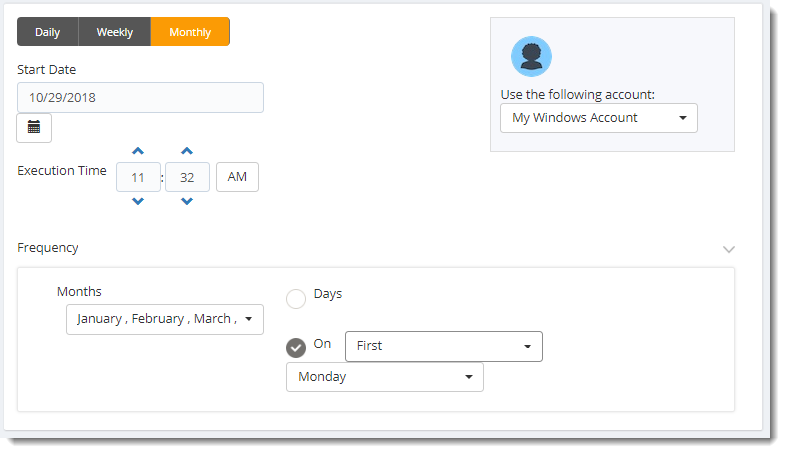
- Monthly: Run the schedule on a monthly time frame.
- Frequency: Select frequency options such as the “last Thursday of the month.” Also, you can include or exclude specific months from the schedule.
Add Options Menu
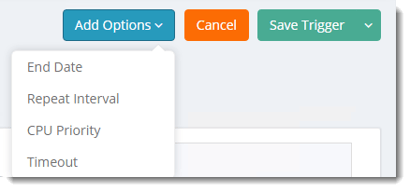
- End Date: If the schedule is due to end after a certain date enter that here. If the schedule is to run indefinitely, then leave it blank.

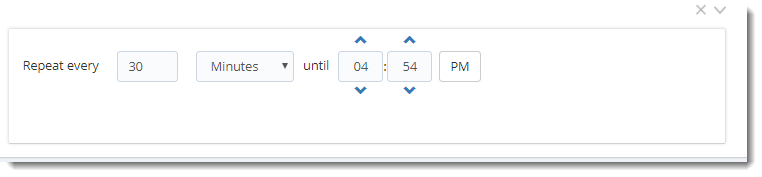
- Repeat Every: Rerun the package every x minutes from the scheduled time until your specified time.
For example, you can set up a daily package to run every day at 8 am, and to run every hour until 5 pm.
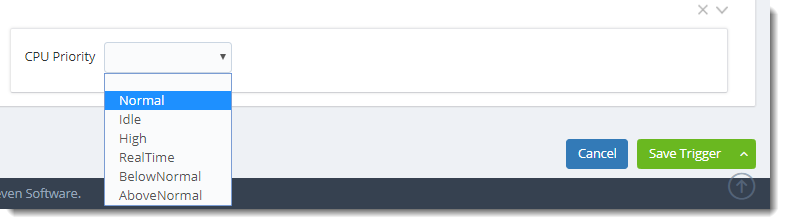
- CPU Priority: Set the priority level of the schedule. This will come into play when other schedules are running at the same time.
- If the priority level is set to BelowNormal then it will be at the bottom of the queue and the other schedules will be run first.
- Timeout: Stop if the task is running for more than X minutes or hours.

Save Trigger Menu
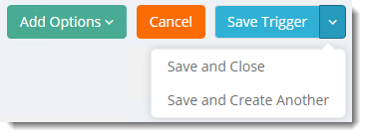
- Save and Close: Save the Trigger and returns you to the Gizmo Set up.
- Save and Create Another: Save the Trigger and create another Trigger.
Add Destination
- Select Add Destination.

- Select the destination type, in this example, an email destination has been chosen.
- To learn more about Disk, click here.
- To learn more about Email, click here.
- To learn more about FTP, click here.
Using Data-Driven Values insert in Email Destination
- Once you have the Data-Driver added in the Gizmo, you can use the Data-Driven Values insert located in the Insert Constants Menu.
- The Data-Driven inserts are the constants field used in your database tables and queries. With these inserts, you can customize the recipient messaging and subject, and the Gizmo destination.
- You can also customize the messaging the recipient receives. Using Data-Driven Inserts, IntelliFront BI will automatically pull data from your database table and use it to customize the subject, body or report format.
- In this example, we will be using an Email destination.

- Click the Insert Menu (...) button on the right corner of the field and select Data-Driven Values. Select the field that you want to use and it will pull the variable from your data-driver.
- Now IntelliFront BI will deliver a unique report using the Data-Driven values from your data-driver.
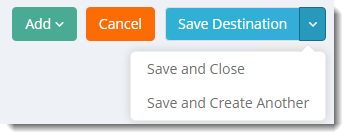
- Save and Close: Save the Destination and returns you to the Gizmo Set up.
- Save and Create Another: Save the Destination and create another Destination.
Gizmo Tab Menu
Add Menu
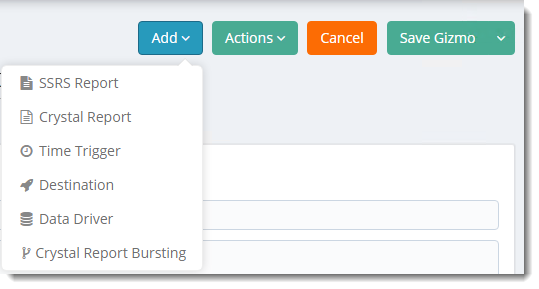
- You may add the following options:
- SSRS Reports
- Crystal Reports
- Time Trigger
- Destination
- Data Driver
Actions Menu
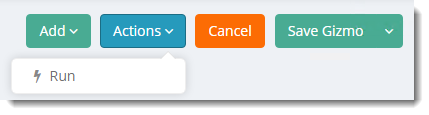
- Run: Use this option to test the report.
Save Gizmo Menu
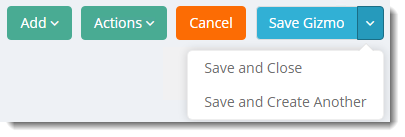
- Save and Close: Saves the Gizmo and returns to the Gizmo main page.
- Save and Add Another: Saves the current Gizmo and allows you to set up another Gizmo.
When you have finished setting up the Data-Driven Gizmo click Save Gizmo.
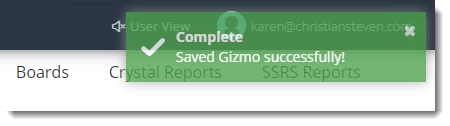
A confirmation message will be displayed when the Gizmo has been saved successfully.
Gizmo Context Menu
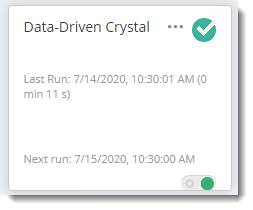
- On the Gizmo tab, you will see a card for each Gizmo that is not mapped to a Board. You can search for a gizmo by name and can adjust the number of cards displayed on a page.
Information on the Gizmo card
- Gizmo Name
- Action menu with options like Edit and Move to Board
- Status from last run (Success and Failure)
- Last run time and duration
- Next time to run at (either be a scheduled time or trigger definition)
- Enabled/Disabled control (green is enabled, red is disabled)
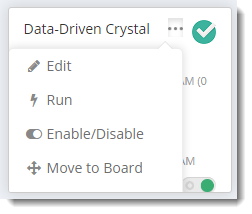
- To edit a Data-Driven Gizmo click on the (...) menu to the right of the Gizmo name. From here you can Edit a Gizmo, Run the Gizmo, Enable or Disable the Gizmo, and Move the Gizmo to a Board.