Share this
by Christian Ofori-Boateng on Jan 14, 2020 9:37:47 AM
PBRS is a Power BI reporting solution that allows you to send and schedule unlimited reports to unlimited users with only ONE Power BI license. Want to learn more about PBRS? Get a free trial.
How to Schedule Reports in Power BI Using PBRS
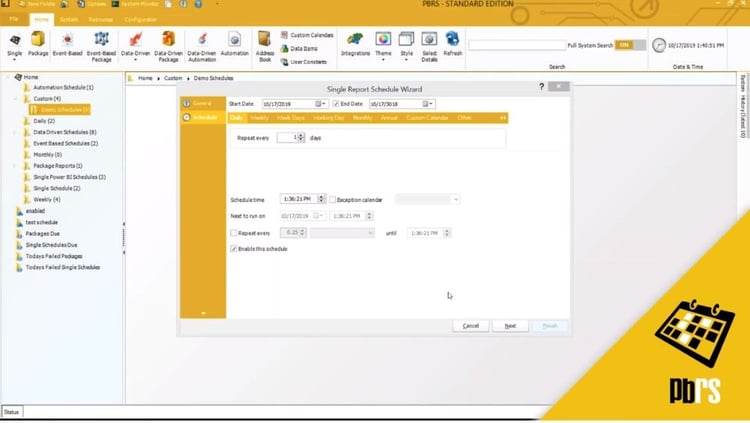
This demo will walk you through the scheduling options available in PBRS. This is a Single Report Schedule Wizard and it is open on the scheduling tab. At the top here we have the start date. This is the date at which the schedule was created. You can change this for a start date manual if you are just over type it.
So let's say you wanted to start on the 30th of October, you would over type it. There is an end date by default, which is set to way in the future. If you don't want that particular end date, you simply uncheck the end date field.
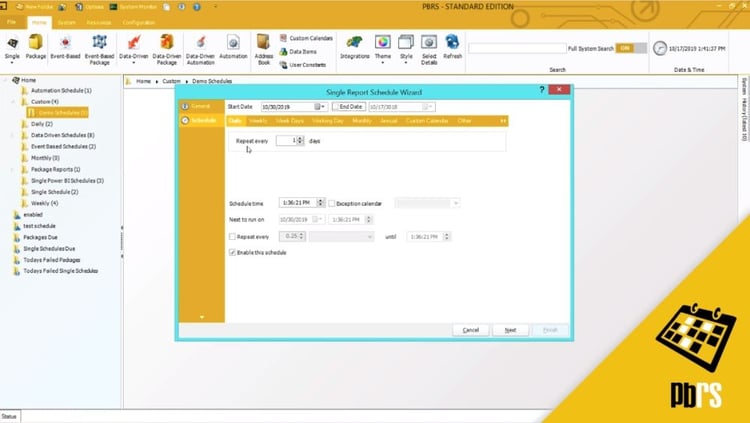
This is the daily tab and this is if you want the schedule to repeat every day. If you want it to repeat every two days or three days, you would simply adjust here. The weekly option. This enables you to run a schedule every week or every two weeks or every three weeks. You can determine the frequency here and you can decide the days in which the schedule should run. If you want it to run on every day, but Saturday and Sunday, just uncheck Saturday and Sunday. If you select the weekdays option, there is no further formatting. This will just run on Monday through Friday inclusive. Working days, here you can choose whether you want to schedule to run on a specified day of the month. For example, if you want it to run on the last day of the month, you would simply select last. If you want a schedule to run on the 15th of every month. You can either use the app and and arrows here or you can simply over type to say the 15th day of the month.
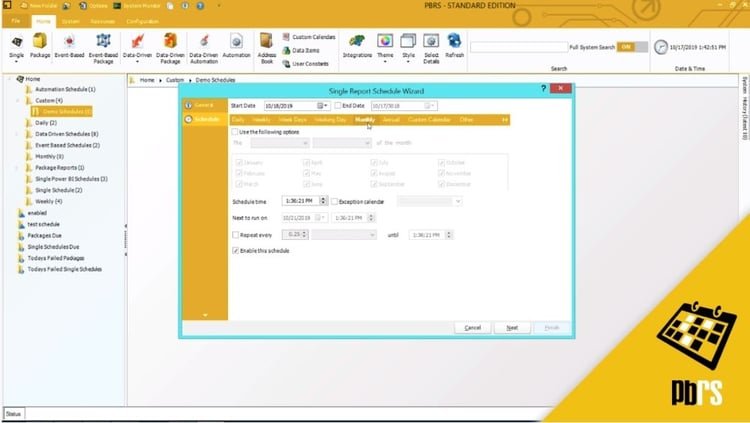
Monthly is if you want to schedule to be set to run every month and you can do further configuration options. So you can say that you want it to run on the last day of every month and you simply leave checked the months you want it to run and uncheck any where you don't want it to run. Annually. There is no further configuration. The schedule will run annually based on the start date. Custom calendar. If you want to create your own schedule type, then you would use the custom calendar and select new, and I will call this calendar, My Calendar. And you would simply select the dates in which you want the schedule to run, and click okay. So now this particular schedule will use the calendar called My Calendar.

Other. This is if you want to run the schedule every minute, every five minutes. You can again over type what's written here and here we have minutes, hours, days, weeks, months or years. So you can set your frequency here. If you don't want any scheduling, you can set this schedule to none by simply selecting that option. The reason you may want to select this to none is because you may want it to be picked up by one of our event based schedules or even an automation schedule, in which case you would select the scheduling for this particular schedule to be none. Schedule time. This is when you want the schedule to run. Again, depending on what frequency you've chosen, this is the start time at which the schedule will begin to run. You can over type what's already written here or you can use the arrows to change the time.
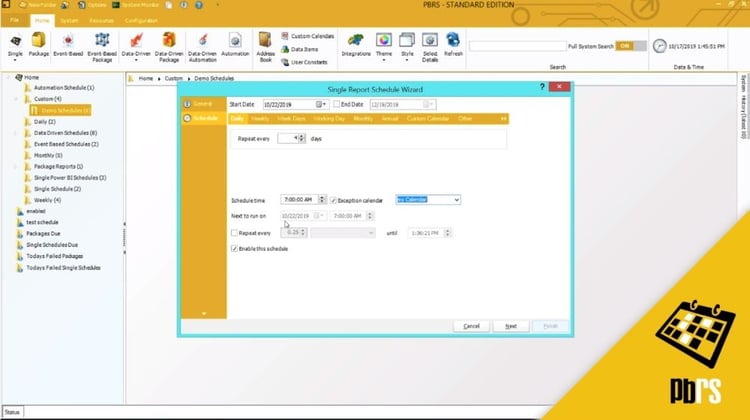
If you want the schedule to run daily and I'm going to put that back but you don't want it to run on certain days, you can check the option to use the exception calendar and the exception calendar is the same as custom calendars. So you will see the calendar that we created earlier and so it will now run every four days except for on those days that we put into the my calendar option.
The next run on date will depend very much on what scheduling options you have chosen. So the next run on date here is the 22nd and that's four days from now. And the next run time is at 7:00 AM. Check this box if you want to repeat the schedule. Maybe you want to repeat it every hour, which case I will put in 60 minutes until the close of business. So let's put in 5:30 PM, and this checkbox here enables the schedule. If you don't want the schedule to be enabled, then you can simply uncheck this option. And the schedule will not run on scheduler until you manually execute it, or you enable the schedule.
To save the configuration that you've set in the Wizard, you simply click next.
Want to try for yourself? Start your FREE trial below.
No Comments Yet
Let us know what you think