Share this
by Christian Ofori-Boateng on Apr 3, 2020 2:41:43 PM
PBRS is a Power BI reporting solution that allows you to send and schedule unlimited reports to unlimited users with only ONE Power BI license. Want to learn more about PBRS? Get a free trial.
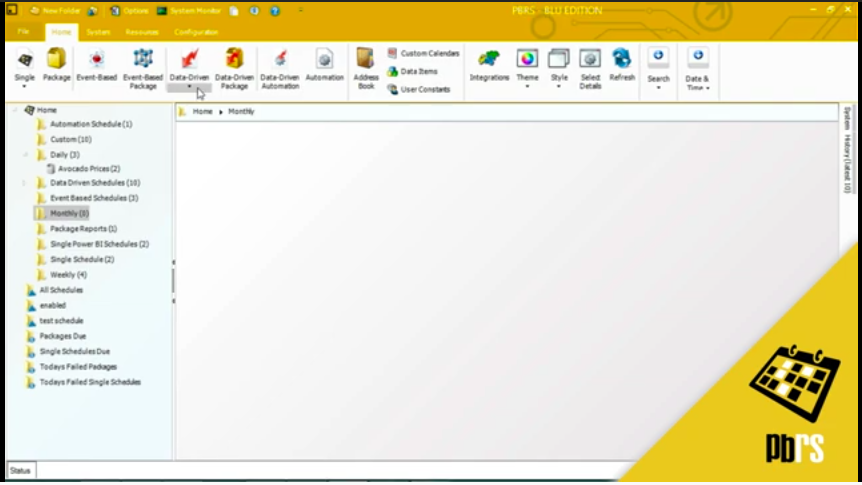
This demo will show you how to configure a data-driven schedule using a paginated report that is in Power BI service in the cloud. For this example, the schedule will run on the last day of every month
First thing we will do is select data-driven for Power BI service, paginated reports. We will choose the DSN from the drop down menu. Then, enter in the user ID and enter in the password and then we will connect. We are now going to select the table that holds the required data and in this situation, it's Encounter and then we will move on to setting up the query.
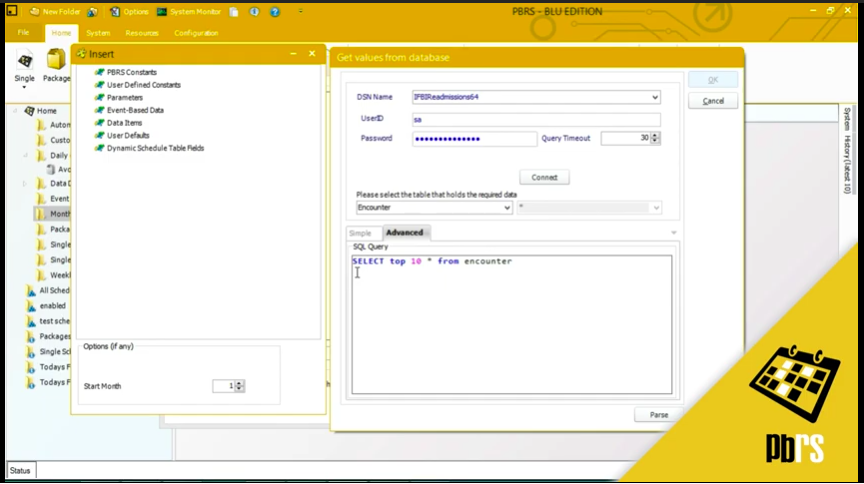
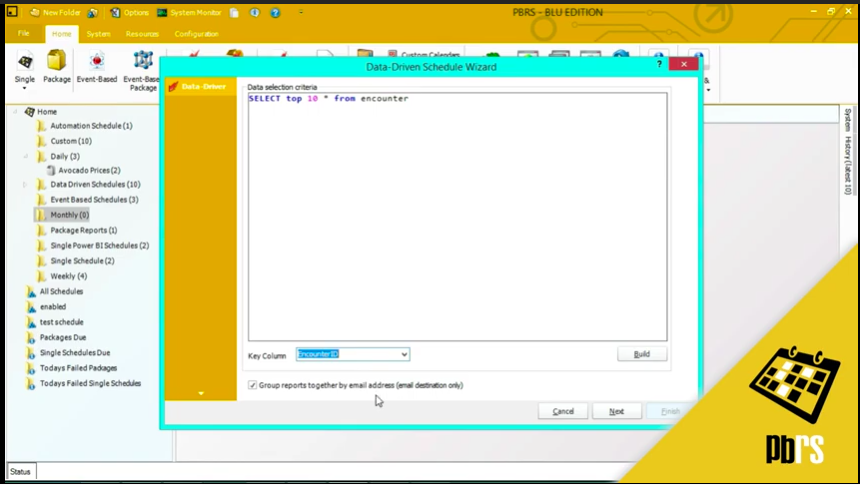
There are a lot of records in this database, so we are just going to use the top 10. We will just pass that and check and it will bring us back. So 10 records in all and we'll click okay. We also need to enter in a key column and in this case, it's Encounter ID. We've also left this option checked, which is grouping reports together by email address. In this scenario, we have different admins that are in charge of different specialties inside a hospital and we want all reports relating to cardiovascular to go to one person, all reports relating to oncology to go to another person and that's what we will do here.
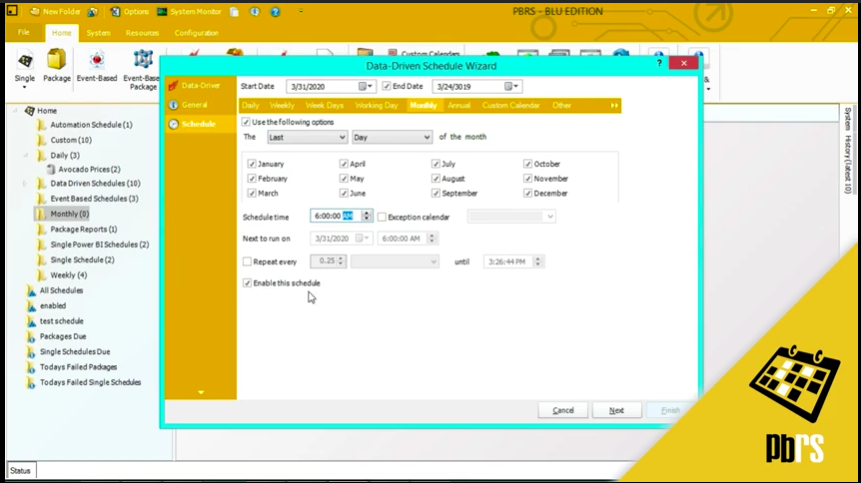
Click next. Then we need to select the Power BI account that we're going to use to run the report. Paginated reports is highlighted and we need to select the report. The description is optional, but if you wanted to write a brief description about what this report shows, you would enter it here. The keyword is also optional, but if you wanted to enter something which relates to the report that you can use later on for searching, enter it here. This report is going to be set to run monthly and we are going to run on the last day of every month. Add the time that we're going to run it, for this example we will schedule it to run it at 6:00 AM. And to do that, you can simply overtype what is there or use these arrow keys. This option here tells us that the schedule is enabled and will run when it's set to do so upon saving.
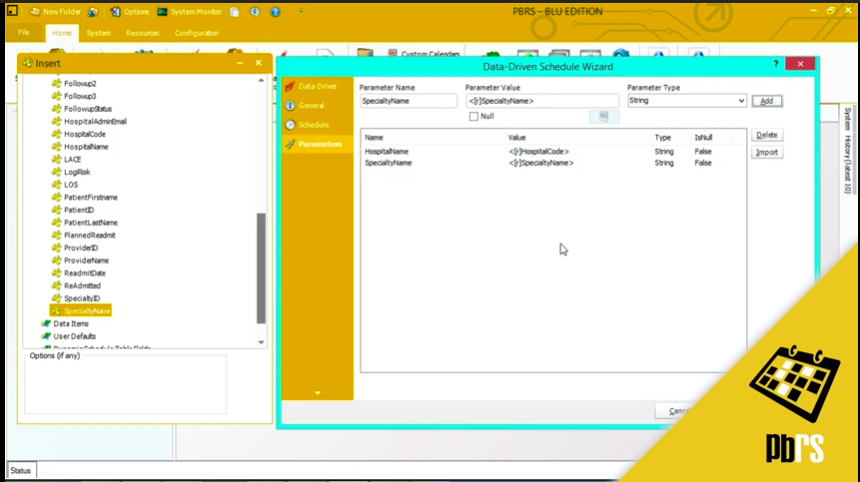
Next, this is the parameters field for the report where we're going to select the different parameters. We are going to run this report using two parameters, and instead of static parameters, we will use data-driven. So the first parameter name that we want to use is hospital name. And instead of entering in a single value, we will come over here to the insert menu and we're going to bring back a data-driven value. The one that we're looking for is hospital code. Simply drag and drop and then click add. The next parameter that we want to enter is specialty name. And again, we're not going to enter a static value. We are going to data-drive this information from my database. So find the specialty name, drag and drop and click add. So these are the two parameters.
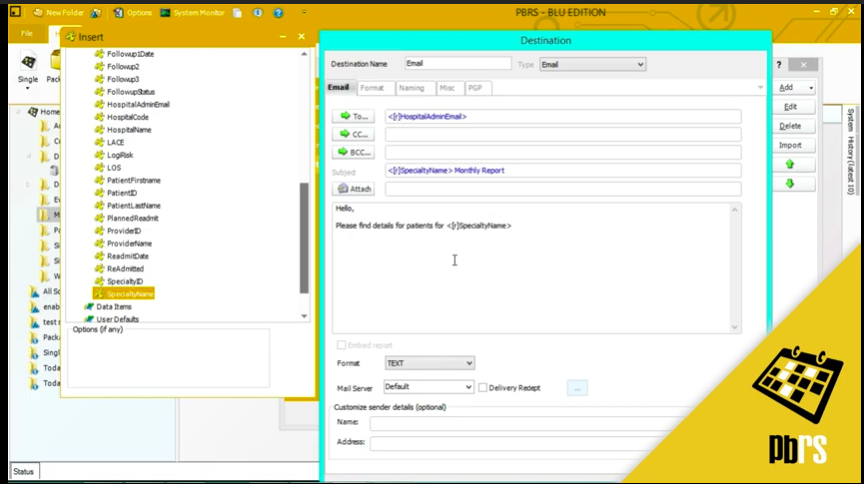
Next, the destinations. For this particular schedule, we are going to set up two destinations. The first one we'll use is an email. And this is the email destination tab. So instead of having a static email, we will get the emails from the database. So we want to have the hospital admin email entered here. We're also going to have the specialty name in the subject, and we will also put the specialty name in the body of my email. You can drag and drop any inserts that you need to to customize this email. You can add dates, whatever you want to to make this email unique.
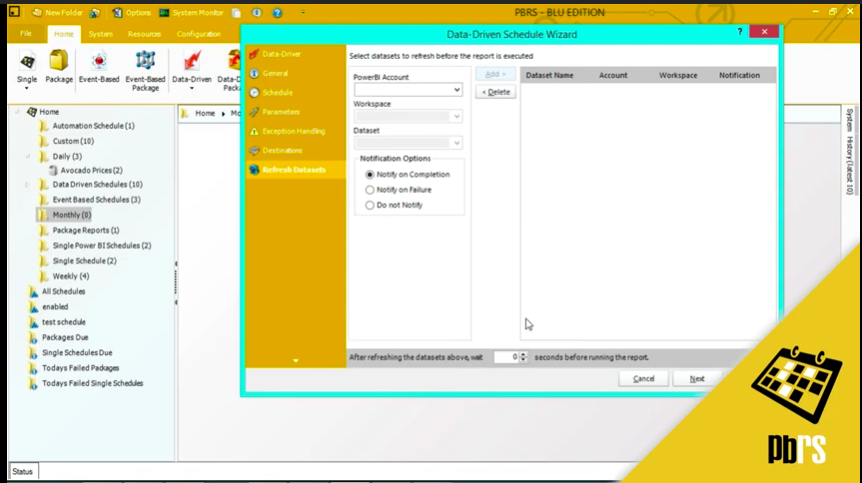
The next thing we need to decide is the format of the report that we're sending and for this scenario we are going to send it as a PDF. We also have the ability to enter some security options, so we will put a password here. So this report is password protected. The next destination we are going to add is a disk destination, and we will select test reports and PBRS reports. And what we are going to do here is, we want to actually add a folder name for each of the reports to be sent to and we are going to data-drive that from the database and we are going to drag and drop specialty name into the folder structure. Drop that down to save it, add a format. We'll use PDF again and then next, to continue. This is the exception handling part of the data-driven wizard. For more information on exception handling, please view the exception handling demo. Refreshing data sets. This is where you can refresh datasets before report execution. For more information on this, please view the refresh datasets demo.
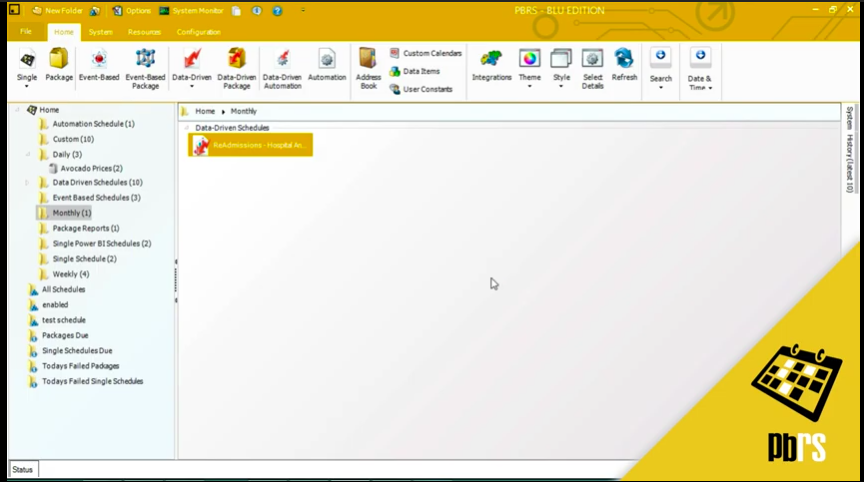
Custom actions. This is where you can set up custom actions for each generated report or for the entire schedule. For more information on setting up custom tasks, please view the custom tasks demo. And we are going to click finish to save the schedule. We will now execute this schedule so that you can see how the reports are sent both to email and to disk. So we need to right click and execute. As you can see, the schedule has completed successfully. We'll click okay, and now we will go to the email and the disk destination to show you what those look like once they've been exported.
This is the email for the cardiovascular patients. As you can see, in our initial query, we bought back 10 records. We have records for only four patients because they are the patients that were under the cardiovascular specialty. Now, if we look at the disc destinations, we can see here that we have three folders for the different specialties. So all of the 10 records that were bought back with the query fall into one of these categories.
Want to try for yourself? Start your FREE trial below.
No Comments Yet
Let us know what you think